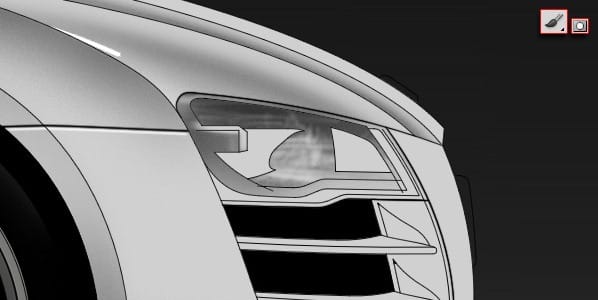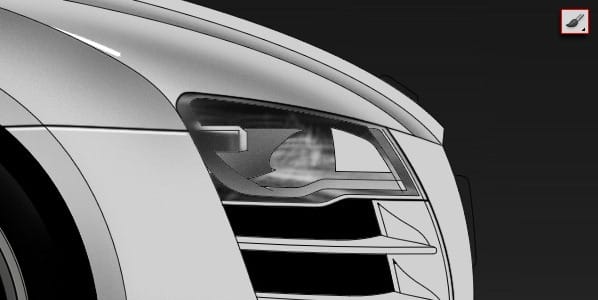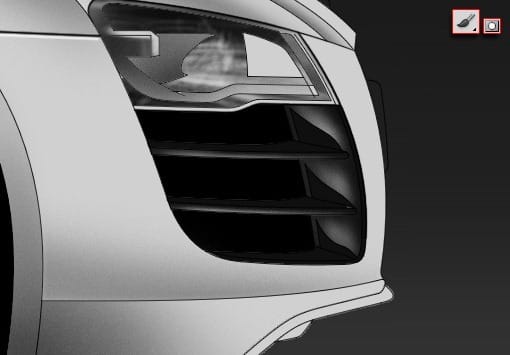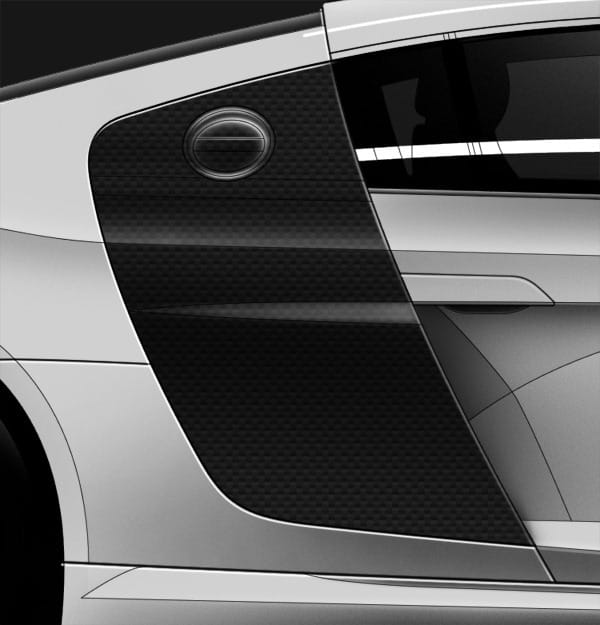
Step 25 – Head Light 3
Add some scribbles as before.

Step 26 – Head Light 4
Add some more dark. Keep applying and using layer mask until you get a desired look.

Step 27 – Front Blades
Fill in the blades underneath the headlamp.

Step 28 – Front Blade Highlights
Use a combination of white brush and layer mask to give the blades some highlights.

Step 29 – Carbon Fibre
Select the image above and save it in your working directory.
Open it in Photoshop. Select all then go to Edit>Define Pattern

Step 30 – Carbon Fibre Side Blades
Select the side blades then right click > Fill > Pattern and navigate to the pattern created in the previous step.

Step 31 – Finishing Touches
I’ve added a white gradient to the glass and duplicated the lines layer and inverted it to get shutline highlights.
Final Results

2 responses to “How to Render a Professional Audi R8 in Photoshop”
-
how to select all the paths
-
ctrl+shift+a
-


Leave a Reply