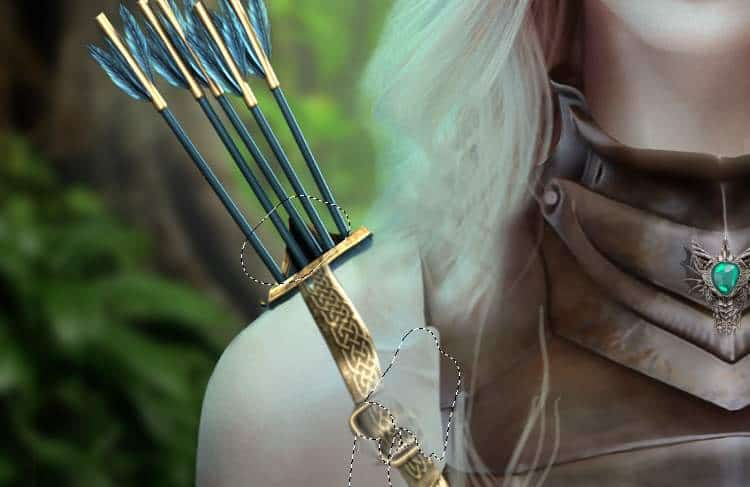
Use a layer mask to erase some details on it . Don’t worry if it looks bad, we’ll cover it by the hair later.

Step 41

Make aCurves adjustment layer to brighten this stripe. On this layer mask, paint on some details to reduce the light there.
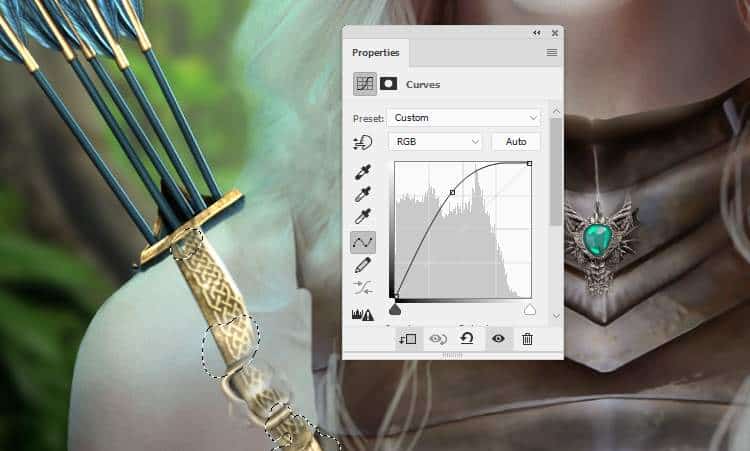
Step 42

Create a new layer, change the mode to Overlay 100% and fill with 50% gray. Use the Dodge and Burn Toolto refine the light and shadow on the stripe.
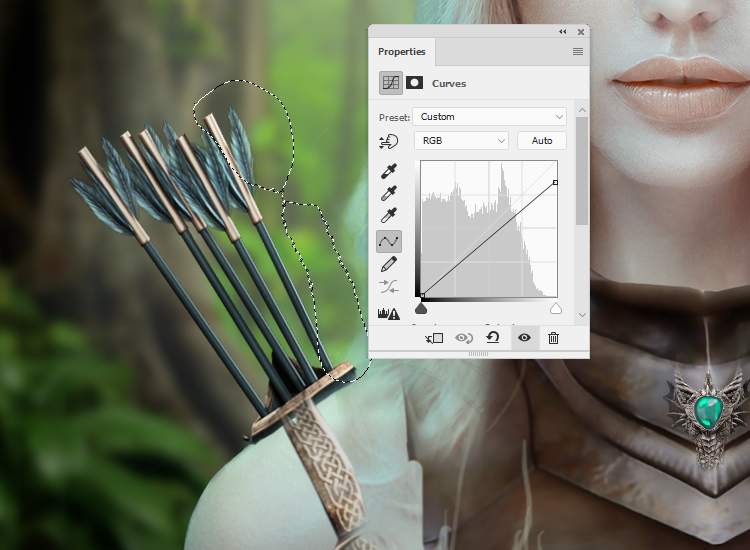
Step 43

Make a group for the arrows and the stripe and change the groupmode to Normal 100%. Add a Hue/Saturationadjustment layer to desaturate them.
Create aCurves adjustment layer and bring the lightness down. Paint on the outer side of the arrows so it won’t be affected by this adjustment layer.

Step 44

Open the ears image and take the ear only to add to the left ear of the existing model and convert it to a Smart Object. Use Ctrl+Twith the Warp mode to tweak the ear to be longer to make it look like an elf’s ear.
Add a mask to this layer and use a hard black brush to hide the lower of the ear .

Step 45

Go to Filter > Sharpen > Unsharp Maskand fill in the following settings to make the ear sharper.
Duplicate this layer and flip it horizontally and move it to the right ear.

Step 46

Create a group for these ear layers and make a Hue/Saturationadjustment layer to desaturate the ears:
Make a Brightness/Contrastadjustment layer to decrease the contrast of the ears:
Add a Curvesadjustment layer to increase the light on the upper of the ears. Paint on the lower to keep its brightness.

Step 47

Create a new layer on top of the layers and a small brush with the color #e6d4ceto paint the missing hair for the model.
Make a new layer and use a lighter brush’scolor (#f3e0da) to paint some flying hair for the head.

Step 48

Create a group for the hair layers and use a Hue/Saturation adjustment layer to desaturate the hair.
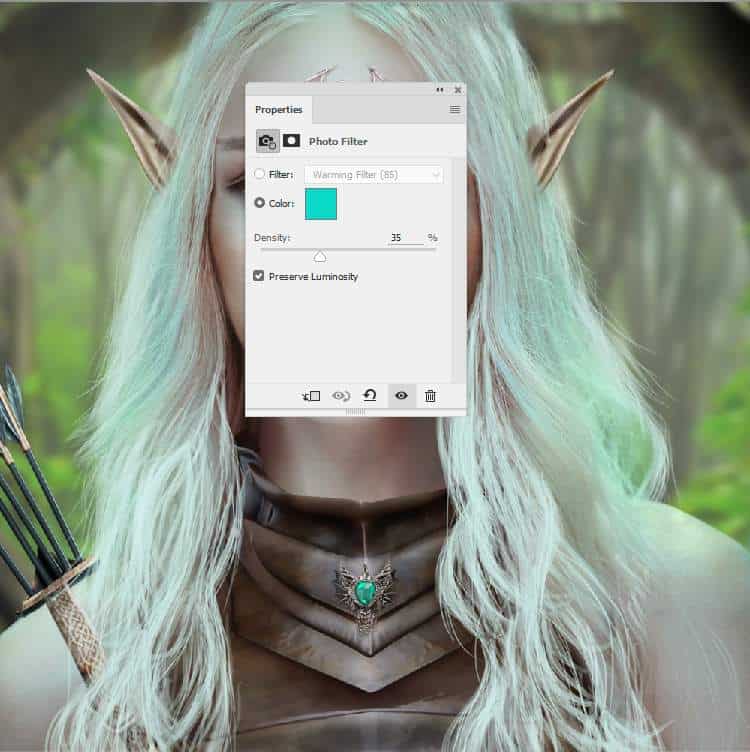
Make a Photo fFilteradjustment layer and pick the color #0cdbca.
Add a Curvesadjustment layer to decrease the light on the middle of the hair part. Paint on the outer or any areas you feel too dark.
Make a new layer and use a small brush with the color #a4e9a9to paint more flying hair on the outer of the headl to fit the light and color of the background.

Pages: 1 2 3 4 5 6

1 response to “How to Create an Elf Photo Manipulation with Adobe Photoshop”

  1.  Avatar
    Anonymous

    amazing

Leave a Reply

Discover more from Photoshop Tutorials

Get the latest Photoshop tutorials, download and updates delivered to your inbox.

Continue reading