Create a breath taking scenery by combining two photos and applying several photo effects. When you follow this Photoshop tutorial, you’ll learn masking techniques and several photo effects.
Blissful Landscape Photo Manipulation Photoshop Tutorial
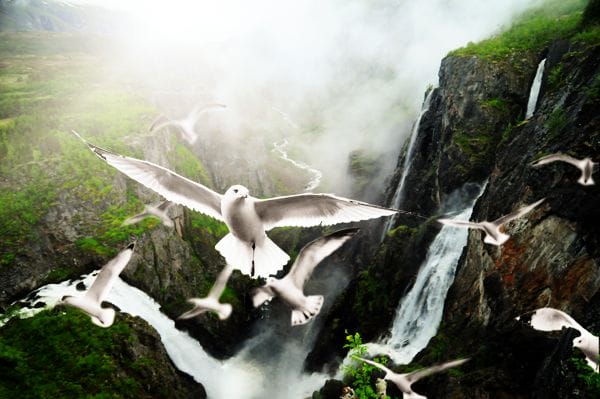
Preview of final results
Rollover the image below to see the before and after effect.
Stock photos used for this tutorial
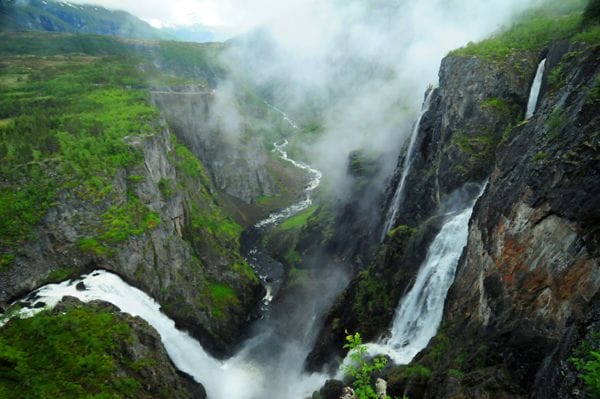
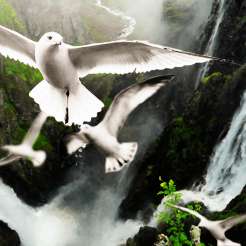
For this tutorial, we used two royalty-free images from Dreamstime.com. They are not free but you can use other similar photos of your own or from free stock photography websites such as sxc.hu. If you choose to use the same images we used, we recommend that you use the medium sized or larger images.

Step 1 – Open the landscape photo
Start by opening the landscape photo into Photoshop.

Step 2 – Place the photo of the seagulls
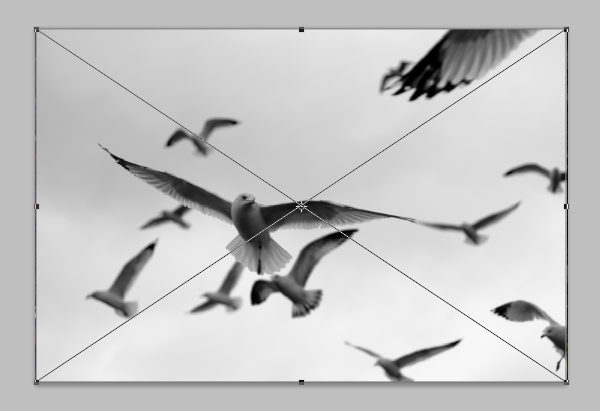
Place the picture of the seagulls into the photo. To do this, choose File > Place, browse for the image file, select it then click OK. It will place the image into your current document with a transform tool activated like shown below. You can resize the image if you feel the need to but it is better if you do that later. Press Enter on your keyboard to exit out of the transform tool.
Step 3 – Create a selection of the seagulls
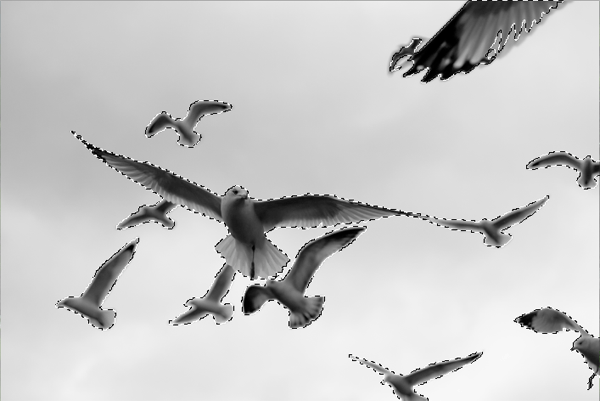
Use the Magic Wand or Quick Selection tool to create a selection of the seagulls. Try to make the selection as accurate as possible. The seagulls in the distance are blurry so make sure that your selection covers the blurred edges. If you’re using Photoshop CS3 or later, you usually can use the “Refine Edge” tool in to refine the edges of the selection. However, in this case, we cannot use it because all the seagulls have a different edge softness. Instead, we’ll need to refine the edges manually using a variety of tools you’ll learn about after the next step.
Step 4 – Convert the selection into a layer mask
Select the top layer with the seagulls then, in the Layers palette, click on the ![]() button. You should now have a layer mask like the screenshot shown below. Make sure that the layer mask is selected before proceeding with the next steps. In the Layers palette, the thumbnail of the layer mask should have a white outline like the image below to indicate that the layer mask is selected. If it doesn’t, click on the layer mask thumbnail to activate it.
button. You should now have a layer mask like the screenshot shown below. Make sure that the layer mask is selected before proceeding with the next steps. In the Layers palette, the thumbnail of the layer mask should have a white outline like the image below to indicate that the layer mask is selected. If it doesn’t, click on the layer mask thumbnail to activate it.

Leave a Reply