Make skin look perfect in one-click with these AI-powered Photoshop actions.
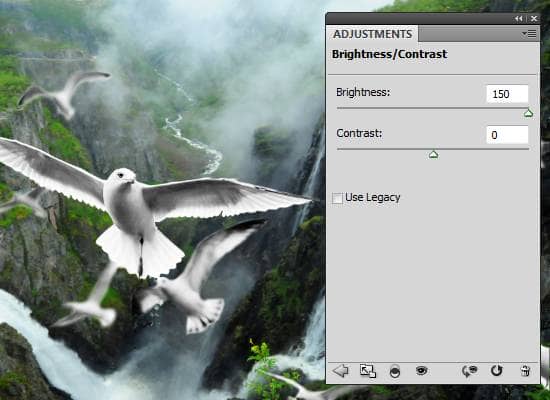
- Photoshop CS3 or newer: Add a brightness/contrast adjustment layer (Layer > New Adjustment Layer > Brightness/Contrast). If you’re using Photoshop CS3, click OK to exit out of the brightness/contrast settings. If you are using Photoshop CS4, the Brightness/Contrast setting is in the adjustments panel (Window > Adjustments).
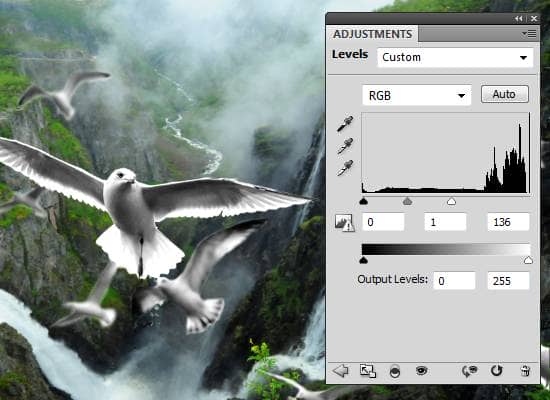
- Photoshop CS2 or older: Add a levels adjustment layer (Layer > New Adjustment Layer > Levels. Click OK to exit out of the Levels settings.
Position the adjustment layer as the top layer.
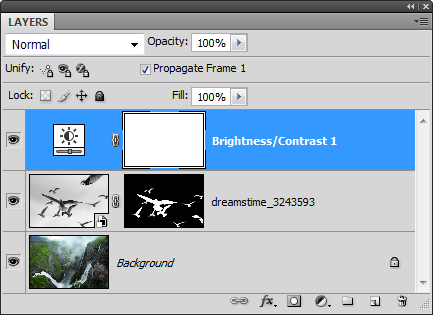
With the adjustment layer selected, choose Layer > Create Clipping Mask. Your layer is now using the layer mask from the layer below and should look like the image below:
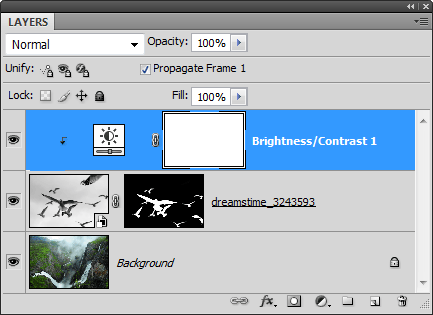
Depending if you added a Brightness/Contrast or Levels adjustment layer, you will see an ![]() or
or ![]() icon in the layers palette. Double click on that icon to bring up the settings.
icon in the layers palette. Double click on that icon to bring up the settings.
- Photoshop CS3 or newer: Increase the brightness until the seagulls are white.

- Photoshop CS2 or older: Move the white input slider towards the left to brighten the seagull.

Step 9 – Create a simple sun burst
We will now create a sun burst using a gradient fill layer. Before you add the gradient fill layer, make sure that you have the top layer selected so that when you add the gradient fill layer, it will be positioned as the top layer. Choose Layer > New Fill Layer > Gradient.
In the gradient fill settings, edit the gradient setting to the settings shown below:
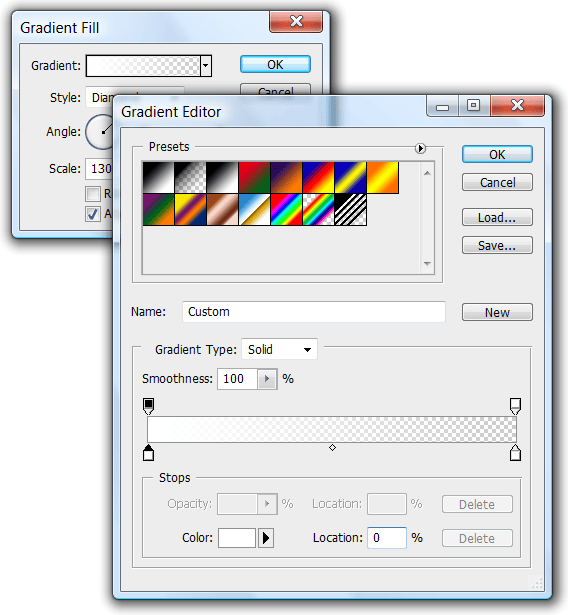
Apply the following settings:
- Style: Diamond
- Angle: 45º
- Scale: 130%
Click and drag the gradient in the document window and position it where the sun would be.
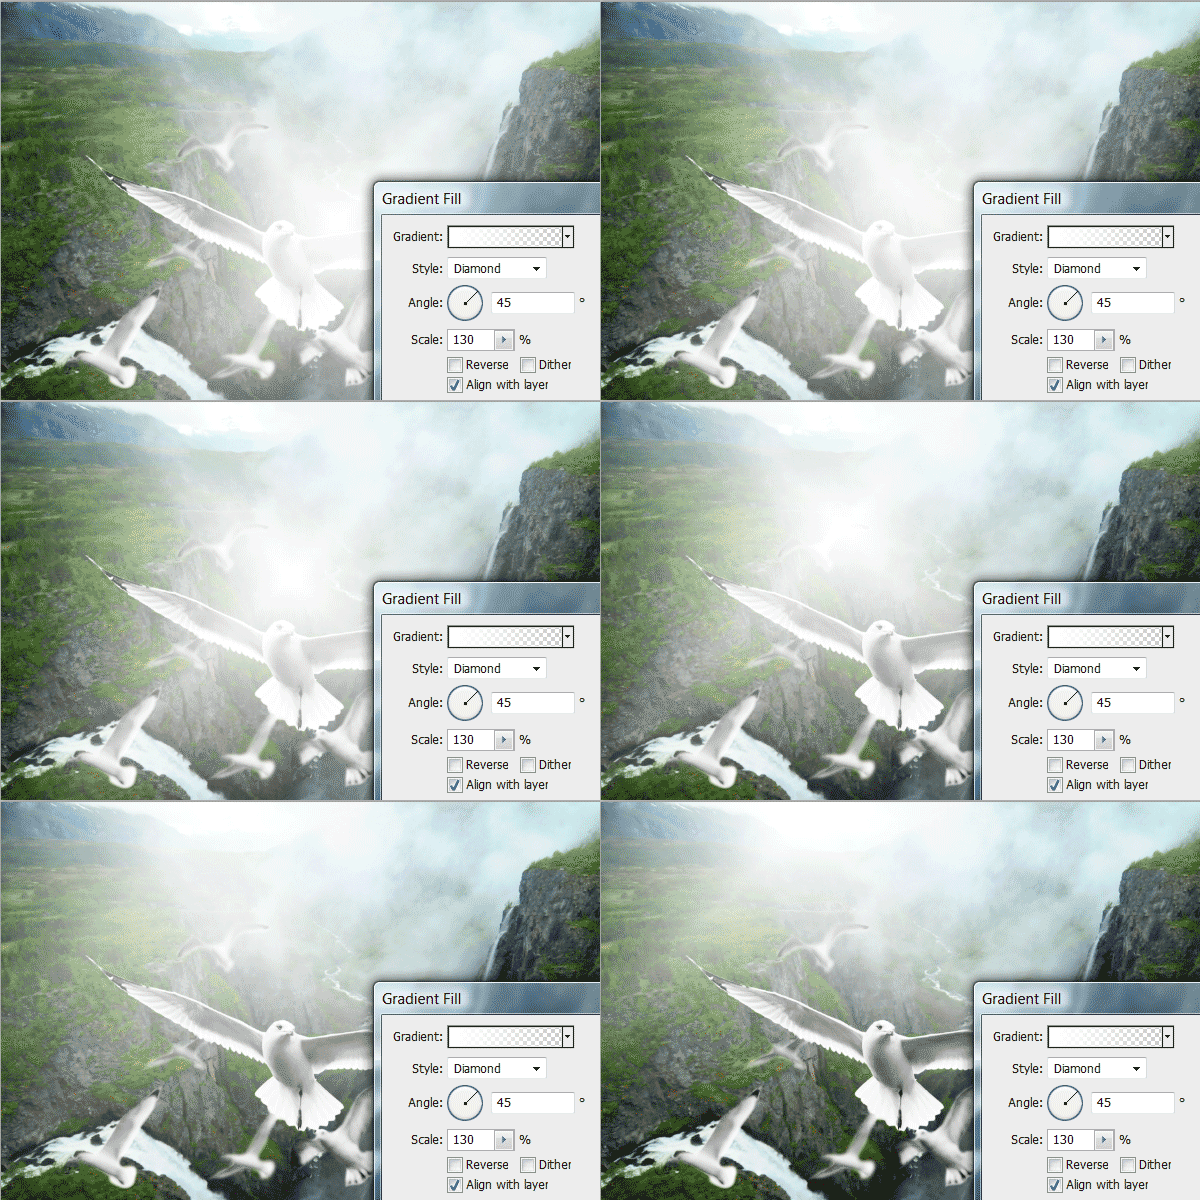
Step 10 – Add a warm photo effect
In this step, we’ll give the image a warm tint and increase the contrast. Like in the previous step, ensure that you have the top layer selected so that when you add another adjustment layer, it’ll appear as the top layer. Choose Filter > New Adjustment Layer > Photo Filter. Use the settings as shown below:
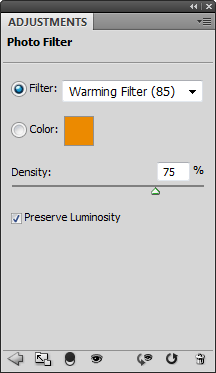
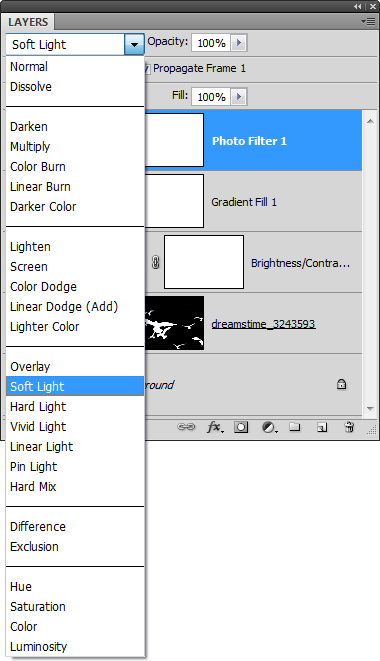
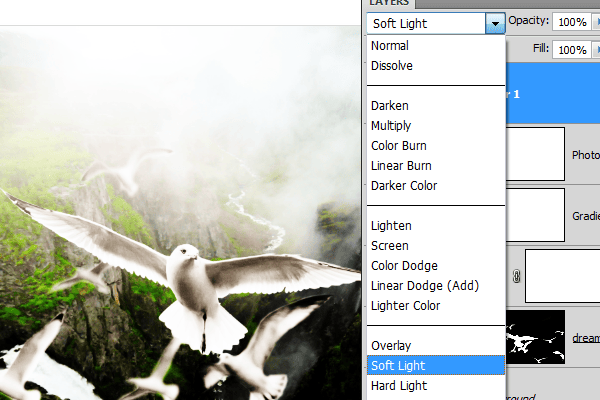
Change the blending mode of the photo filter adjustment layer to soft light.
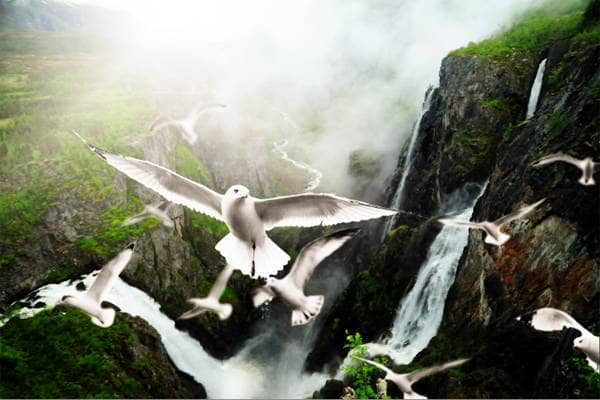
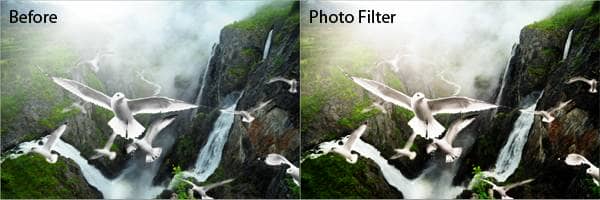
Here’s what the image looks like after adding the photo filter adjustment layer.
Step 11 – Add a dramatic soft glow effect (optional)
Some people may prefer making the image more dramatic with a soft glow effect. This step will show you how to add a simple soft glow effect without losing details in the shadow. It contains a step that will teach you how to use the blend if option that you may find useful if you do a lot of photo retouching.
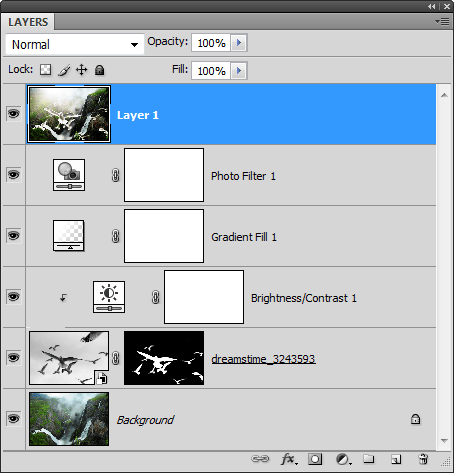
Change the blending mode to soft light. Immediately, you will see that the contrast has been increased even further to a point where the effect is too harsh.
To soften the effect and give it a glowing effect, we’ll blur the layer using the Gaussian Blur filter.
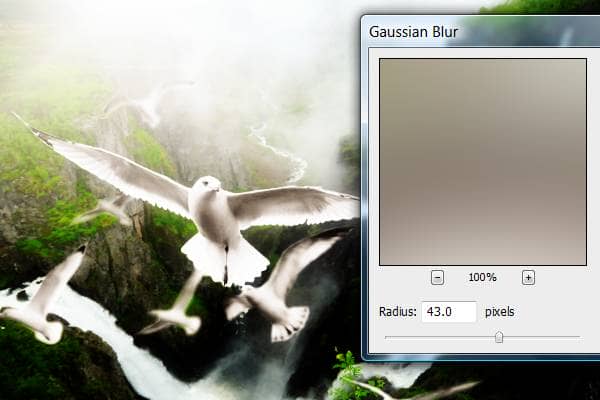
The final image looks soft and dreamy now but because of the high contrast effect of this photo effect, some of the details in the shadows are now just a black blob. To fix this, we’ll change the blending of the layer so that the layer doesn’t affect those dark areas. Right click on the current layer then select Blending Options.
