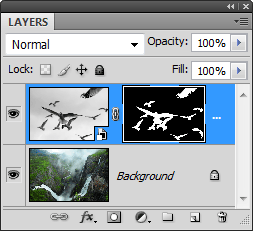
We have a mask but we’re not done yet. There are three problems with the mask:
- The seagulls in the distance have a white outline.
- There are some rough edges on the wings and head of the seagull in the front.
- The edge of the front seagull is too sharp and does not match the acutance (how sharp the edges look) of the landscape photo underneath.
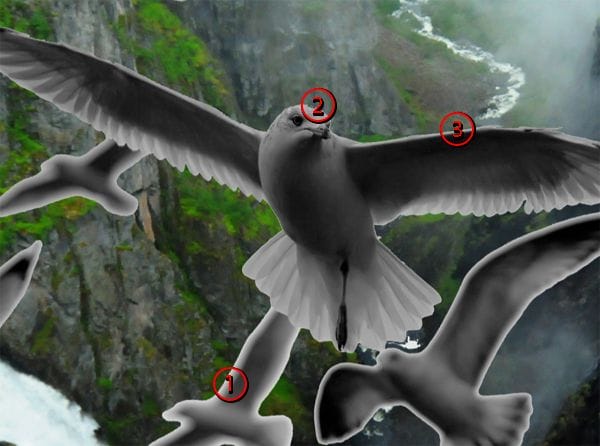
Step 5 – Correct the edge sharpness
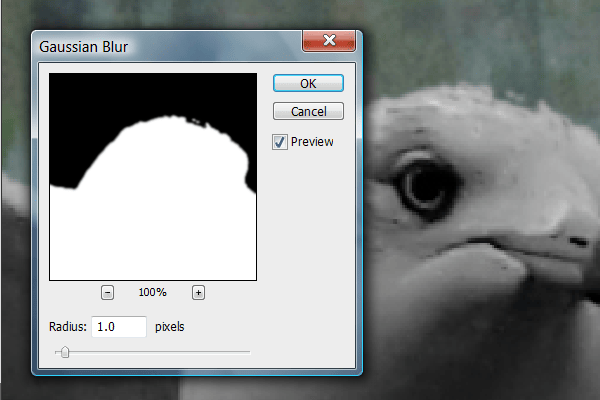
We’ll begin by correcting the edge sharpness of the seagull in the front. Right now, it looks too sharp so we’ll give it a slight blur with the gaussian blur tool. Choose Filter > Modify > Blur then adjust the radius setting so that the edge of the seagull in the front blends in with background. Don’t worry about the other seagulls because their edges are already blurred. Click OK when done.
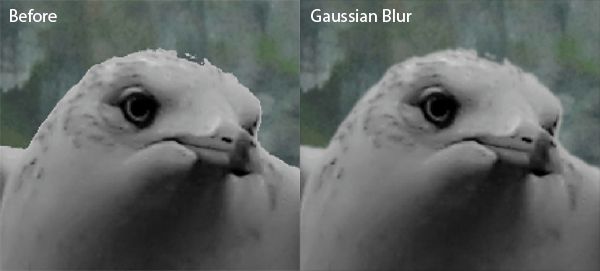
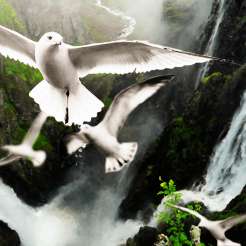
Here’s how the edges should look like after applying the gaussian blur filter.
Step 6 – Fix the rough edges
If you have any awkward edges that need to be fixed, use the Brush and Eraser tools. First, set the following settings for the brush and the eraser tool if you need to use it.
- Mode: Normal
- Opacity: 100%
- Flow: 100%
- Airbrush Capabilities: Disabled

Then, open the brush settings by right clicking anywhere in the document window. Adjust the master diameter and sardness settings.
- Master Diameter: This is the size of your brush. If you change this setting by over 10 pixels, you’ll need to readjust the hardness setting.
- Hardness: This is how hard the edges will be. Adjust this setting so that the edge hardness of your brush matches the edge hardness of the seagull. If the hardness is too high, the edges you retouch will be too sharp. If it is not hard enough, the edges will appear too feathered.
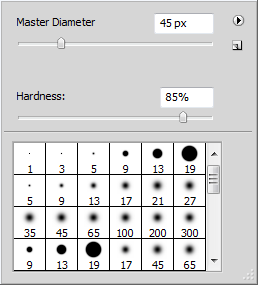
Edit only the front seagull that is in focus. Zoom in to about 500% then use the brush tool to fill in any gaps. If you have any protruding edges, you can use the eraser tool with the same settings as the brush.
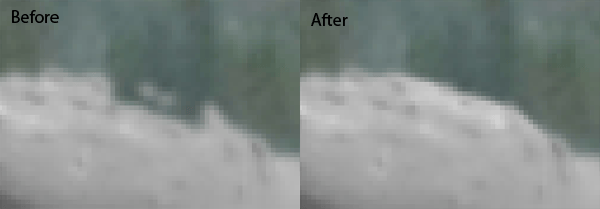
Step 7 – Blend the blurry edges
Now we’ll work on refining the edges of the out of focus seagulls in the distance. You’ll learn how to easily mask the edges of out of focus objects. Begin by selecting the Eraser tool from the toolbar. In the option bar, the settings should be as follows:
- Mode: Normal
- Opacity: 100%
- Flow: 100%
- Airbrush Capabilities: Disabled

Zoom in about 300% to the edge of a seagull in the background. Right click anywhere in the document window to bring up the brush settings.
- Master Diameter: Adjust so that the radius of the brush is equal to the edge thickness of the seagull.
- Hardness: 0%
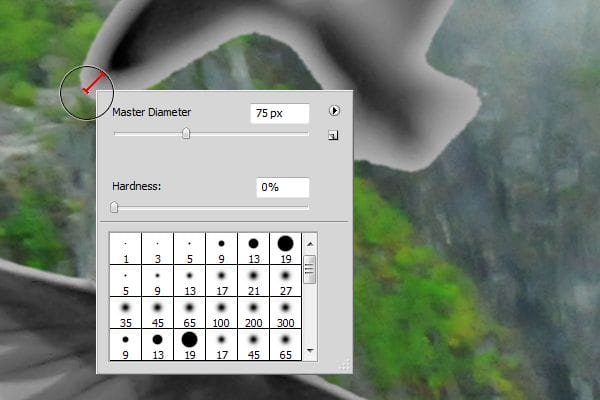
With the proper brush size all set up, begin erasing the edge of the seagull.


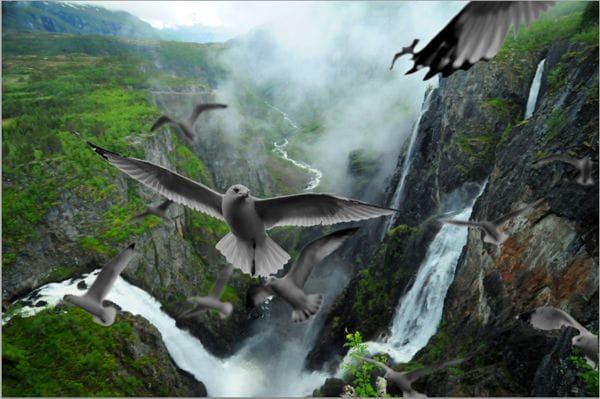
Repeat this step for the rest of the seagulls. Because you already have the brush hardness set to 0%, you can conveniently change the brush size of the eraser by pressing the [ or ] keys on your keyboard. Press the [ key to reduce the brush size or ] to increase. Here’s what my image looks like afterwards.
Step 8 – Brighten the seagulls
We’re finally done the mask and we can move on to the fun stuff just after we fix the exposure of the seagulls. Right now, the seagulls are underexposed making them look gray.

Leave a Reply