
In this tutorial, I’ll show you how to create a fantasy piece featuring a little girl looking at an opening door. First, we’ll build the base scene with sky and landscape images. Later, we’ll add the pathway, door, clouds, and tree. After that, we’ll import the child and paint the light. We’ll use several adjustment layers to enhance the final effect.
Preview of the Final Result

Tutorial Resources
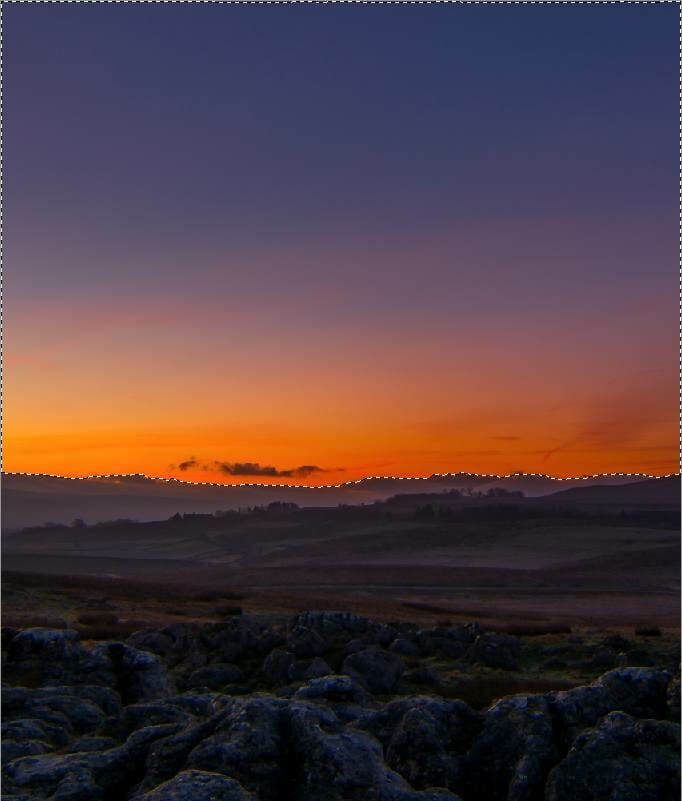
Step 1
Create a new 1700×2000 px in Photoshop and fill it with white. Open the landscape image and drag it into the white canvas using the Move Tool (V). Convert this layer to a Smart Object.

Step 2
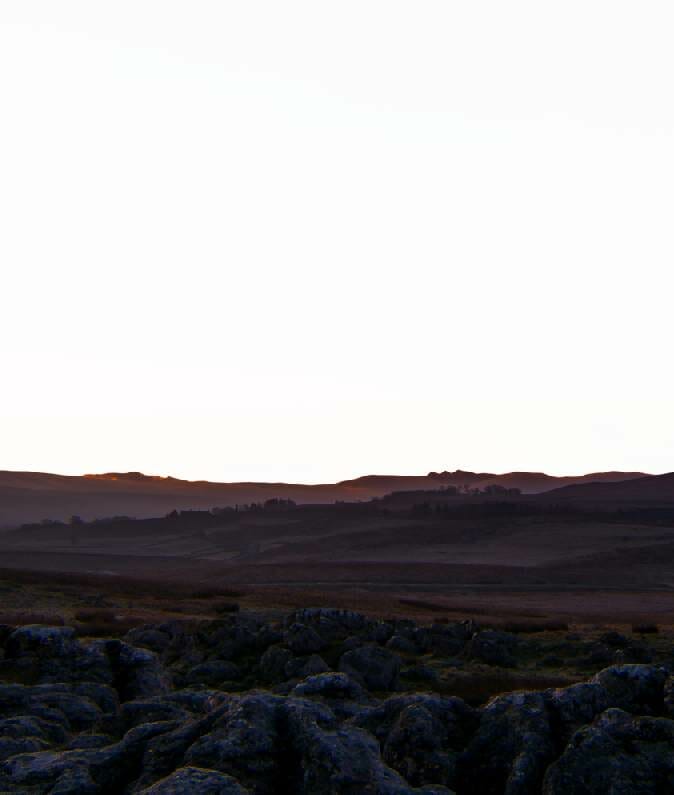
Click the second icon at the bottom of the Layers panel to add a mask to this layer. Activate the Magnetic Lasso Tool (L) and select the sky part. On the layer mask, turn the foreground to white and click Delete.
Step 3
Go to Filter > Sharpen > Unsharp Mask and fill in the following settings:

Continue selecting Filter > Noise :> Reduce Noise and fill in the settings below:

Step 4
Go to Layer > New Adjustment Layer > Color Balance and set it as Clipping Mask. Change the Midtones and Highlights values:


On this layer mask, activate the Brush Tool (B) and select the soft round one with black color. Use this brush to erase the background and both sides of the ground.

Step 5
Make another Color Balance adjustment layer to give the ground some green/yellow color. On this layer mask, use a soft black brush to remove this effect on the background.


Step 6
Create a new layer below the landscape one and hit G to activate the Gradient Tool. Choose Linear Gradient with the colors #31316f and #5c477b. Drag a line from the top to the bottom.

Step 7
Add a Color Balance adjustment layer and alter the Midtones and Highlights settings to give the horizon a sunset effect. On this layer mask, use a soft black brush to remove the effect on the top of the sky.


Step 8
Create a Curves adjustment layer on top of the layers and increase the lightness. On this layer mask, use a soft black brush to erase the background and the left side, leaving the light visible on the rest only.
2 responses to “How to Create a Fantasy Door Photo Manipulation with Adobe Photoshop”
-

Using this with my high school photography class as a lesson in using layer masks and color adjustments! Thanks :)
-
Great, thank you
Leave a Reply to Angela AmosCancel reply