Step 20
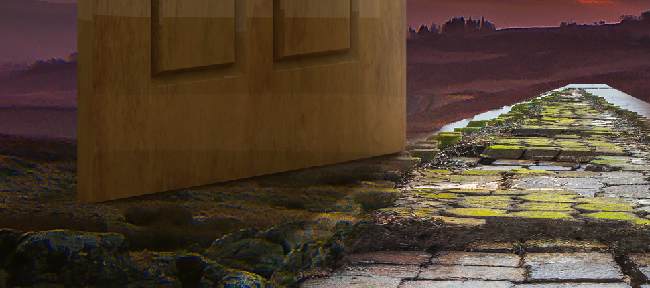
Make a Hue/Saturation adjustment layer above the door layer and set as Clipping Mask. Reduce the Saturation values to -19 and on this layer mask, paint on the left of the right panel and the contour of the rest panel.

Step 21
Create a Color Balance adjustment layer and alter the Midtones and Highlights settings. On the layer mask, paint on the space between the panels of the door.


Step 22
Add a Curves adjustment layer to decrease the lightness . Paint on the right panel, especially the shadow areas to reveal some lightness there.


Step 23
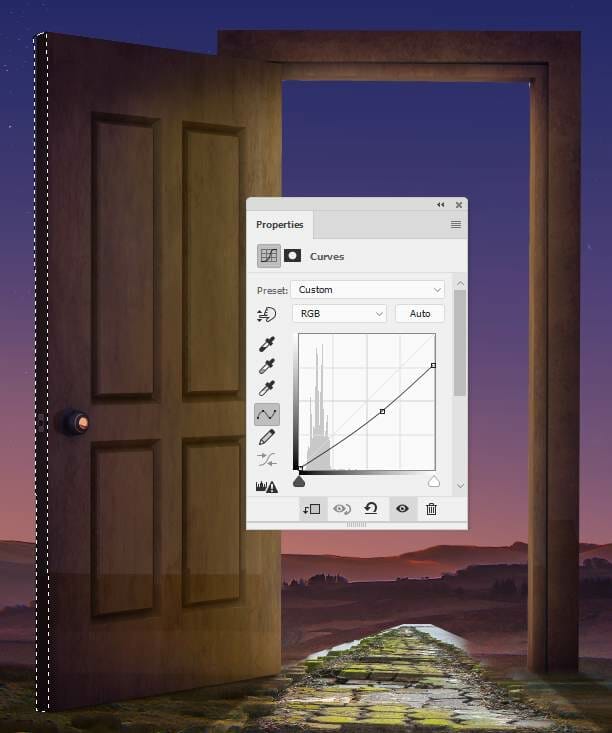
Use the Polygonal Lasso Tool to select the right contour of the right panel and go to Layer > New Adjustment Layer > Curves and set as Clipping Mask. Reduce the lightness to increase the shadow there.

Step 24
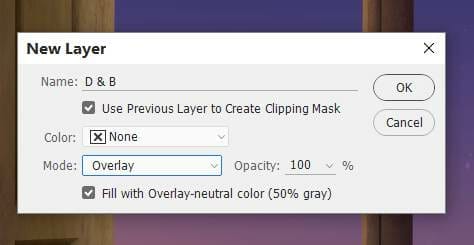
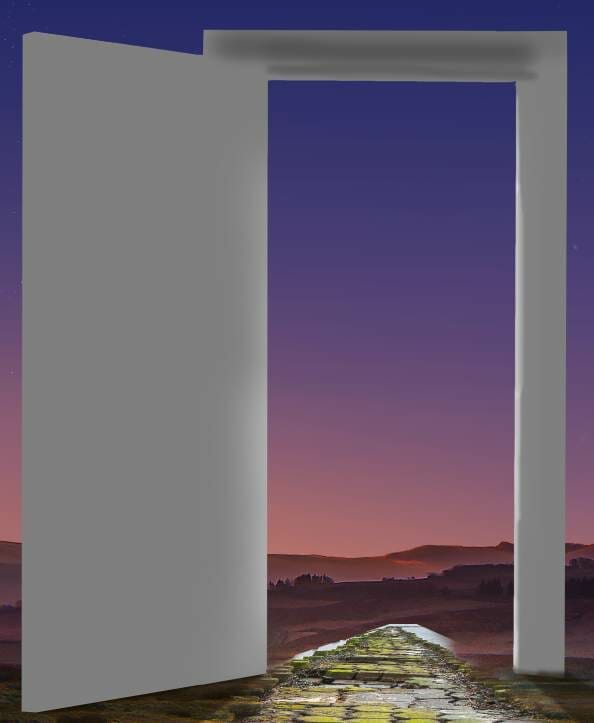
Make a new layer, change the mode to Overlay 100% and fill with 50% gray. Activate the Dodge and Burn Tool (O) with Midtones Range, Exposure about 10% to refine the light and shadow on the contour of the panels. You can see how I did it with Normal mode and the result with Overlay mode.


Step 25
Drag the clouds image into our working document and place the sun area in the bottom middle of the door. Set this layer below the door’s shadow layers. Add a mask to this layer to remove the part outside the door’s frame.


Step 26
Create a new layer (set as Clipping Mask ) and use a soft brush with the color #fed67f to paint around the sun’s highlight to reduce the light effect there.

Step 27
Make a Curves adjustment layer to increase the contrast of the clouds and sun.

Step 28
Create a Hue/Saturation adjustment layer and change the Master values:

Step 29
Open the tree image and use the Move Tool to to drag it onto the middle of the clouds. Use a layer mask to remove the tree’s bottom.

Step 30
Make a Hue/Saturation adjustment layer to change the color of the tree.

Create a Color Balance adjustment layer to give the tree some yellow light.

Step 31
Add a Curves adjustment layer to increase the lightness. On this layer mask, paint on the trunk to remove the light there.

Step 32
Make a new layer, change the mode to Overlay 100% and fill with 50% gray. Use the Dodge and Burn Tool to refine the light and shadow of the leaves.
2 responses to “How to Create a Fantasy Door Photo Manipulation with Adobe Photoshop”
-
Using this with my high school photography class as a lesson in using layer masks and color adjustments! Thanks :)
-
Great, thank you


Leave a Reply