There are only two worlds – your world, which is the real world, and the other worlds, the fantasy. Worlds like this are worlds of the human imagination: their reality, or lack of reality, is not important. What is important is that they are there. these worlds provide an alternative. Provide an escape. Provide a threat. Provide a dream, and power; provide refuge and pain. They give your world meaning. They do not exist, and thus they are all that matters. In this Photoshop tutorial, we will learn how to create a fantastic piece. First we added background above clouds, then add mountains and windmills. Next added castle and woman, then blended it together with adjustment layers. Also added a light source and finally added Camera Raw Filter.
Preview of Final Image

Tutorial Resources
Now, let’s start by creating a new image file, go to the Menu bar and click File > New, and then input the following values on their respective fields
- Preset: Custom
- Width: 3080px
- Height: 3080px
- Resolution: 300px
- Color Mode: RGB Color 8 bit
- Background Contents: Transparent

Step 2
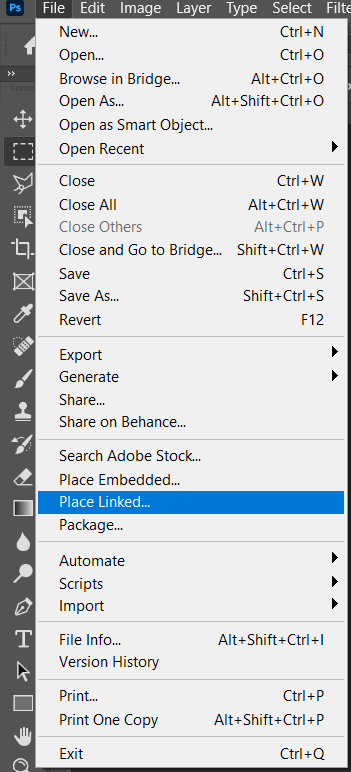
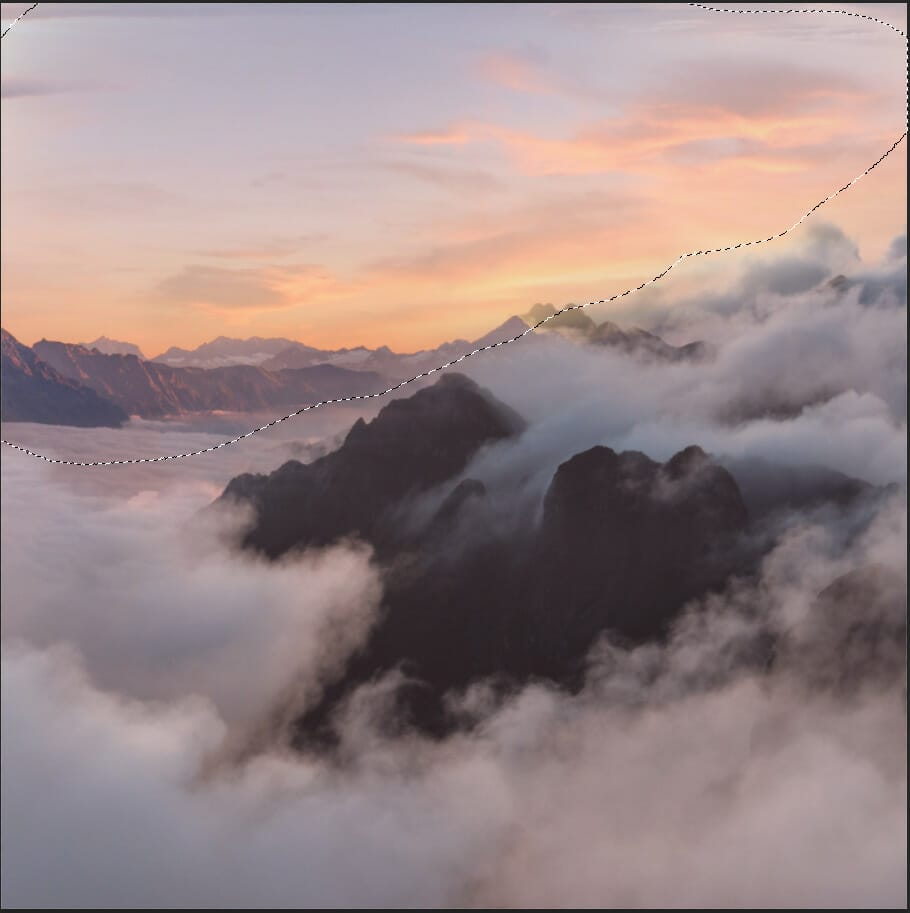
Now, place Background Go to File > Place and select Background. Then place it to our work canvas and position the image with the transform tool (Ctrl / Cmd + T). Hold Alt + Shift and rasterize like the image below. In Photoshop CC only hold Alt to rasterize all sides together.


Step 3
Add Adjustment Layer “Color Balance”

Step 4
Add Adjustment Layer “Hue/Saturation” and set Opacity to 10%.

Step 5
Add Adjustment layer “Curves”

Step 6
Next, place Mountains Go to File > Place and select Background Then place it to our work canvas and position the image with the transform tool (Ctrl / Cmd + T). Hold Alt + Shift and rasterize like the image below. In Photoshop CC only hold Alt to rasterize all sides together.


Now create a layer mask and press Ctrl/Cmd + I to invert and select Brush Tool(B) Soft Round with foreground color white and paint.


Step 7
Open Windmills Go to File > Place and select Windmills. Then place it to our work canvas and position the image with the transform tool (Ctrl / Cmd + T). Hold Alt + Shift and rasterize like the image below. In Photoshop CC only hold Alt to rasterize all sides together.
After that create a layer mask(Invert Ctrl/Cmd + I) and use Brush Tool(B) Soft Round with foreground color white and paint/delete background behind windmills. The opacity of the layer is set to 95%.
One response to “Create a Fantasy Place above the Clouds Photo Manipulation in Photoshop”
-
Milos, that is once again a beautiful composing


Leave a Reply