Make your artwork look like they're from an alternate universe. These Cyberpunk presets work with Photoshop (via the Camera Raw filter) and Lightroom. Download all 788 presets for 90% off.
- Select the Pen tool.
- Position the Pen tool where you want the straight segment to begin, and click to define the first anchor point (do not drag).
- Click again where you want the segment to end
- Continue clicking to set anchor points for additional straight segments.
- The last anchor point you add always appears as a solid square, indicating that it is selected. Previously defined anchor points become hollow, and deselected, as you add more anchor points
- Complete the path by doing one of the following:
- To close the path, position the Pen tool over the first (hollow) anchor point. A small circle appears next to the Pen tool pointer
 when it is positioned correctly. Click or drag to close the path.
 - To leave the path open, Ctrl-click (Windows) or Command-click (Mac OS) anywhere away from all objects. To leave the path open, you can also select a different tool.
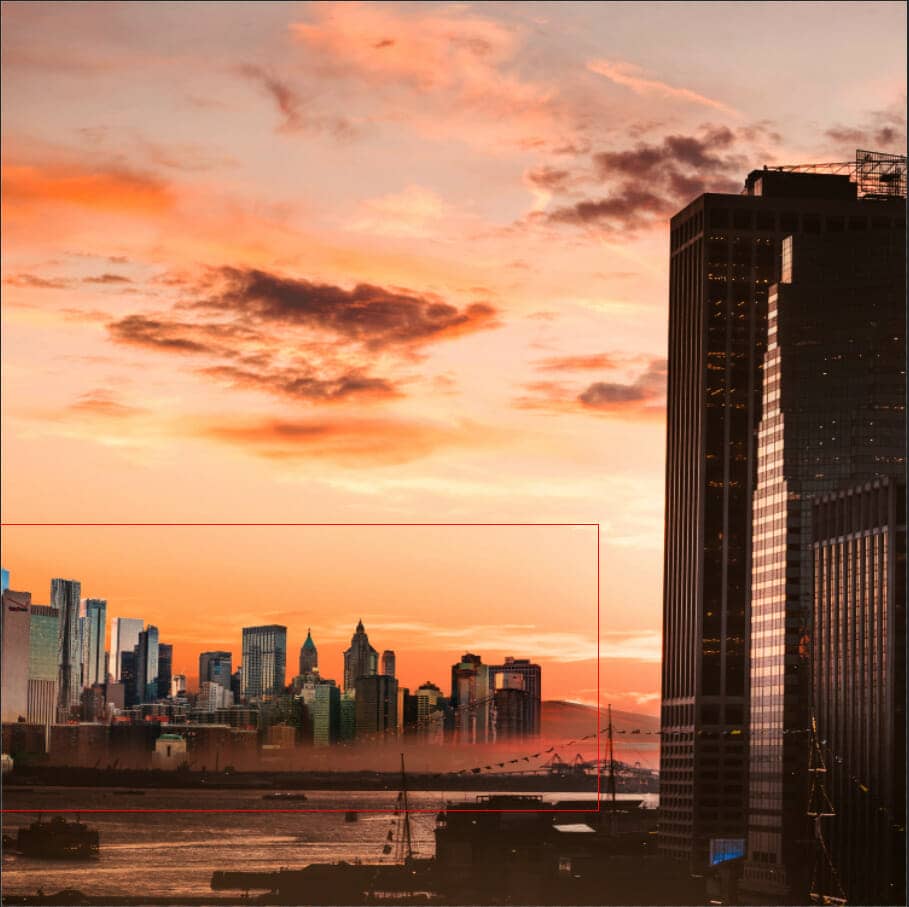
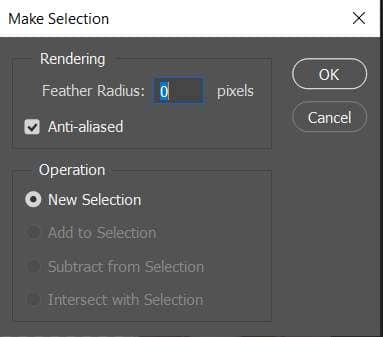
Step 9
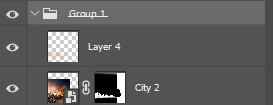
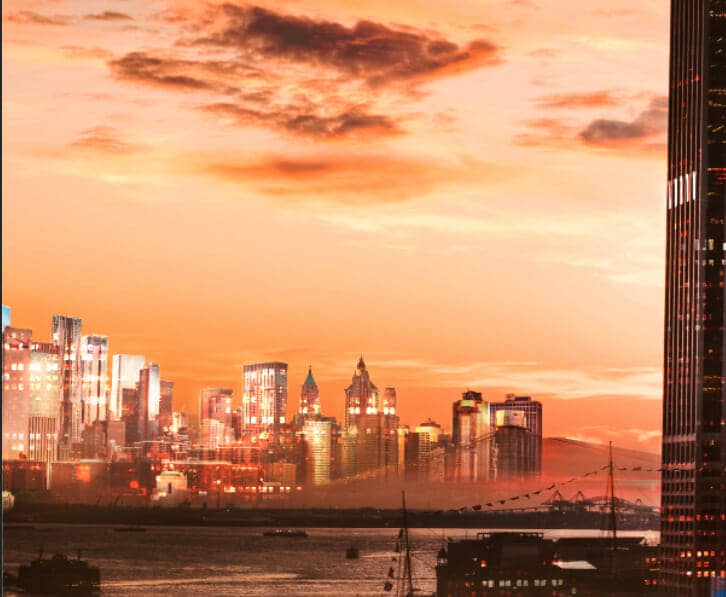
In this step create a new layer and use a soft round brush tool with foreground color orange and paint on city 2. The flow of brush set to 10%. Then select City 2 and this layer and put to group (Ctrl/Cmd + G).
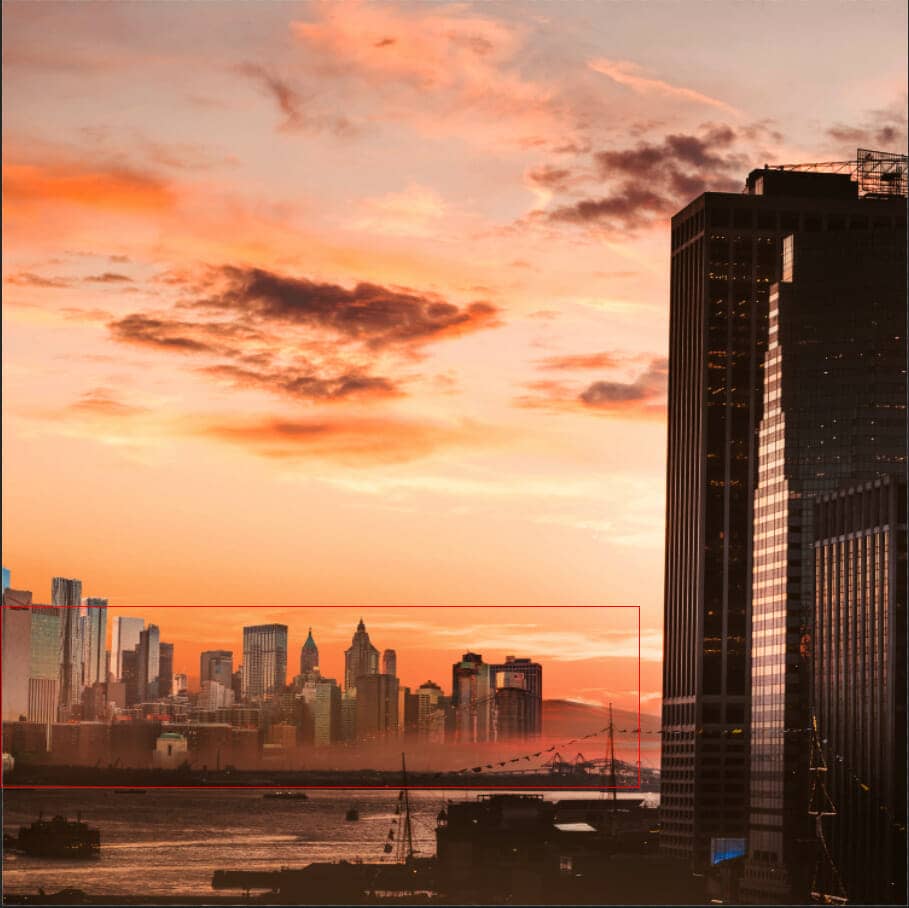
Step 10
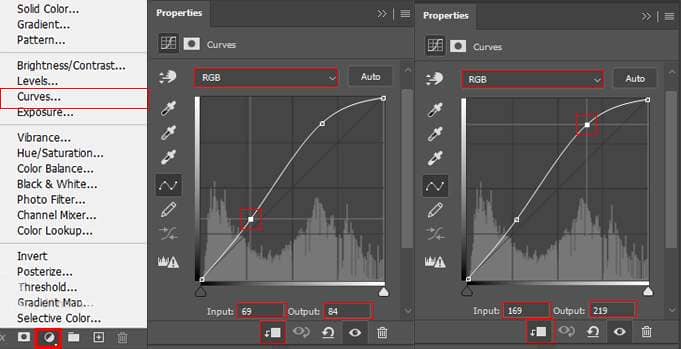
Add Adjustment Layer "Curves"
Step 11
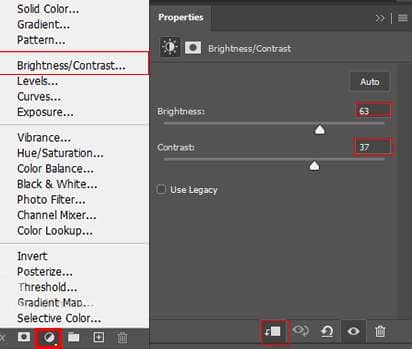
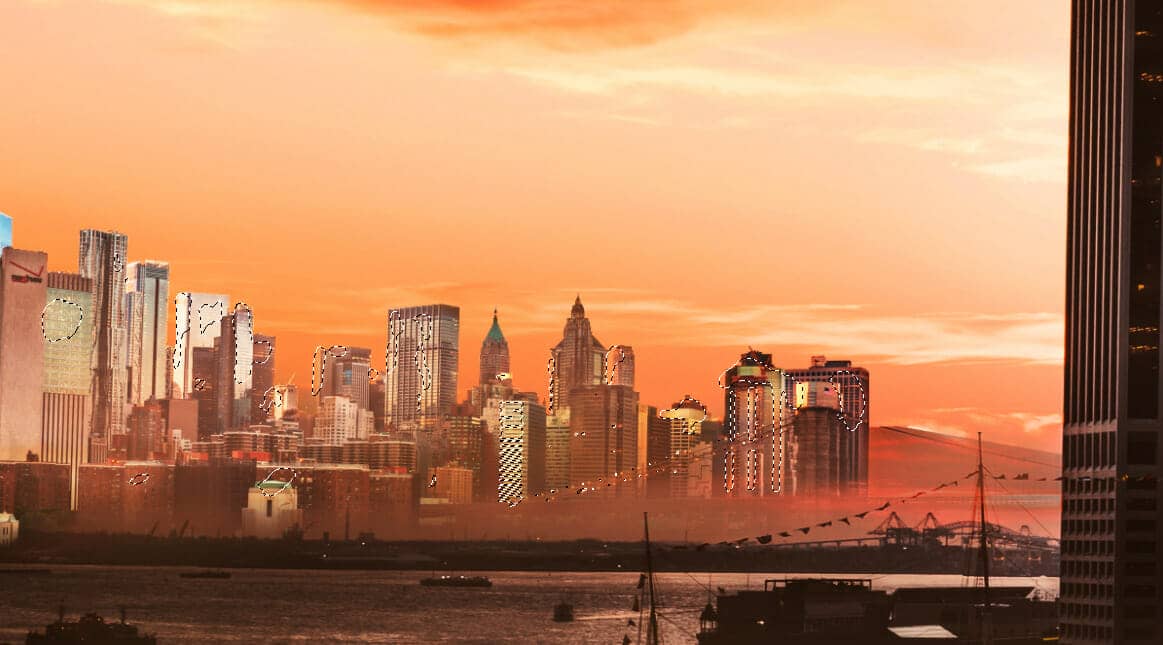
Add Adjustment Layer "Brightness/Contrast" and press Ctrl/Cmd + I to invert. Then use Brush Tool(B) Soft Round with foreground color white and paint on highlight parts.
Step 12
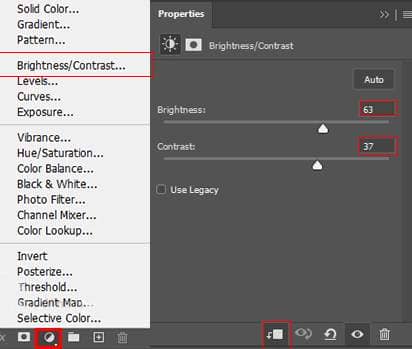
Add Adjustment Layer "Brightness/Contrast" and press Ctrl/Cmd + I to invert. Then use Brush Tool(B) Soft Round with foreground color white and paint on highlight parts.
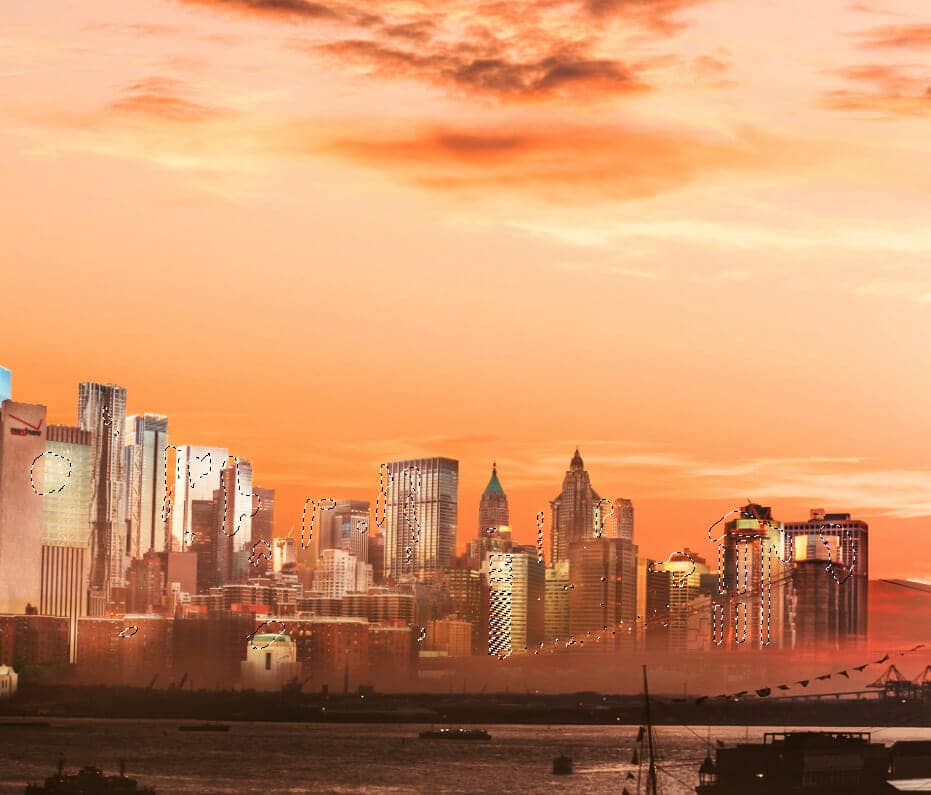
Step 13
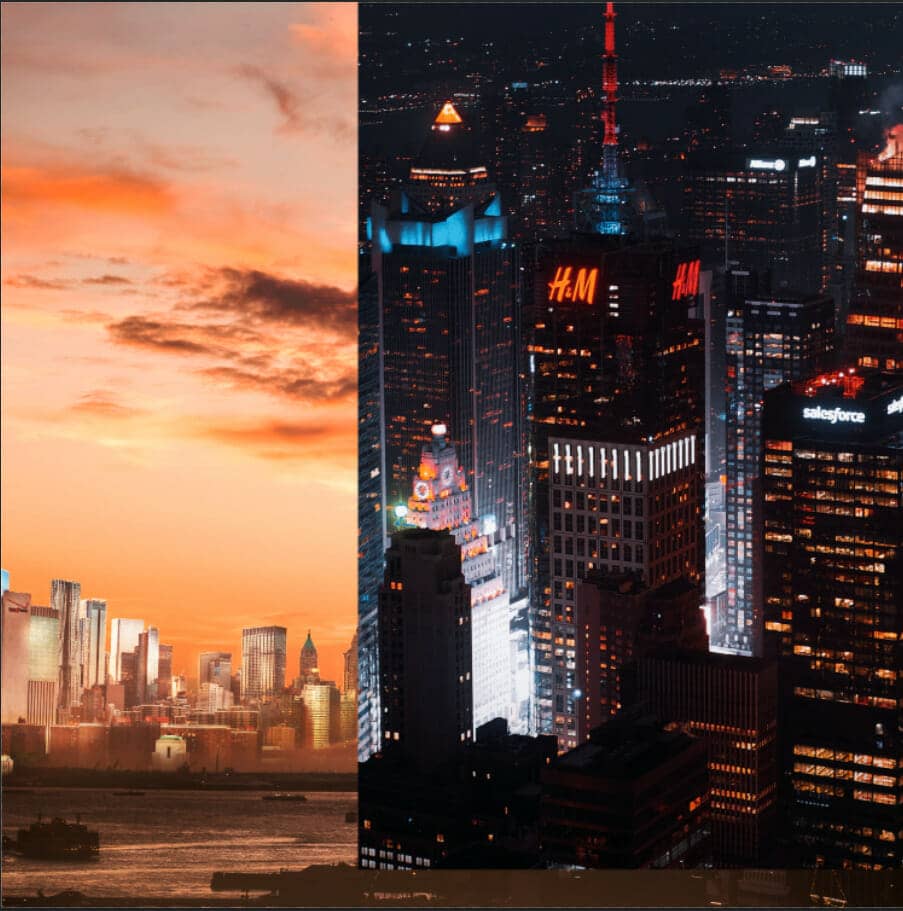
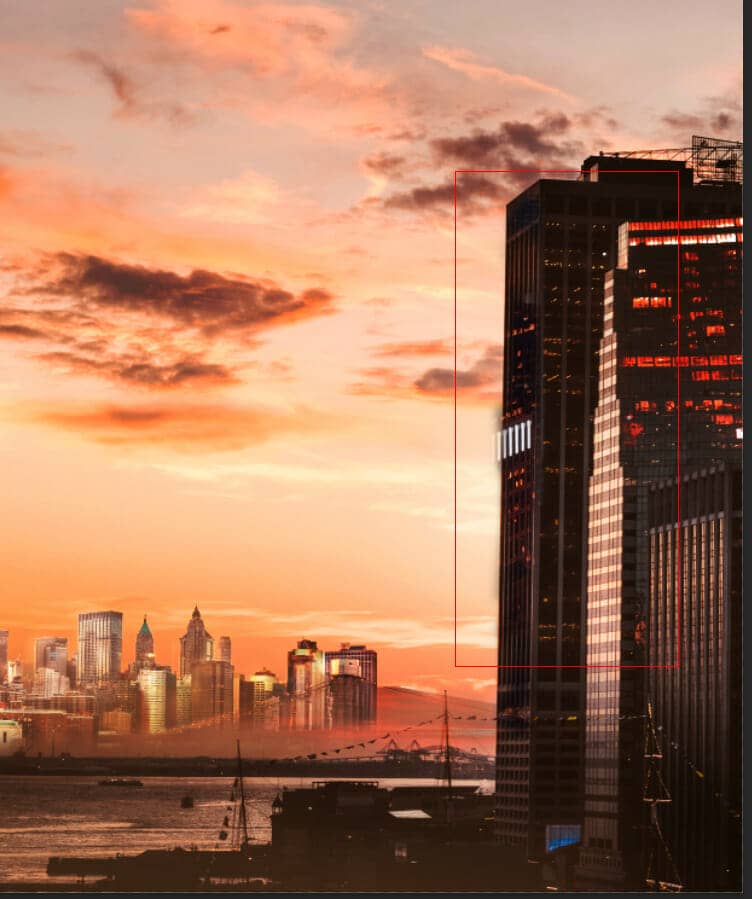
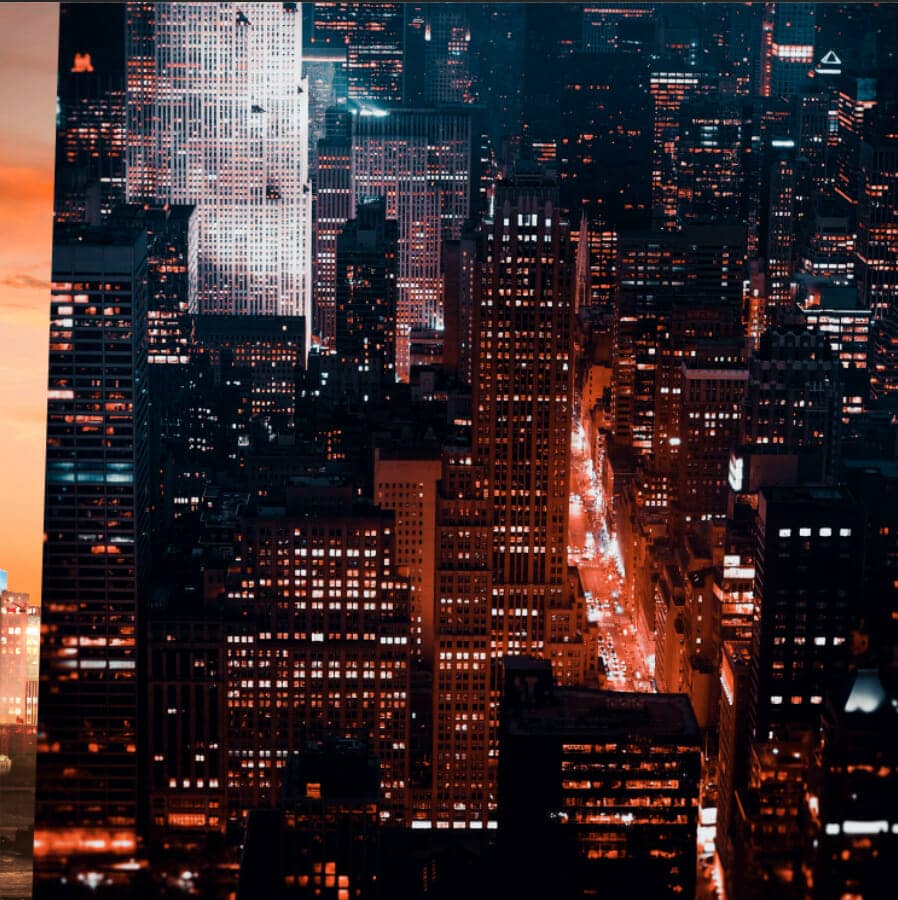
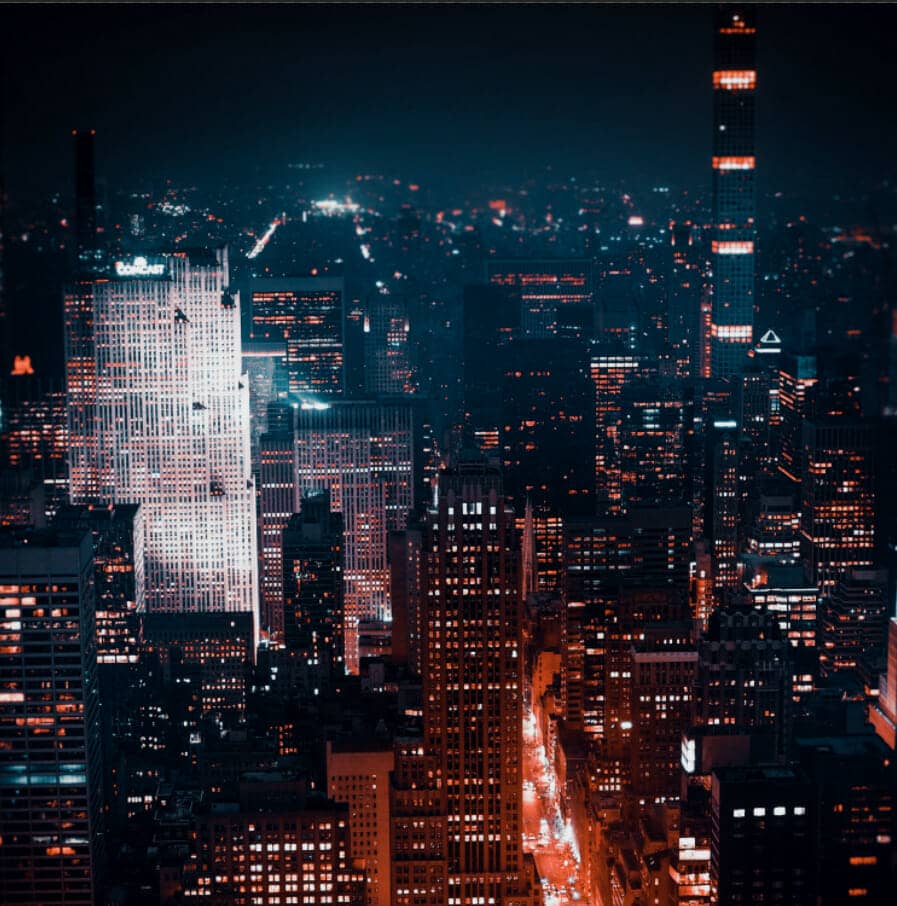
Next, open a Night city 1 Go to File > Place and select Night City 1. Then place it to our work canvas and position the image with the transform tool (Ctrl / Cmd + T). Hold Alt + Shift and rasterize like the image below. In Photoshop CC only hold Alt to rasterize all sides together.
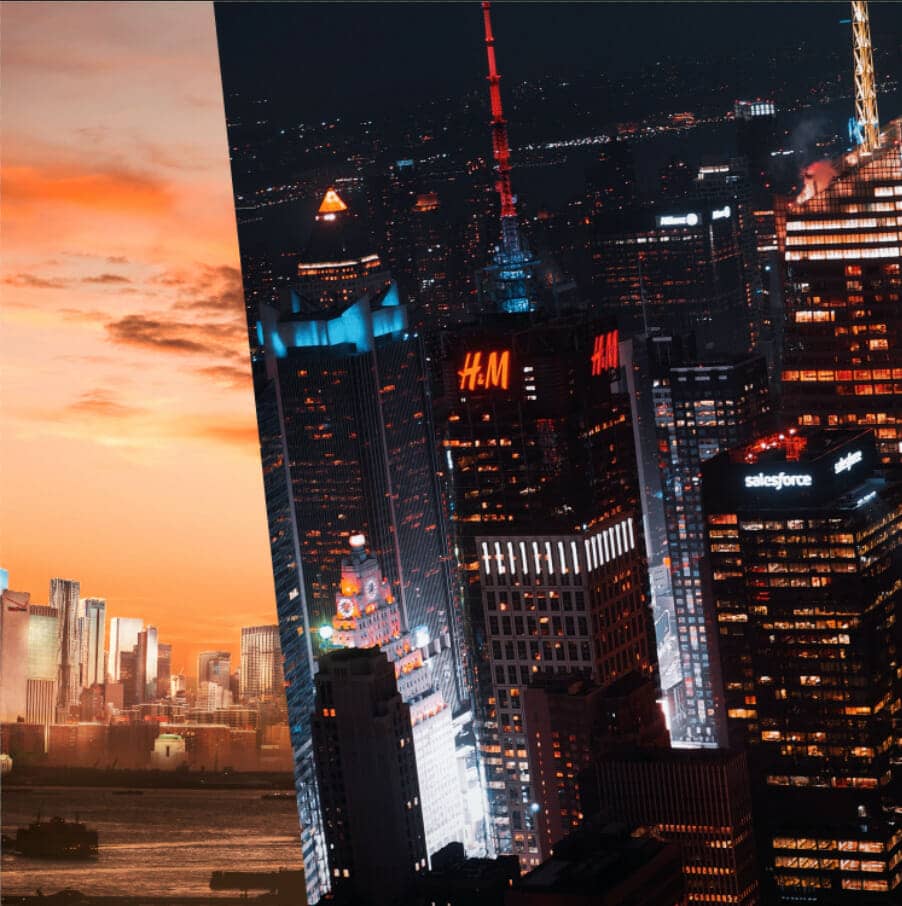
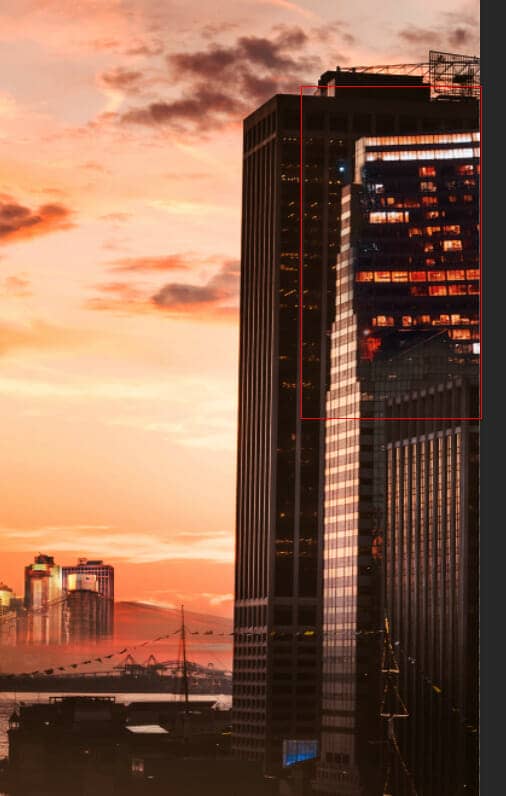
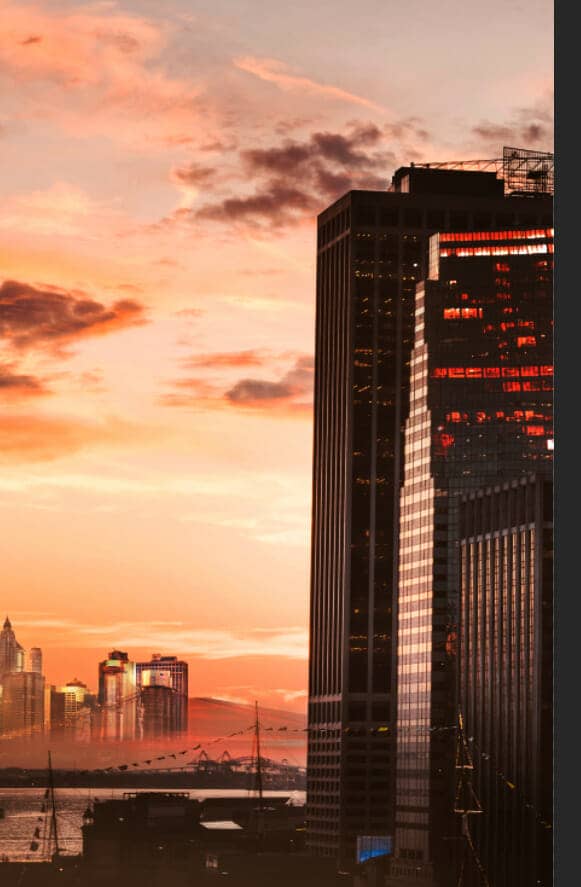
Create a layer mask and use a soft round brush tool with the foreground color black and delete some parts, look at the picture below. Blend mode change to Color Dodge.
Step 14
In this step duplicate night city 1 (Ctrl/Cmd+J) and repeat the same process as in previous step.
Step 15
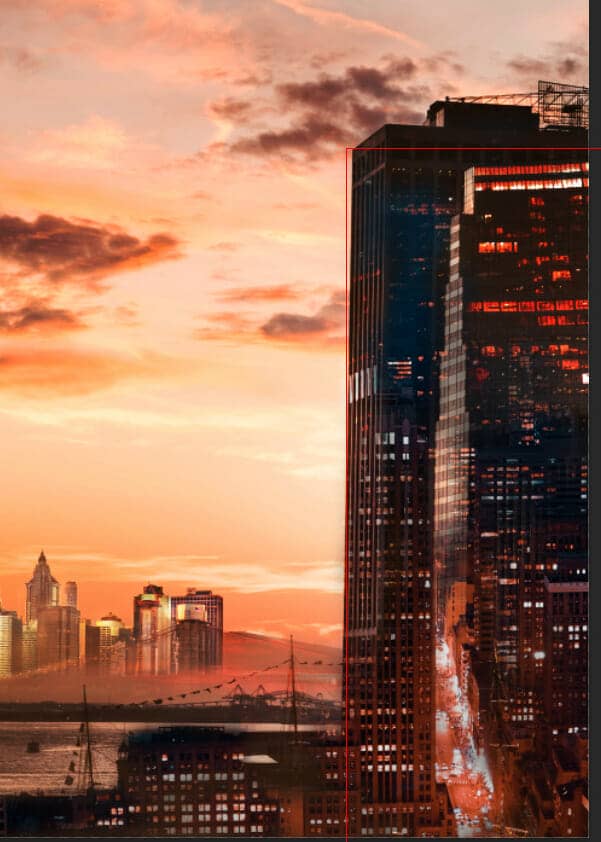
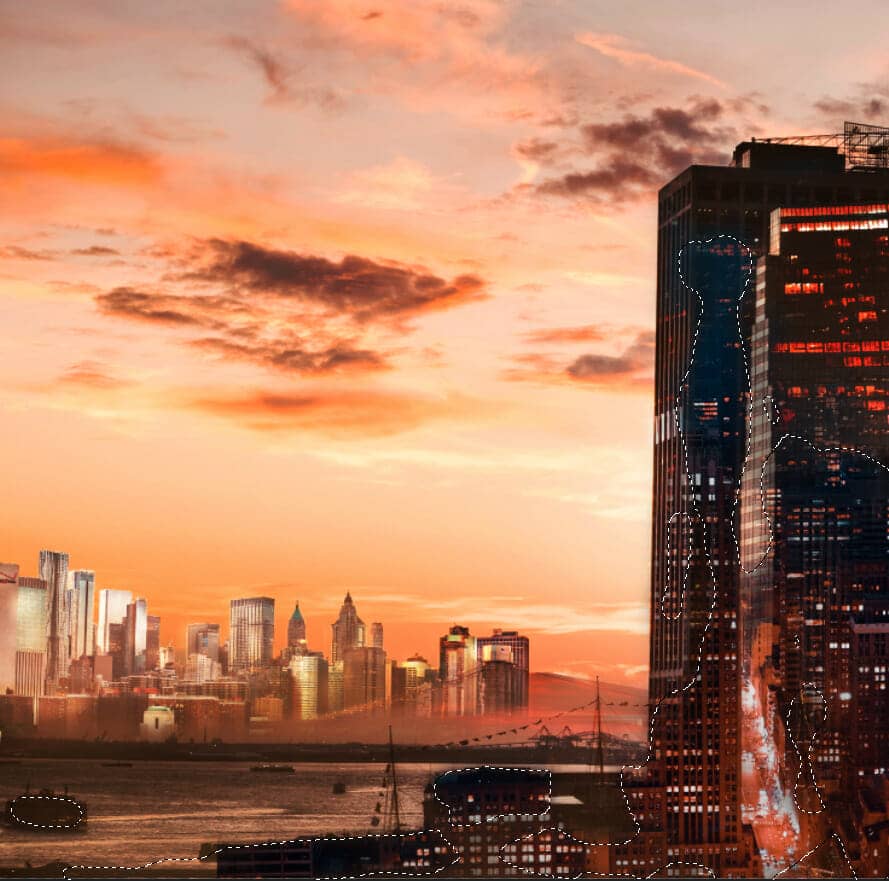
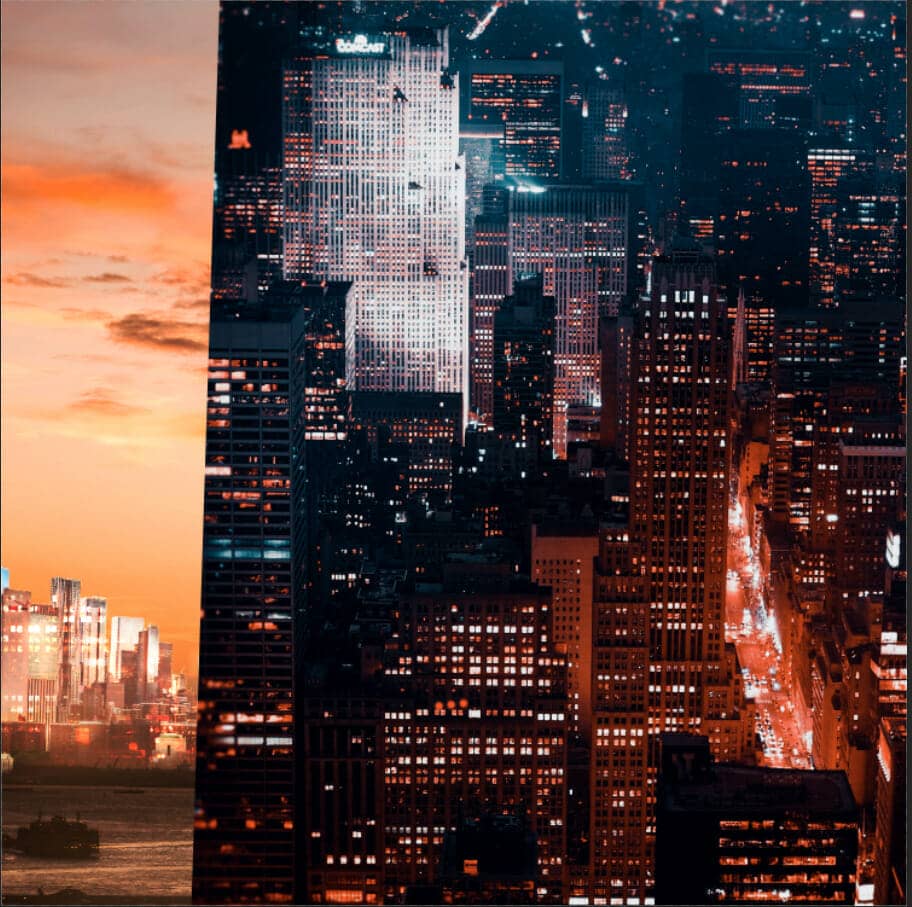
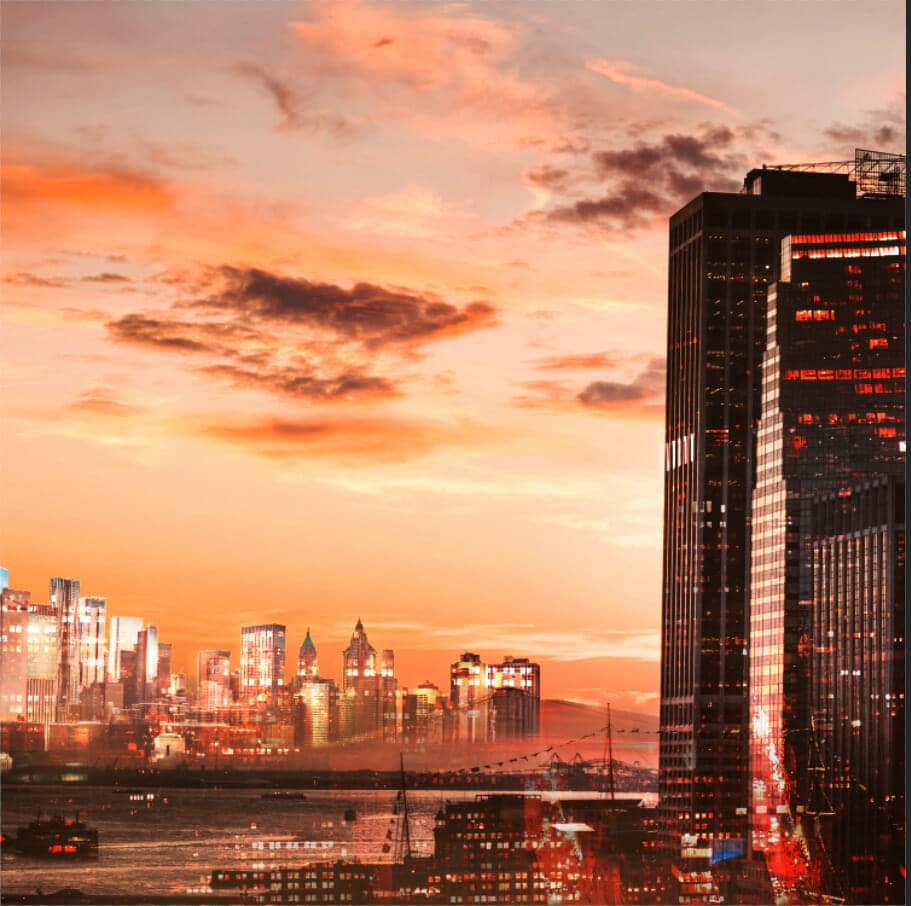
Next, open a Night city 2 Go to File > Place and select Night City 2. Then place it to our work canvas and position the image with the transform tool (Ctrl / Cmd + T). Hold Alt + Shift and rasterize like the image below. In Photoshop CC only hold Alt to rasterize all sides together.
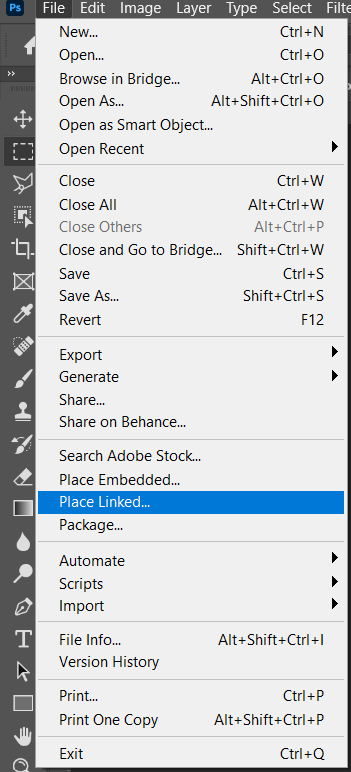
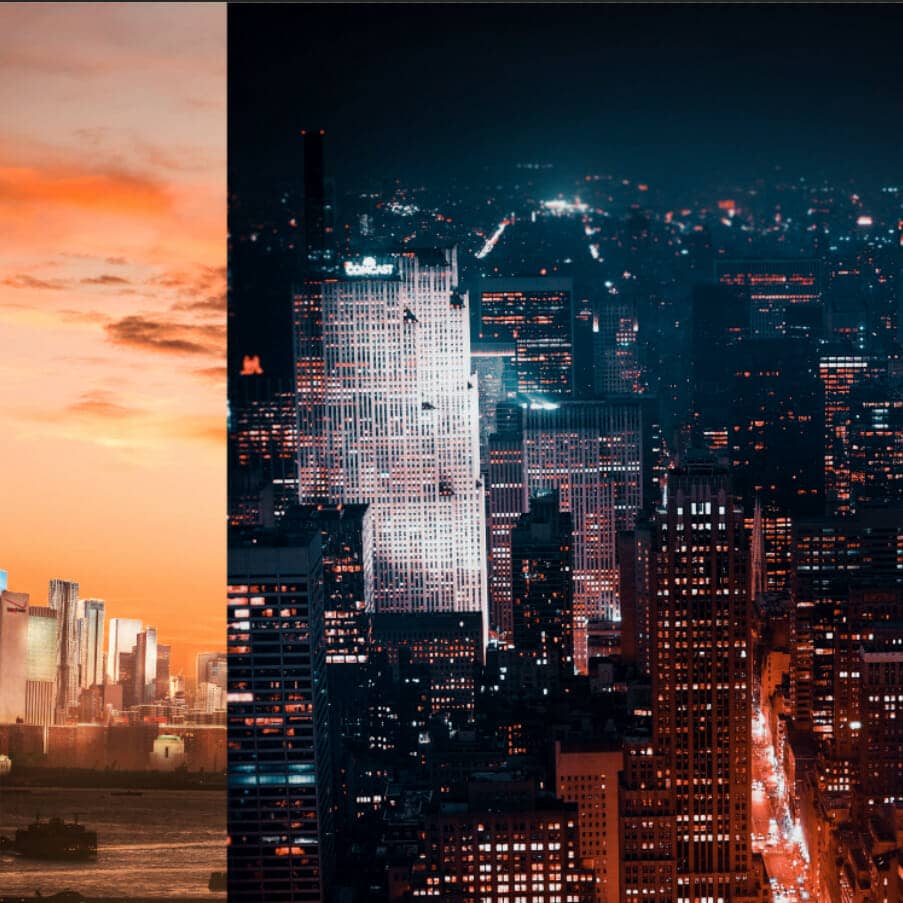
Create a layer mask and use a soft round brush tool with the foreground color black and delete some parts. Blend mode change to Color Dodge.
Step 16
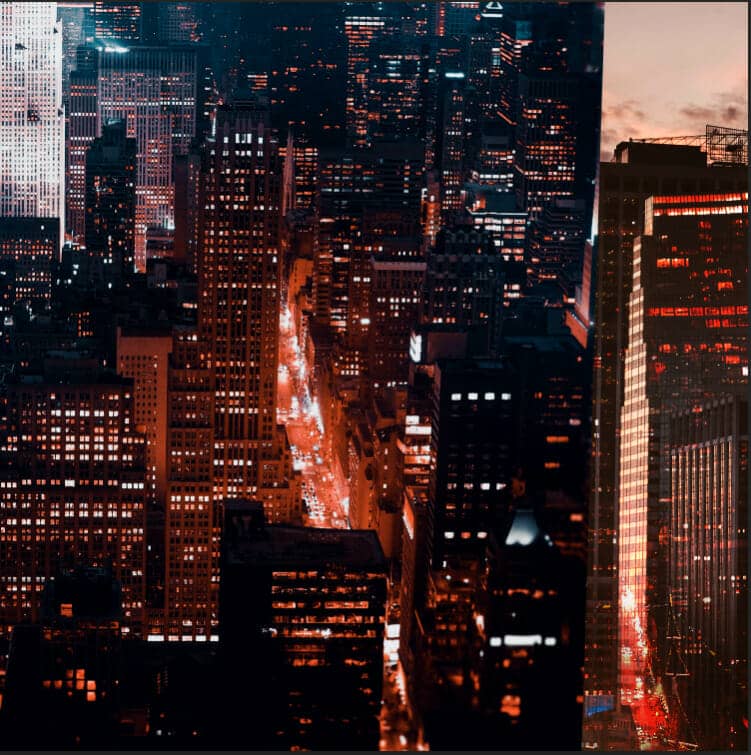
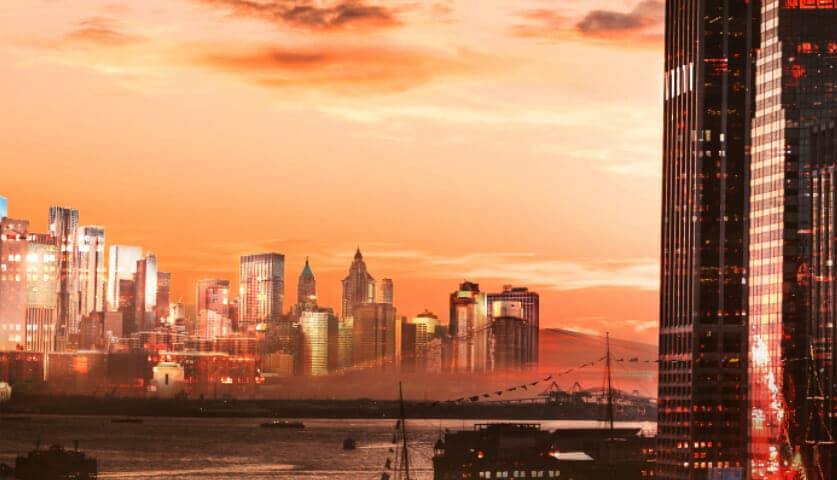
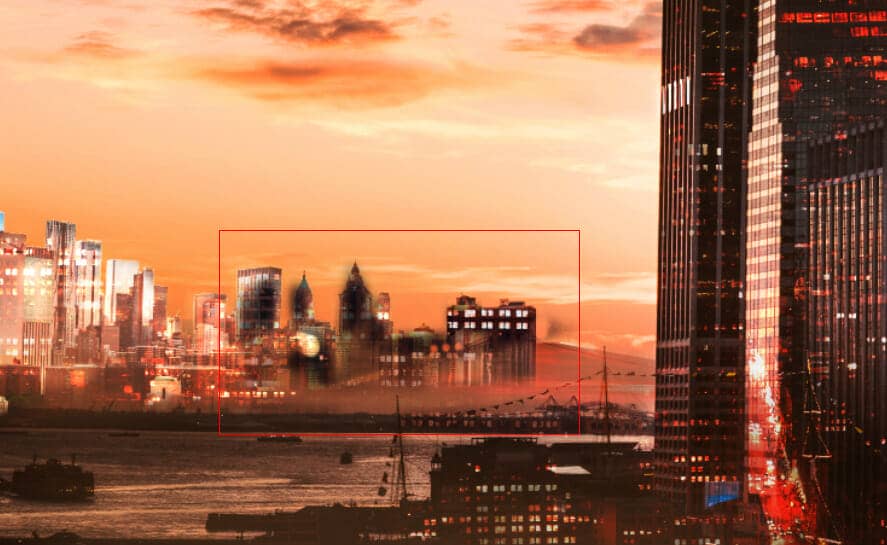
Next, make 3 copies of night city 2 (Ctrl/Cmd + J) and place it on work canvas. Blend mode change to Color Dodge.
Step 17
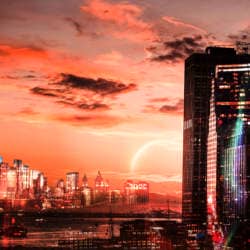
Next, place Planet Go to File > Place and select Planet. Then place it to our work canvas and position the image with the transform tool (Ctrl / Cmd + T). Hold Alt + Shift and rasterize like the image below. In Photoshop CC only hold Alt to rasterize all sides together.

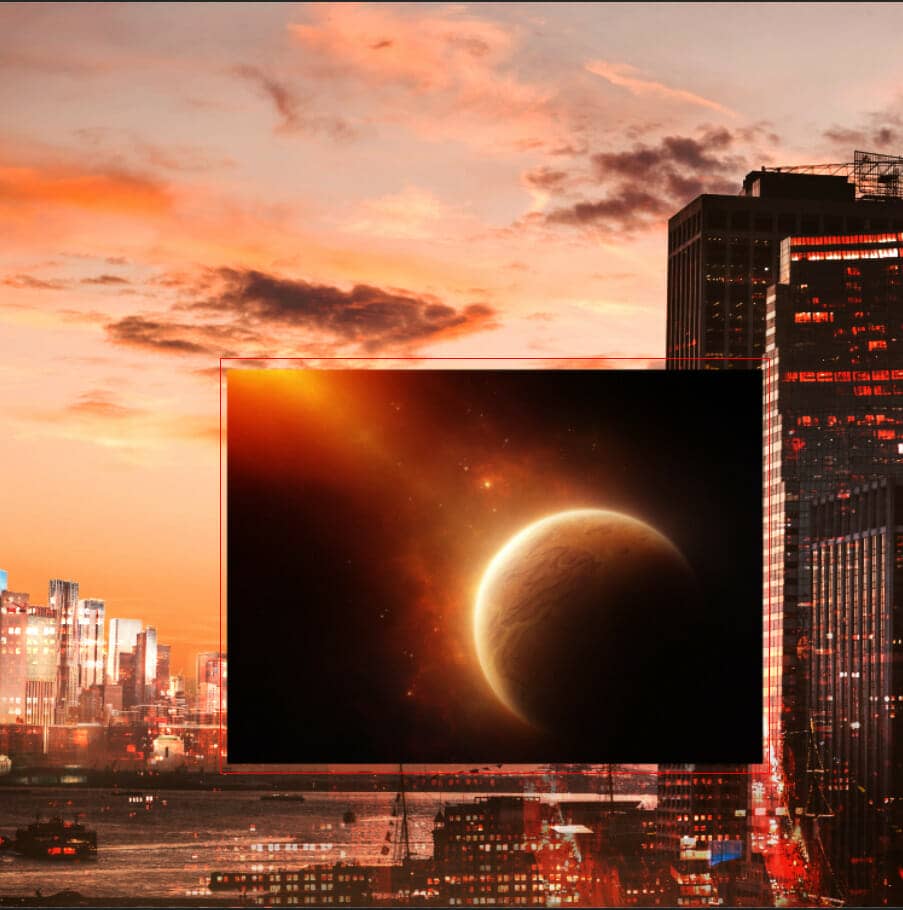
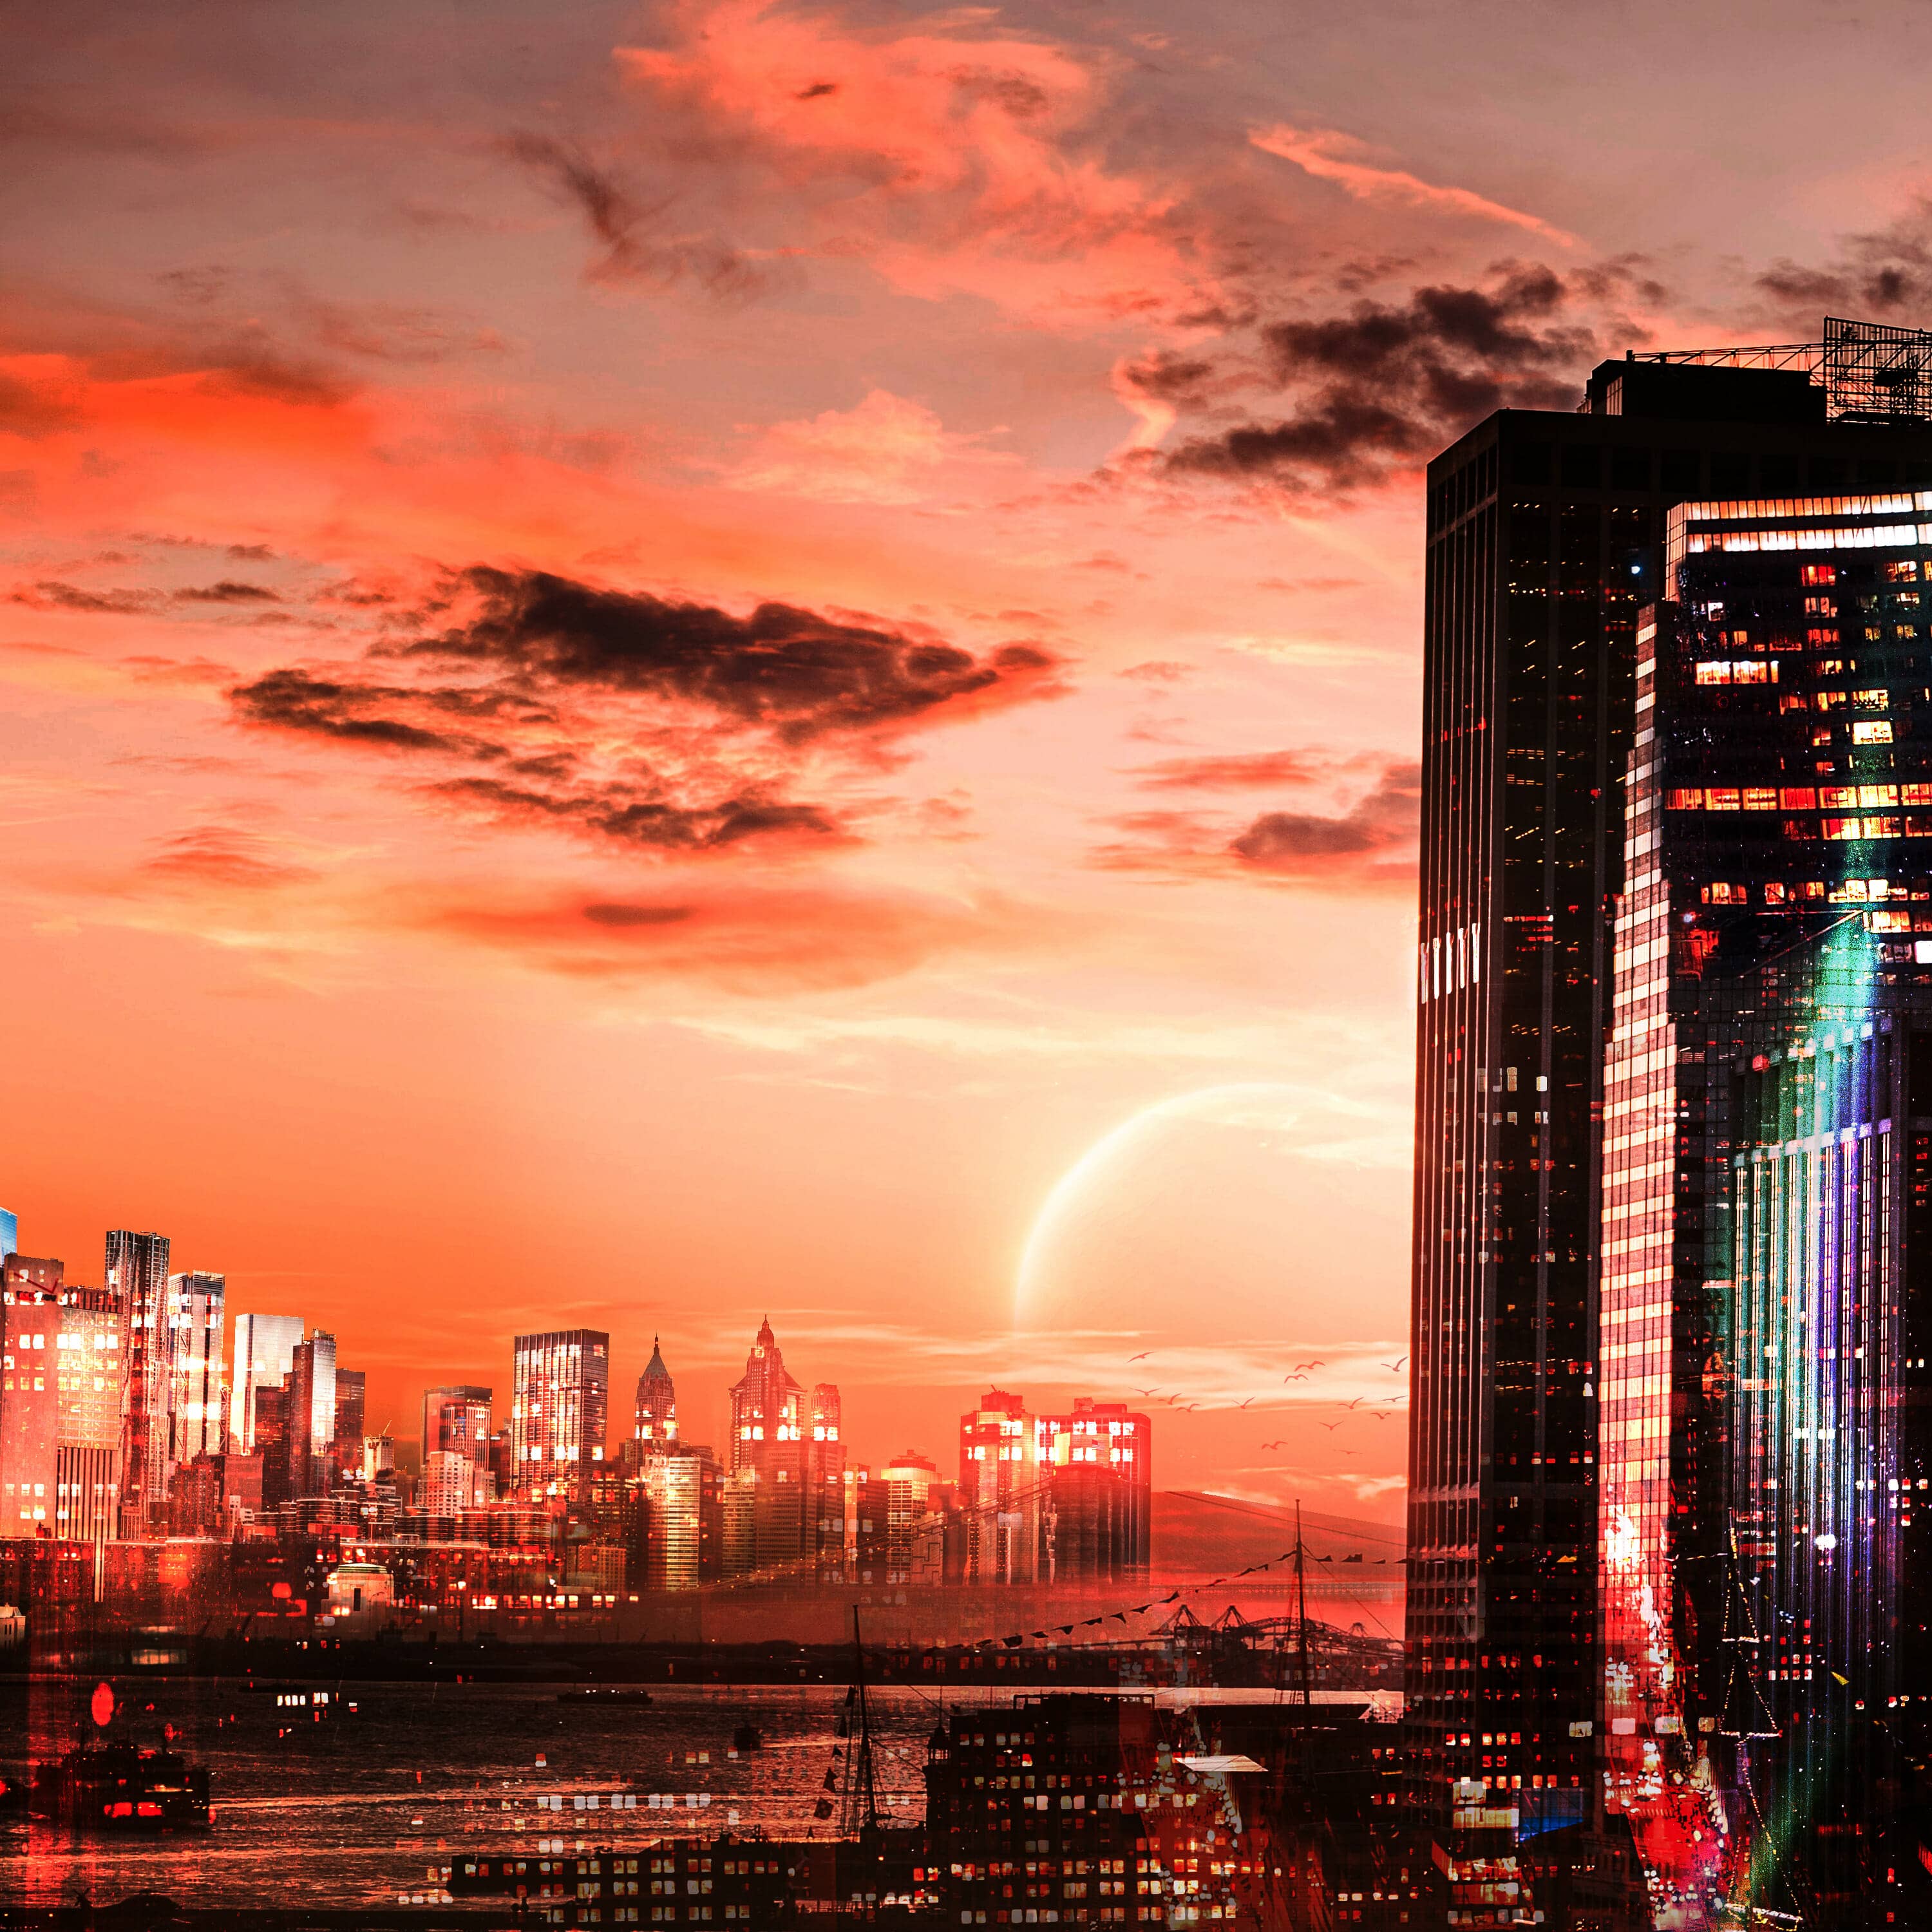
Create a layer mask and use a soft round brush tool with the foreground color black and paint over the planet. Blend mode change to Screen.

2 comments on “Create a Futuristic City Photoshop Tutorial”
aint futuristic tho just some normal city
got bit of rgb tho