Make your artwork look like they're from an alternate universe. These Cyberpunk presets work with Photoshop (via the Camera Raw filter) and Lightroom. Download all 788 presets for 90% off.
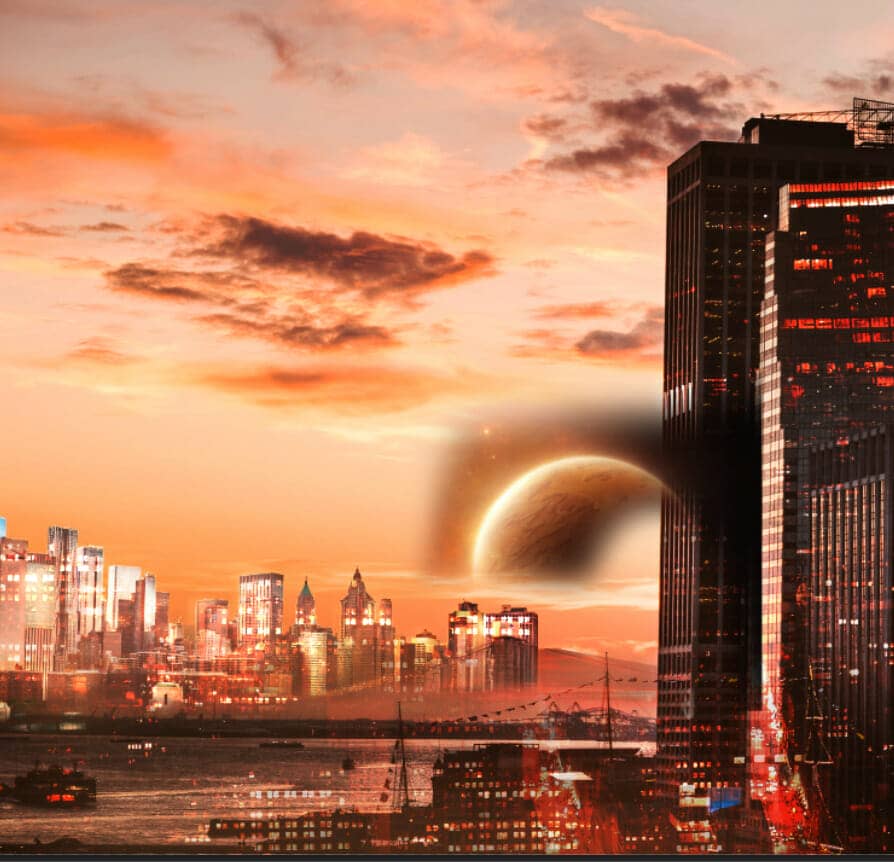
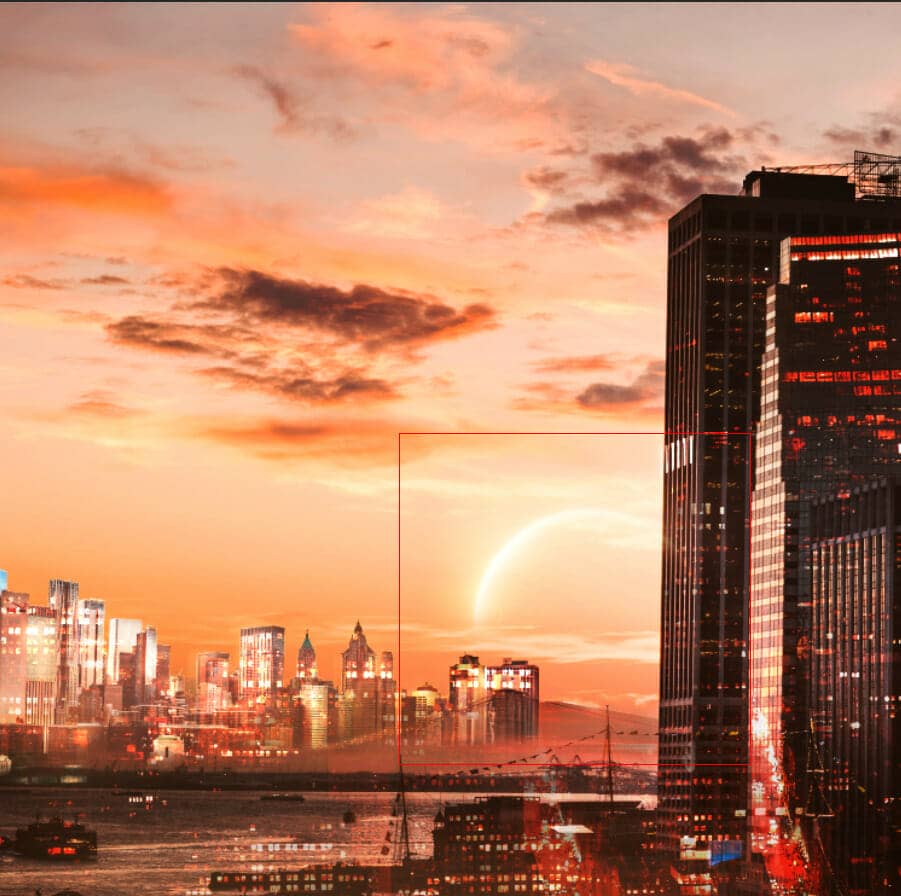
Step 18
Add Adjustment Layer "Exposure"
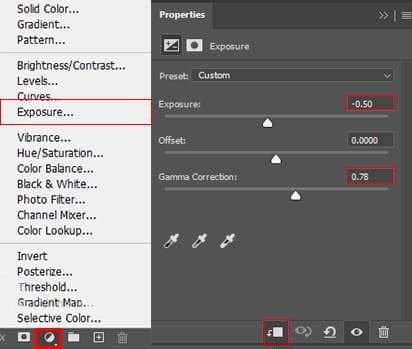
Step 19
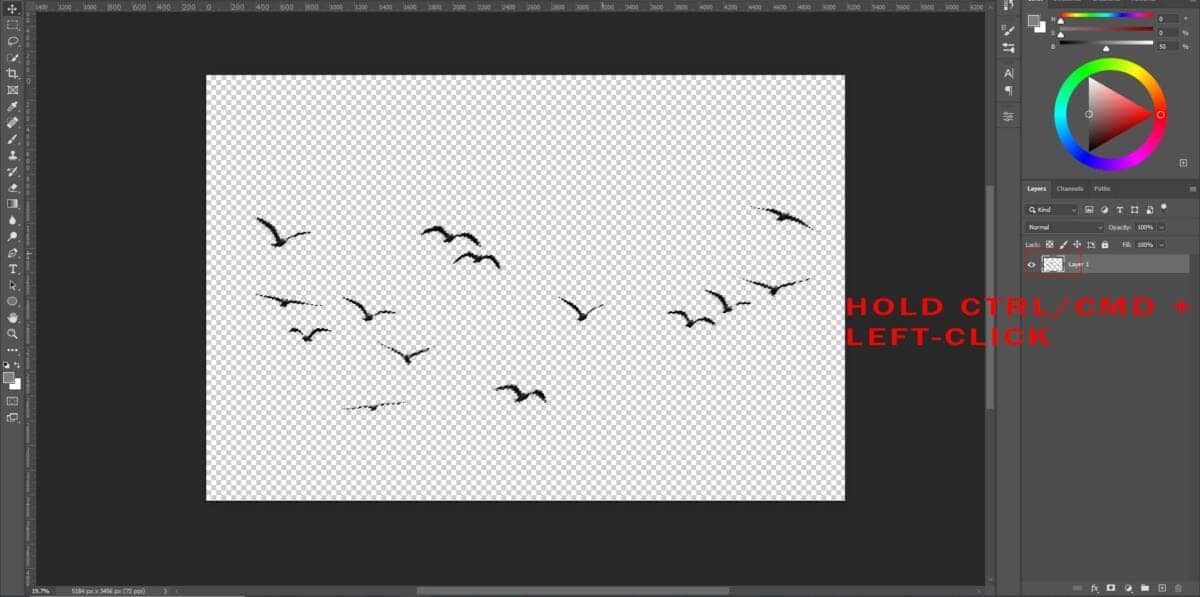
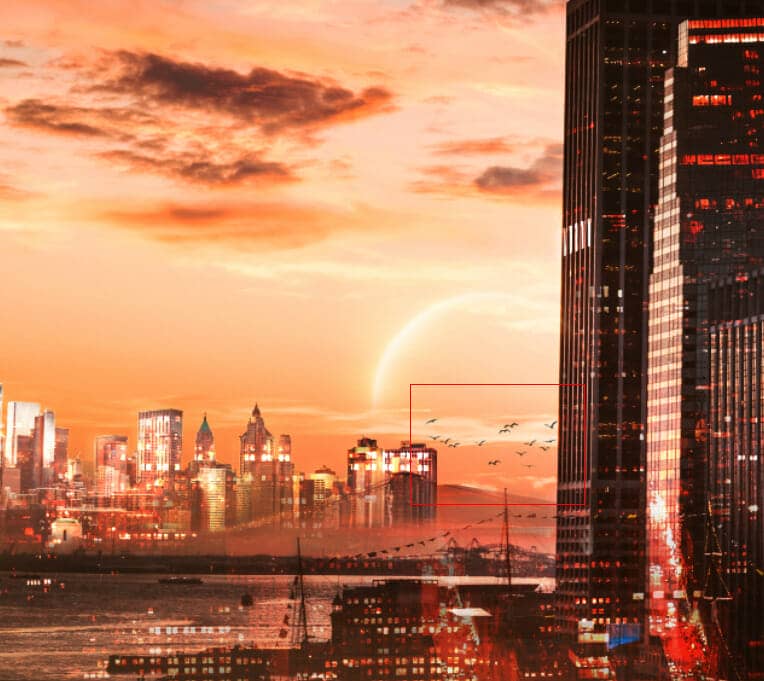
Open Birds and hold Ctrl/Cmd and click on the layer after the selection area has been created, simply copy (Ctrl / Cmd + C) and Paste (Ctrl / Cmd + V) it to our work canvas. Then position the image with the transform tool (Ctrl / Cmd + T). Hold Alt + Shift and resterize like image below. In Photoshop CC only hold Alt to resterize al sides together. Opacity set to 40%.
Step 20
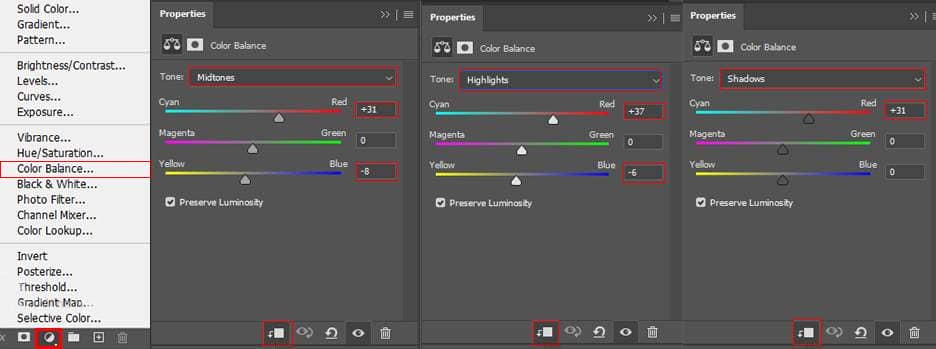
Add Adjustment Layer "Color Balance"
Step 21
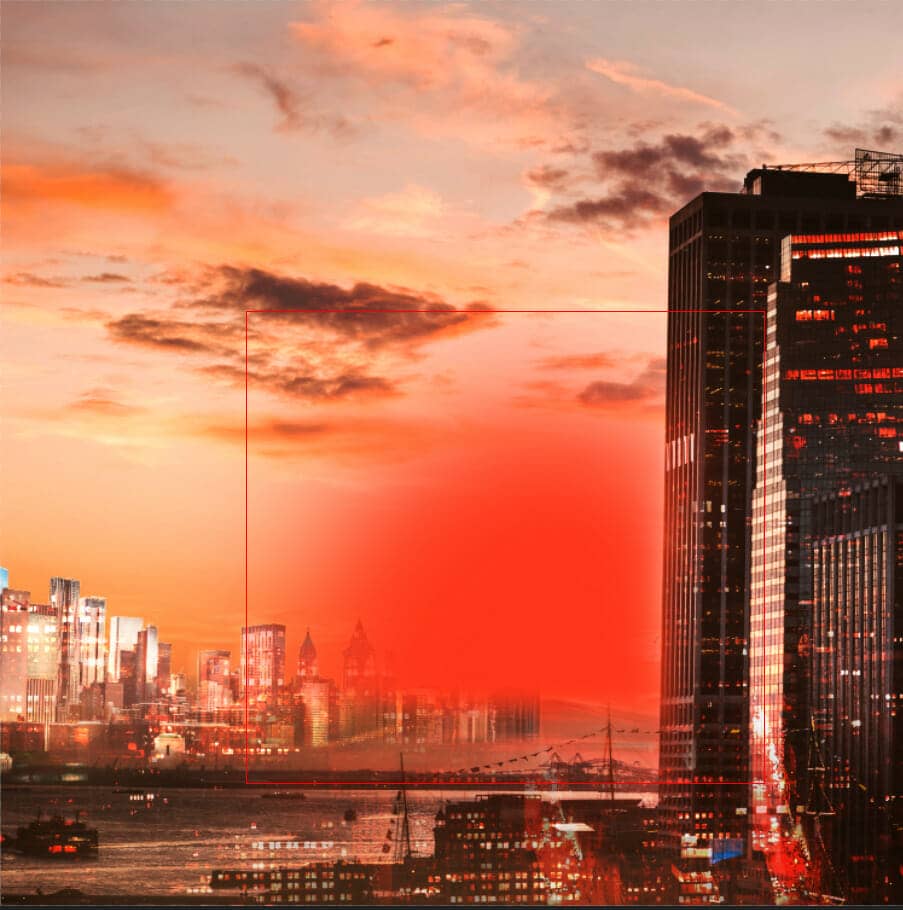
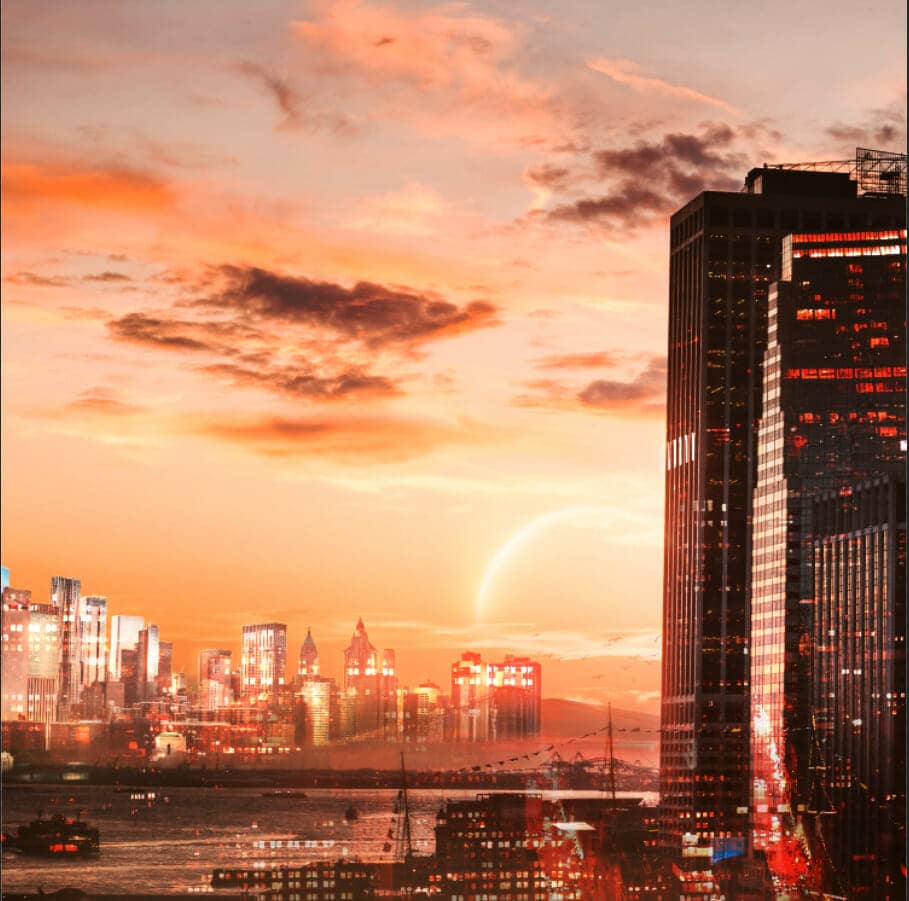
Create a new layer, then use Soft Round brush tool, and select foreground color red. Paint on planet and change blend mode to screen.
Step 22
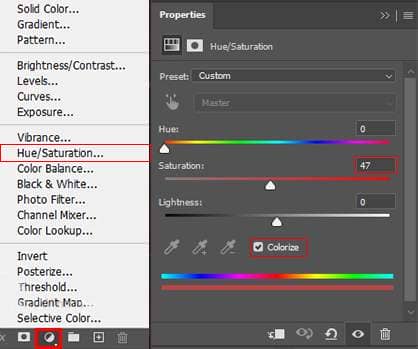
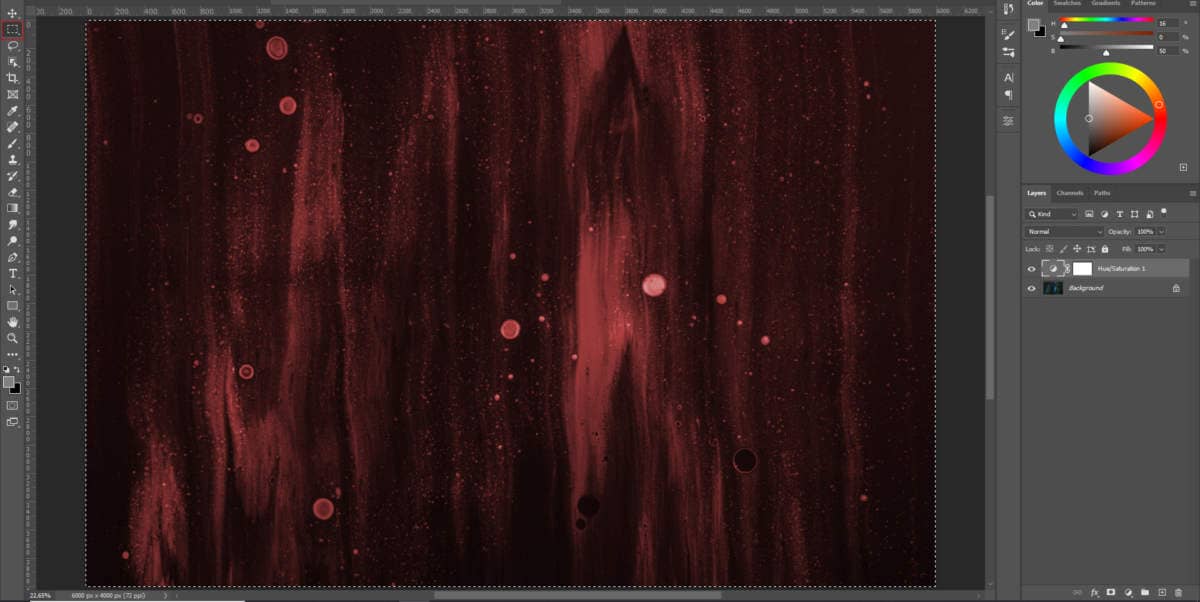
Next, we will open Texture 1. Go to File > Open > Texture 1. When texture is open create a new adjustment layer Hue/Saturation and check colorize box with saturation 47%. Then use Rectangular Marquee Tool(M).
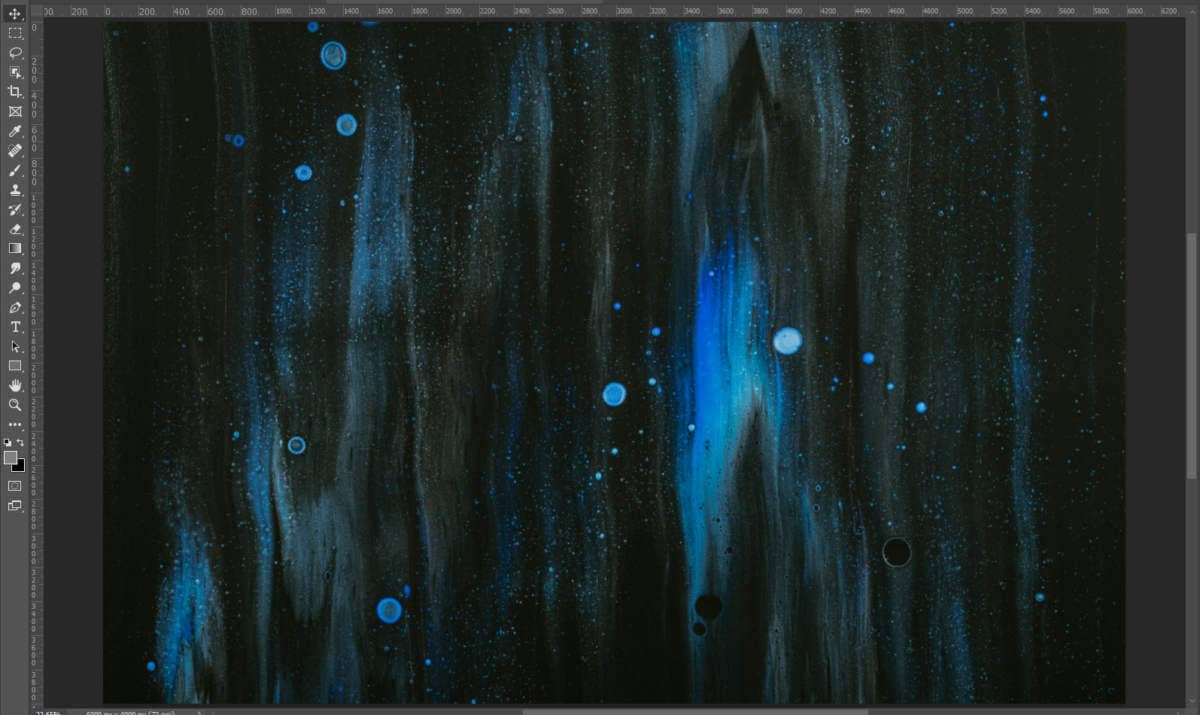
After the selection area has been created, simply copy (Ctrl / Cmd + C) and Paste (Ctrl / Cmd + V) it to our work canvas. Then position the image with the transform tool (Ctrl / Cmd + T). Hold Alt + Shift and resterize like image below. In Photoshop CC only hold Alt to resterize al sides together.
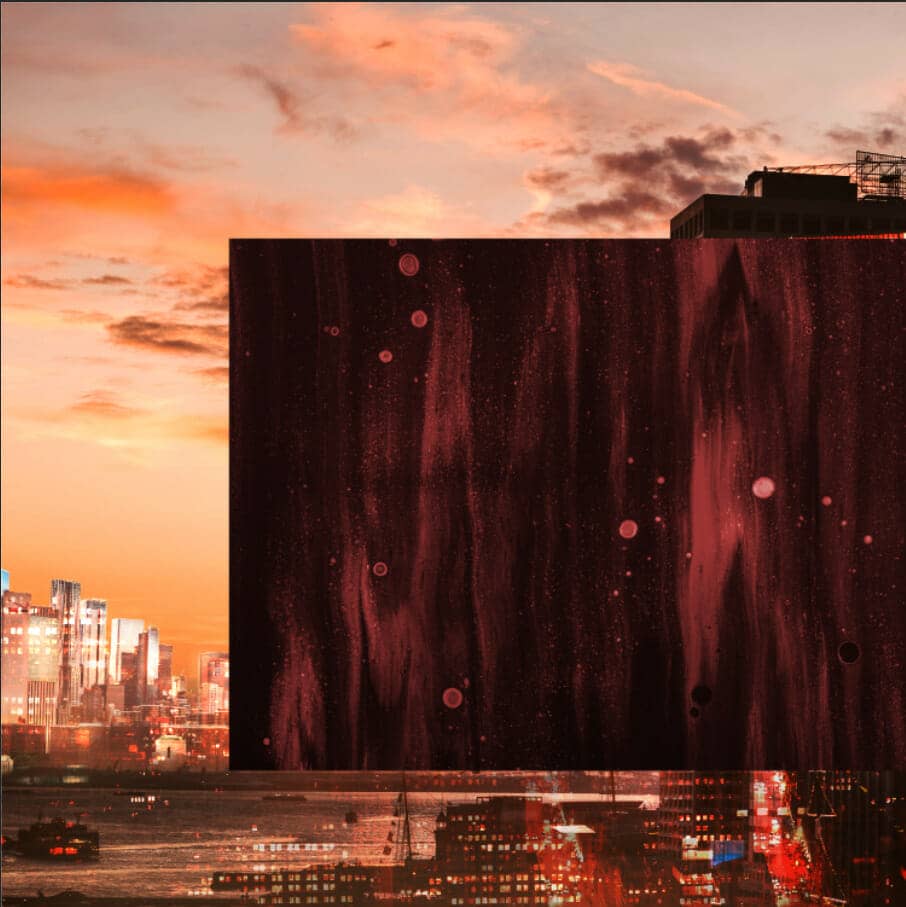
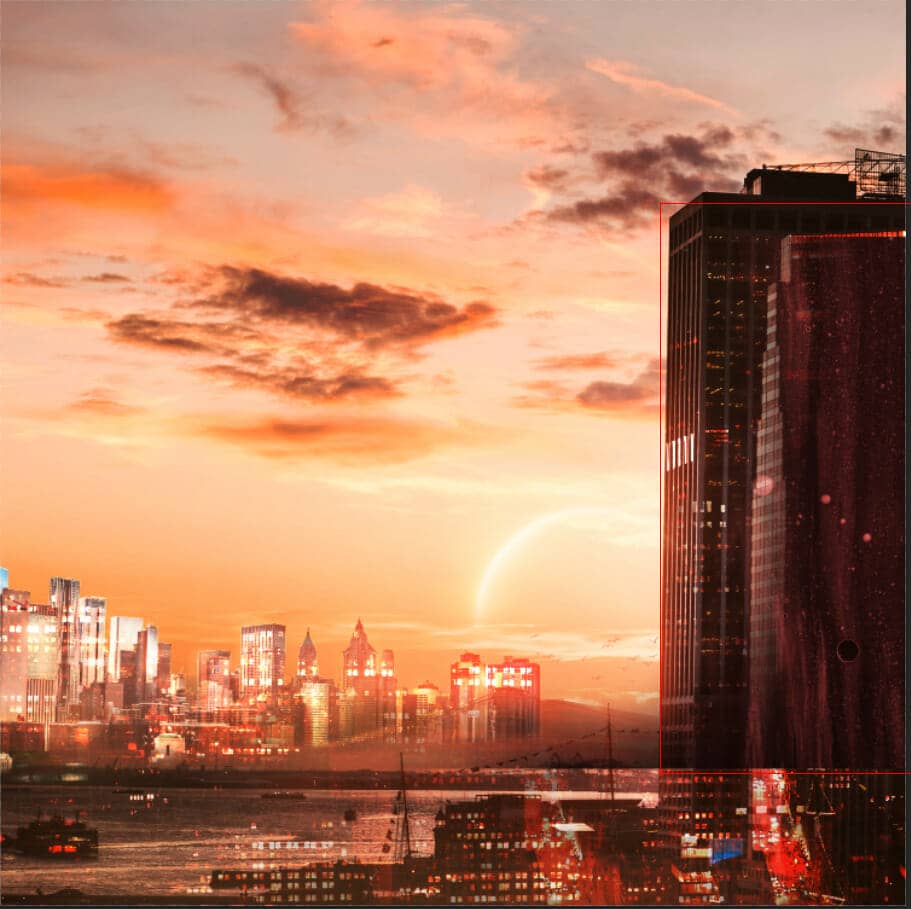
Blend mode change to Color Dodge. Duplicate texture with command Ctrl/Cmd + J
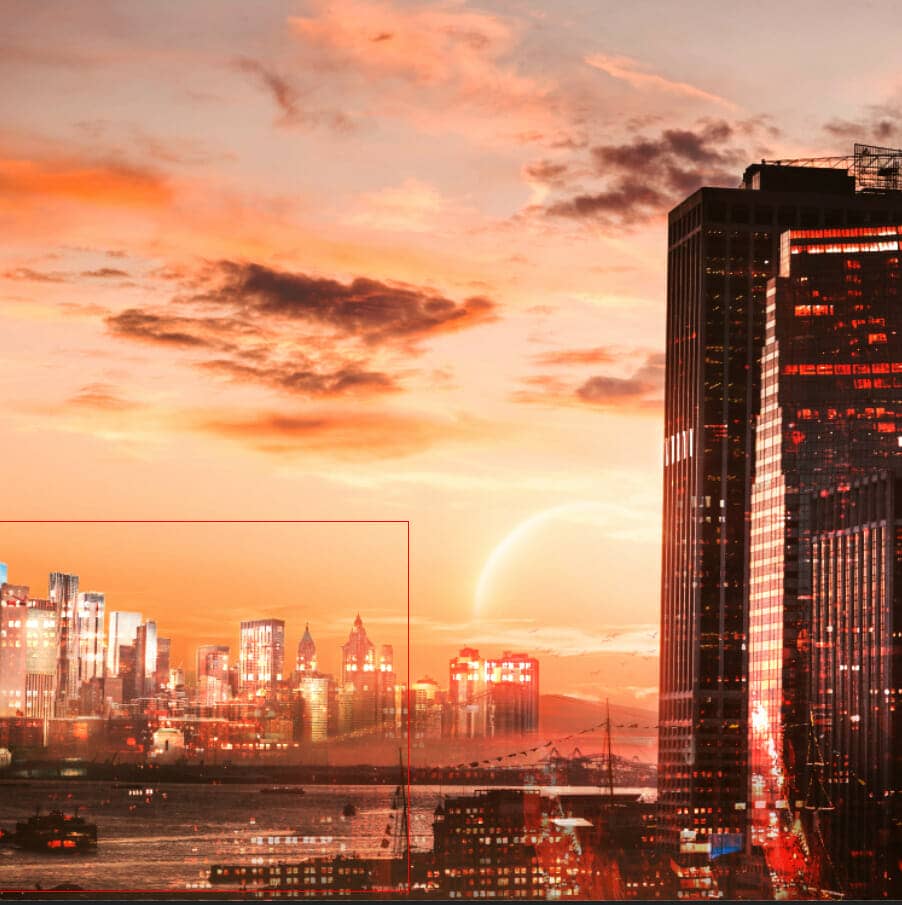
Step 23
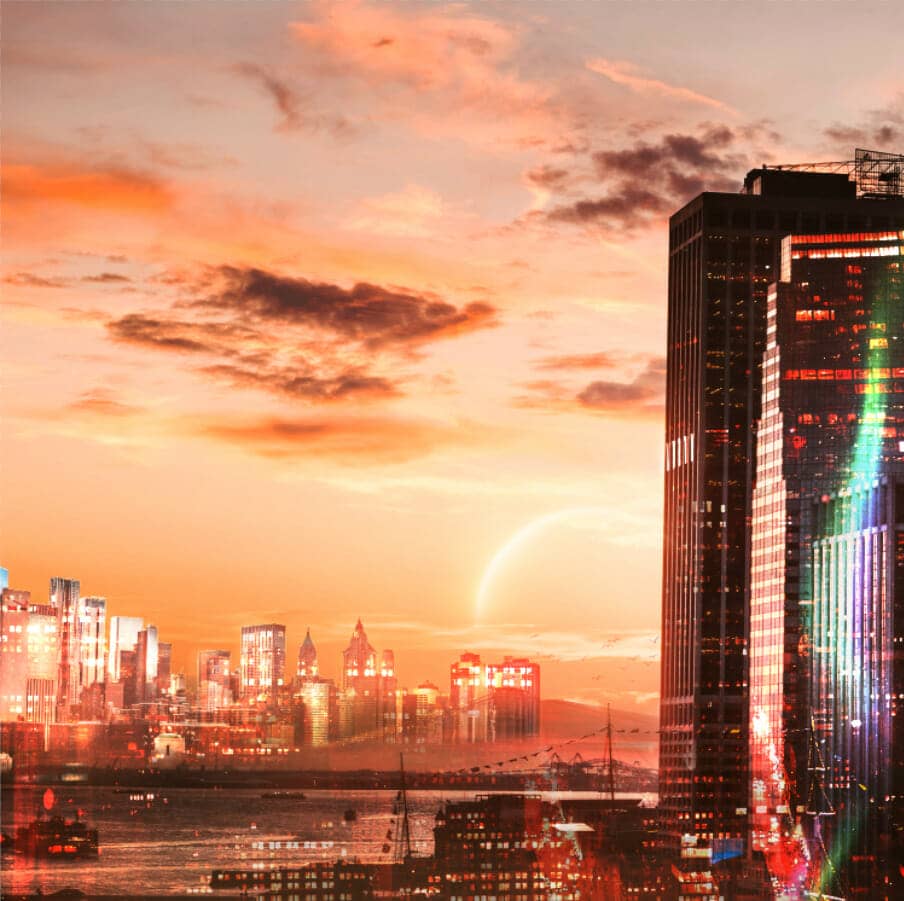
Open second Texture 2 and place it on our work canvas. Then position the image with the transform tool (Ctrl / Cmd + T). Hold Alt + Shift and resterize like image below. In Photoshop CC only hold Alt to resterize al sides together.
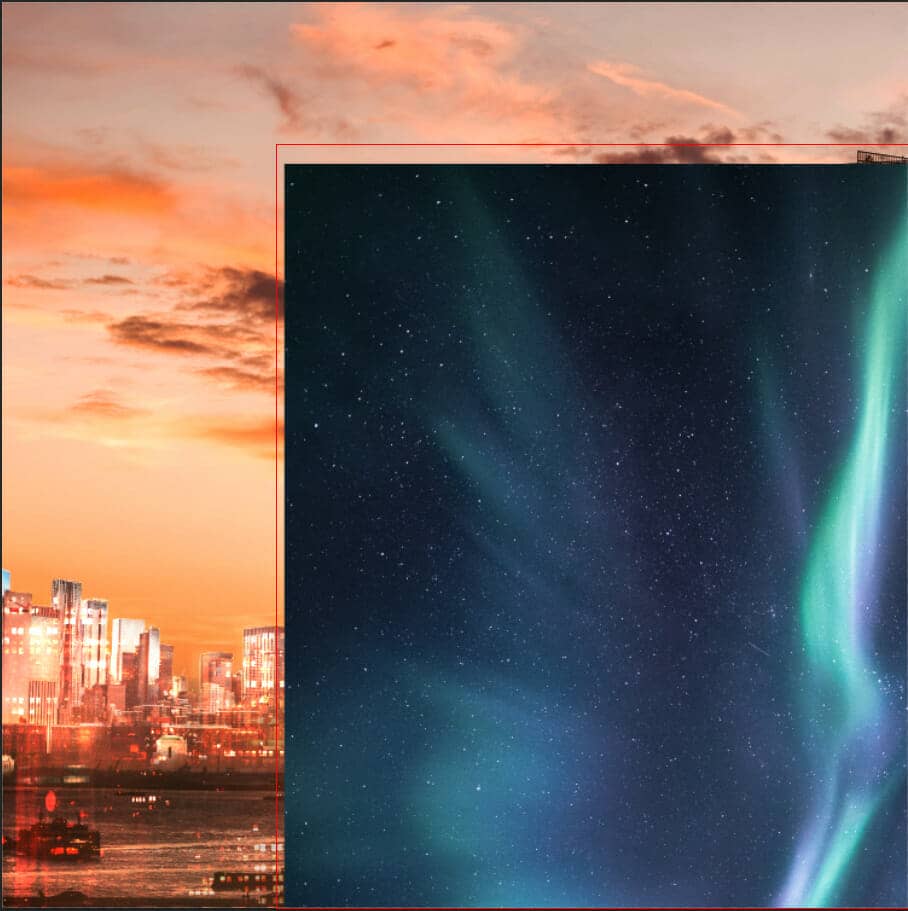
Create a layer mask and delete some parts with the soft round brush tool, foreground color black.
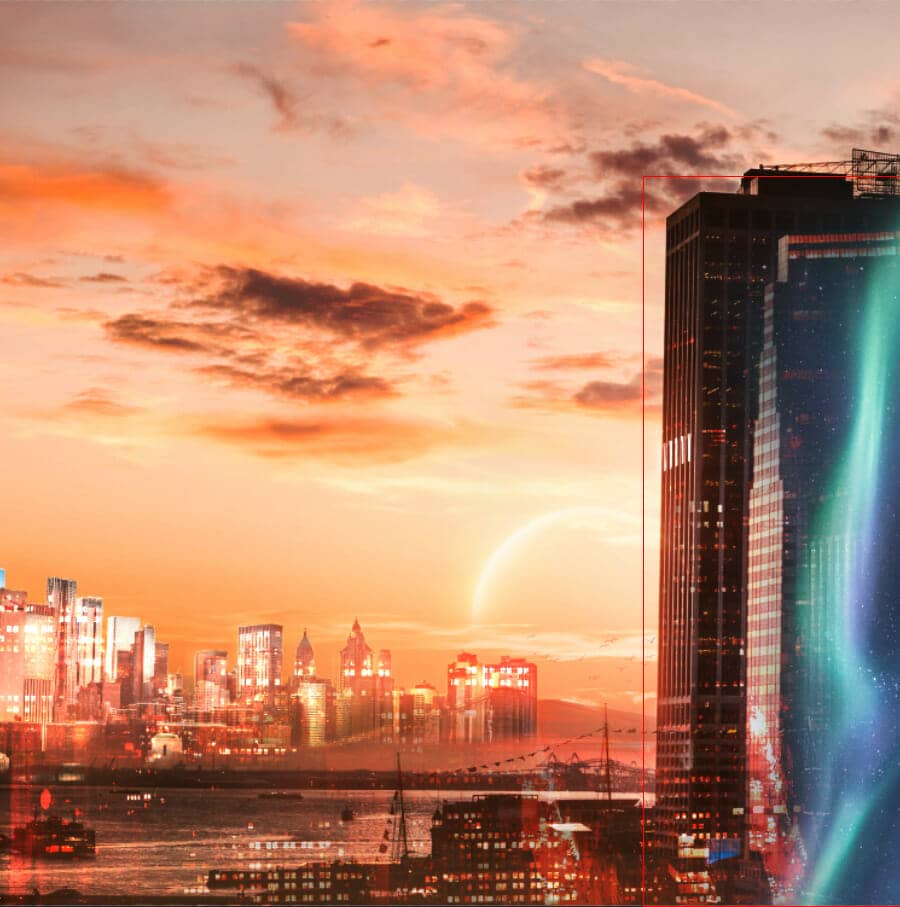
Blend mode change to Color Dodge.
Step 24
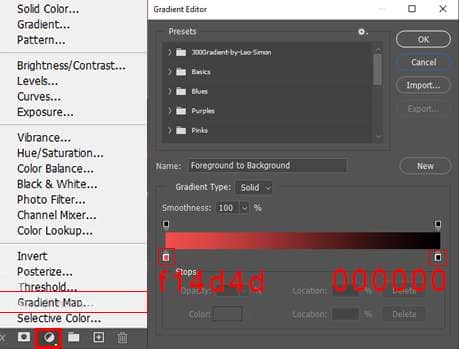
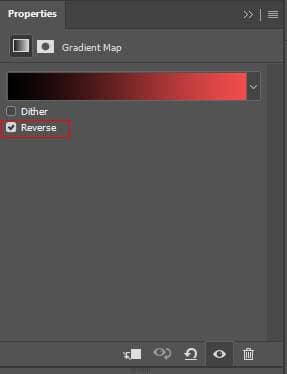
Add Adjustment Layer "Gradient Map" Blend mode change to Soft Light with Opacity 30%.
Step 25
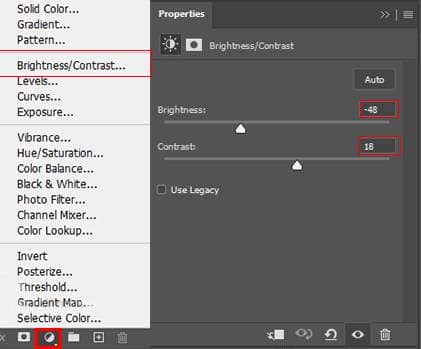
Add Adjustment Laye "Brightness/Contrast"
Step 26
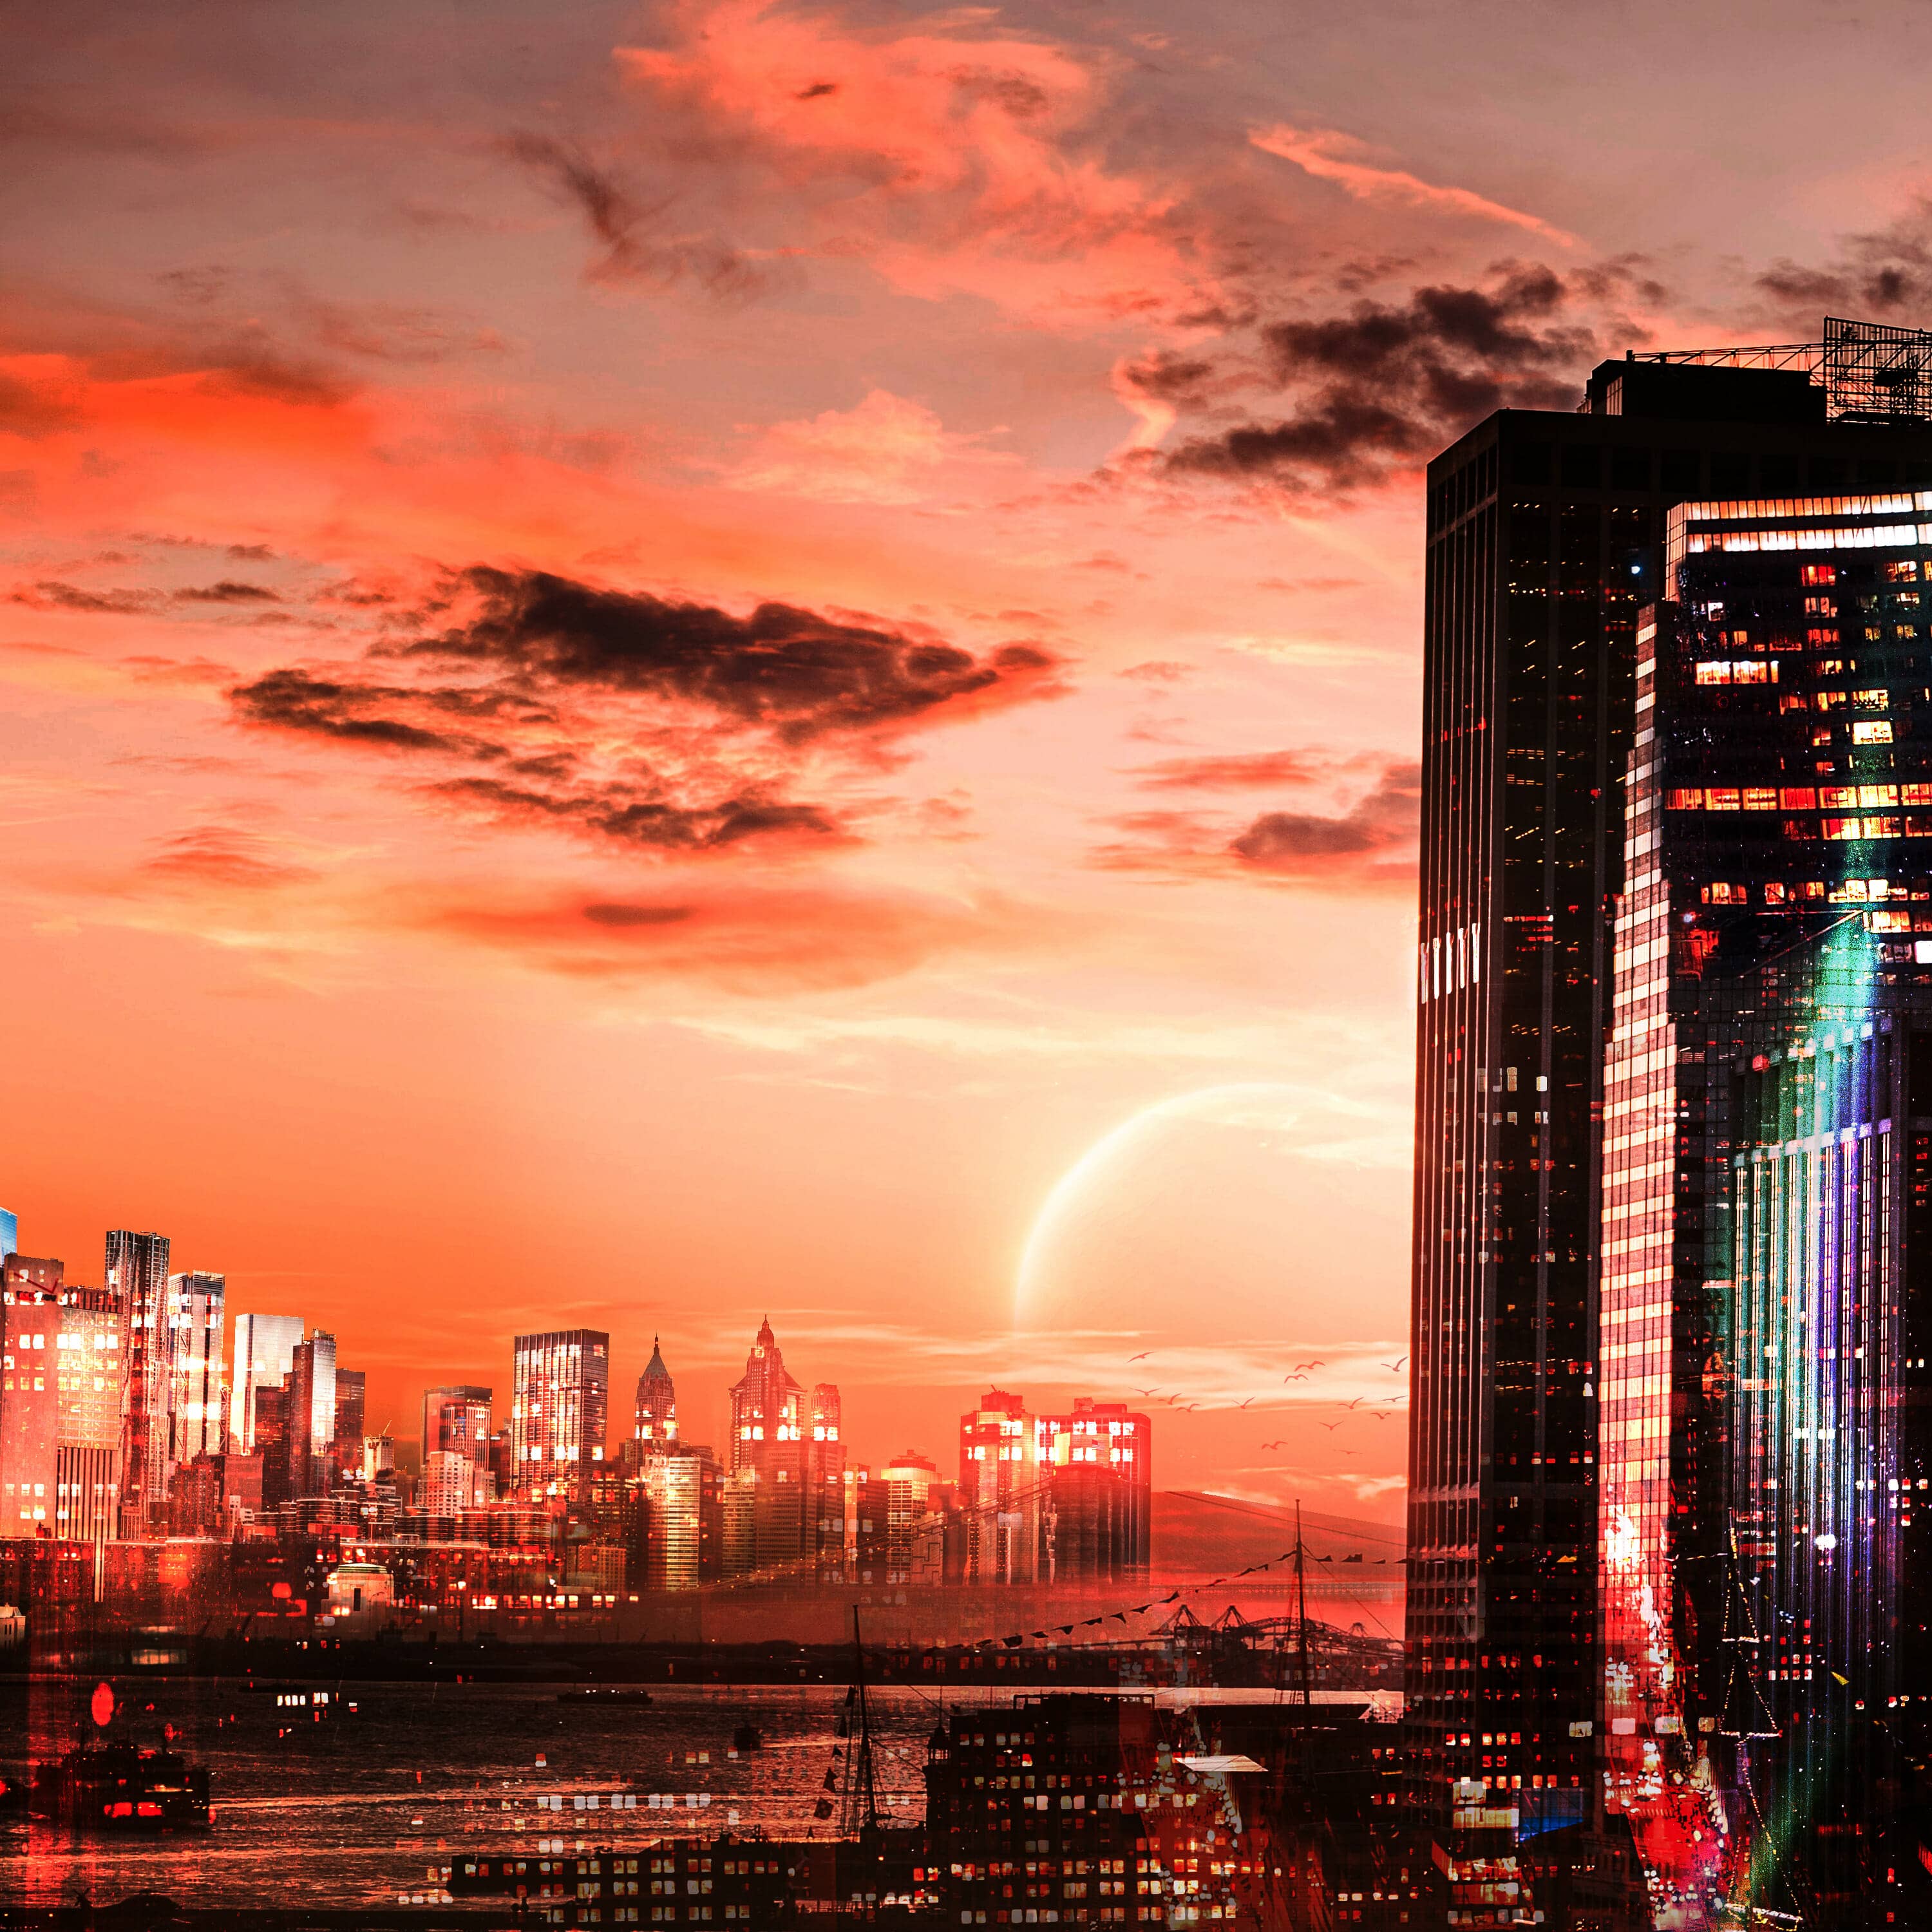
When we finished all this, now merge all layers into one. Select the last layer and hold CTRL/CMD + SHIFT + ALT + E. Now we have a final layer, right-click on mouse and select Convert to Smart Object. Then go to Filter > Camera RAW Filter. At its most basic, the Photoshop Camera Raw filter allows you to use the functions of the ACR interface at any time within Photoshop.

2 comments on “Create a Futuristic City Photoshop Tutorial”
aint futuristic tho just some normal city
got bit of rgb tho