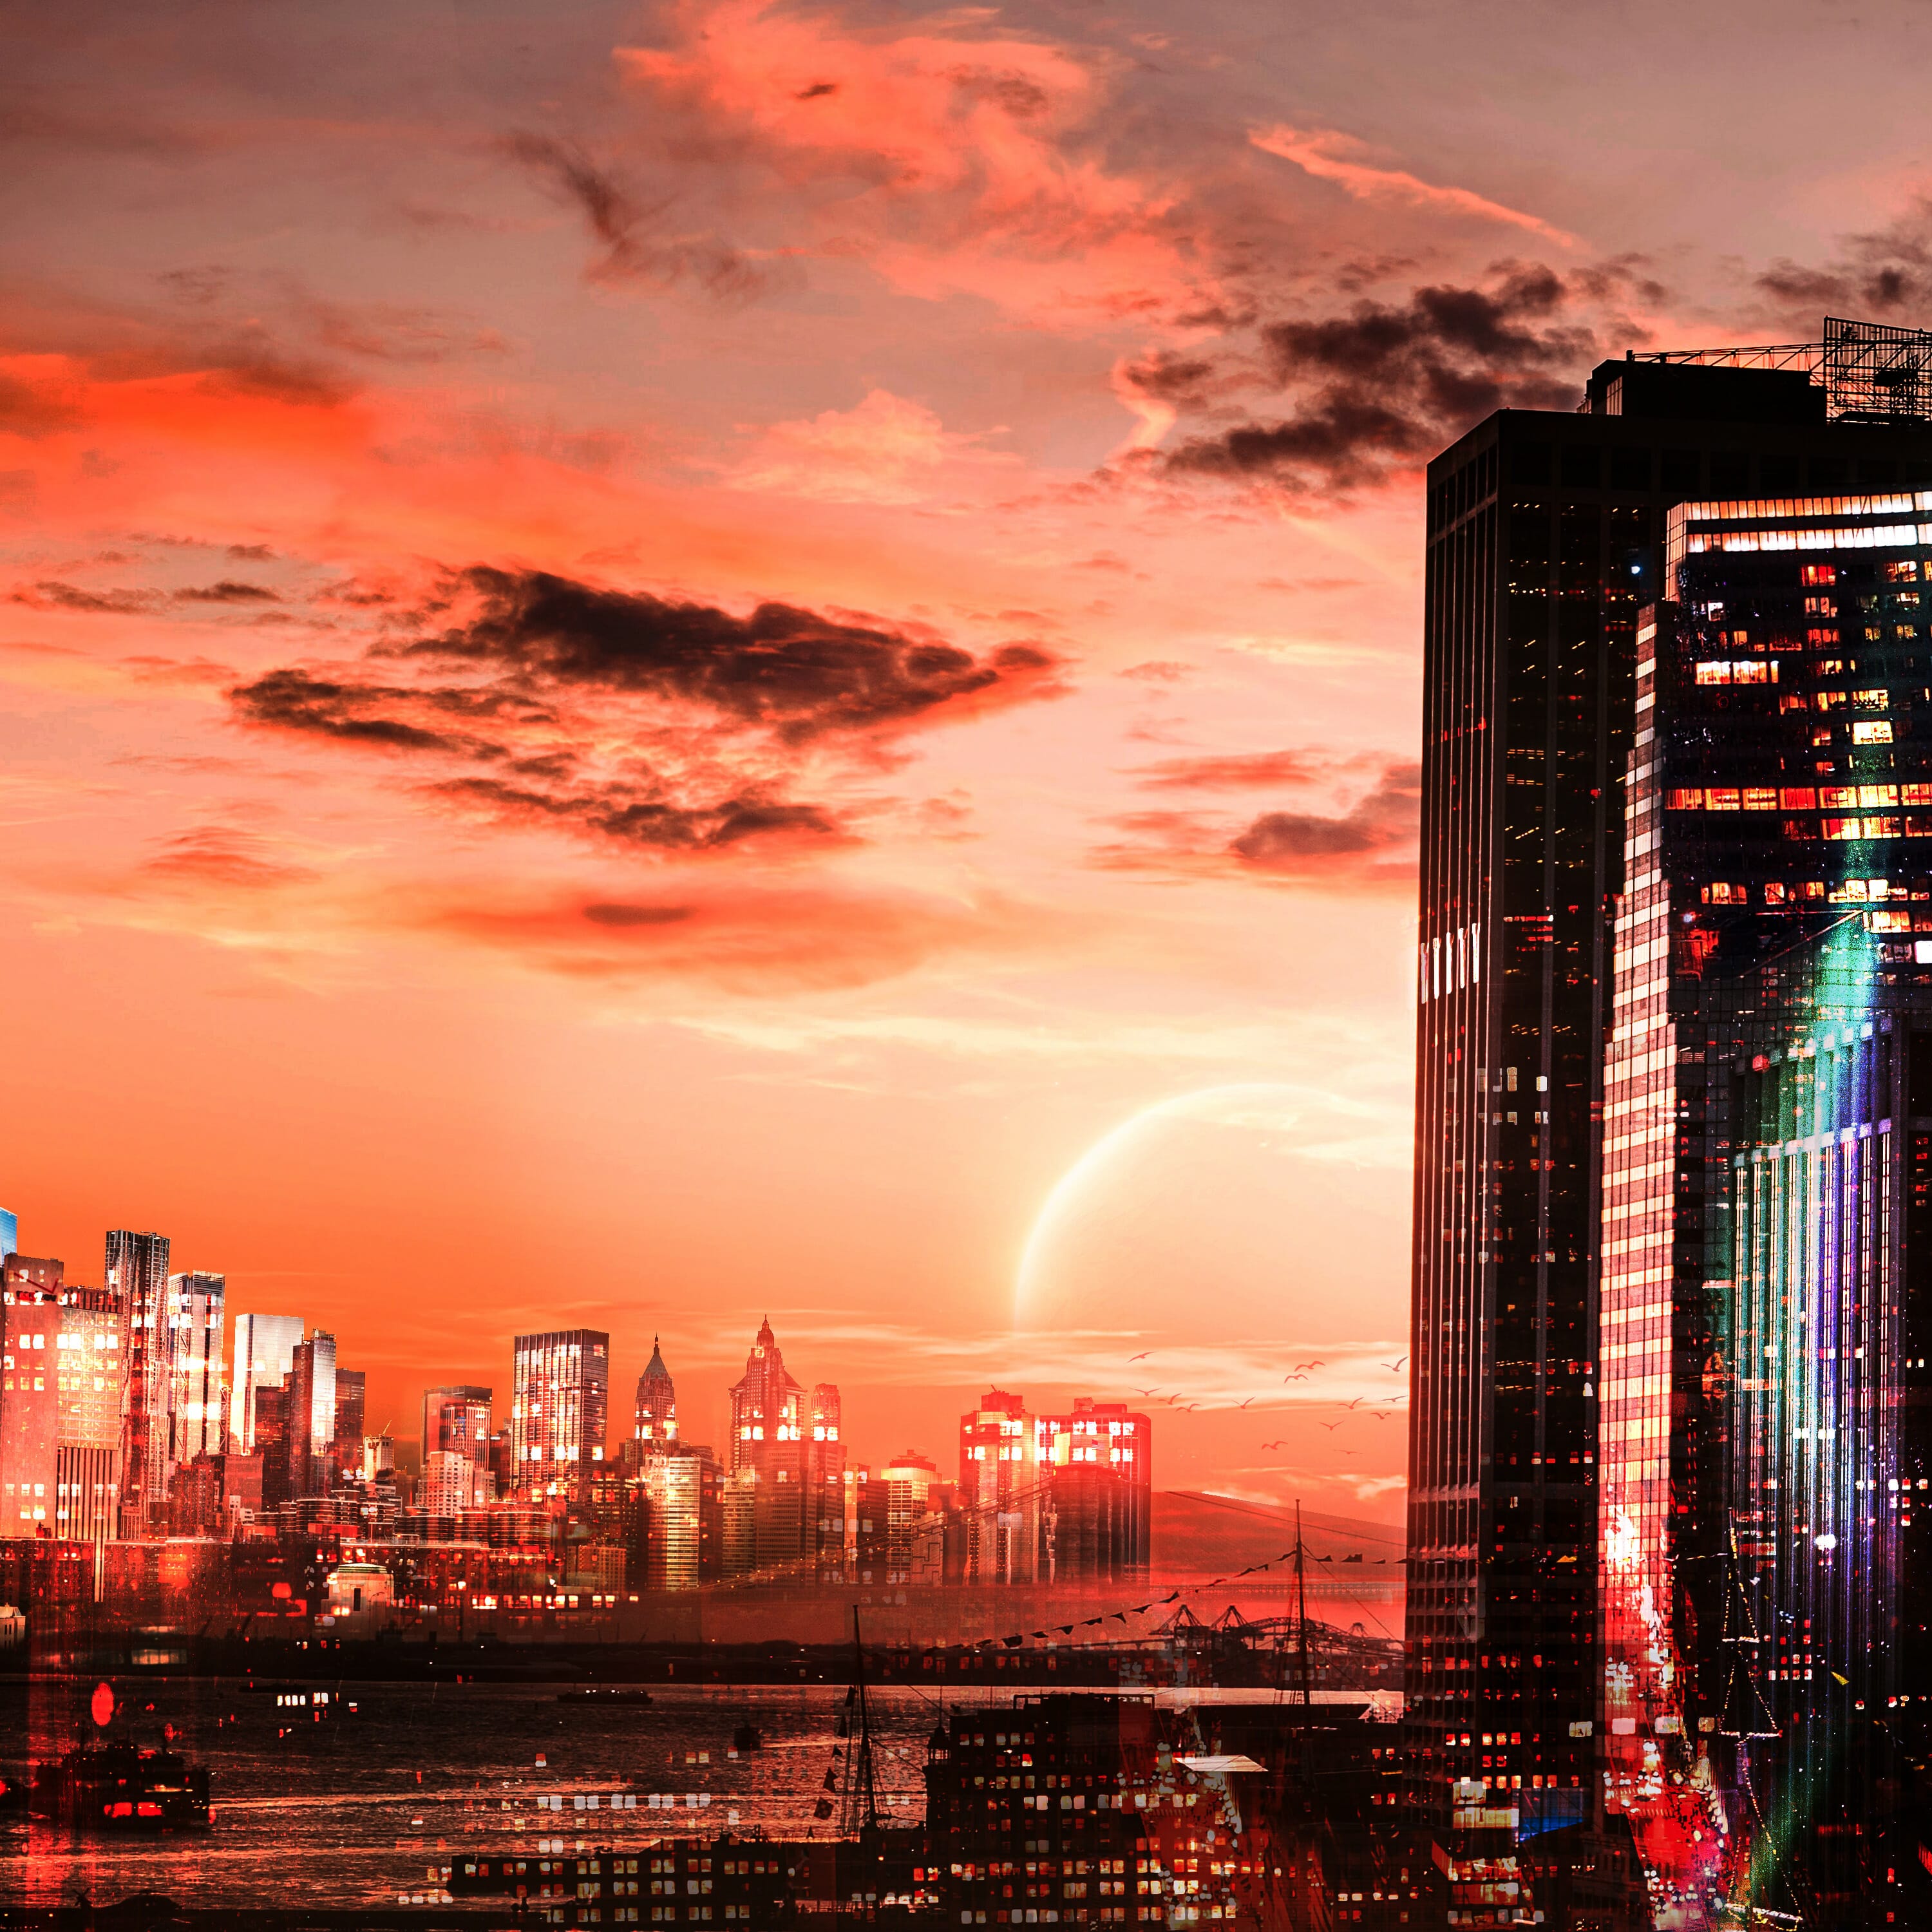
No-one Knows What Huge Suns Will Illuminate The Life Of The Future. It May Be That Artists Will Transform The Grey Dust Of The Cities Into Hundred-coloured Rainbows; That The Never-ending Thunderous Music Of Volcanoes Will Be Turned Into The Sound Of Flutes Resounding From Mountain Ranges; That Ocean Waves Will Be Forced To Play On Nets Of Chords … In this Photoshop tutorial we will learn how to create a futuristic city scene. First, we added city background, then place another city, and next started adding night city effects. Also added some textures and finally added Camera Raw Filter.
Preview of Final Image

Tutorial Resources
Step 1
Now, let’s start by creating a new image file, go to the Menu bar and click File > New, and then input the following values on their respective fields
- Preset: Custom
- Width: 3000px
- Height: 3000px
- Resolution: 300px
- Color Mode: RGB Color 8 bit
- Background Contents: Transparent

Step 2
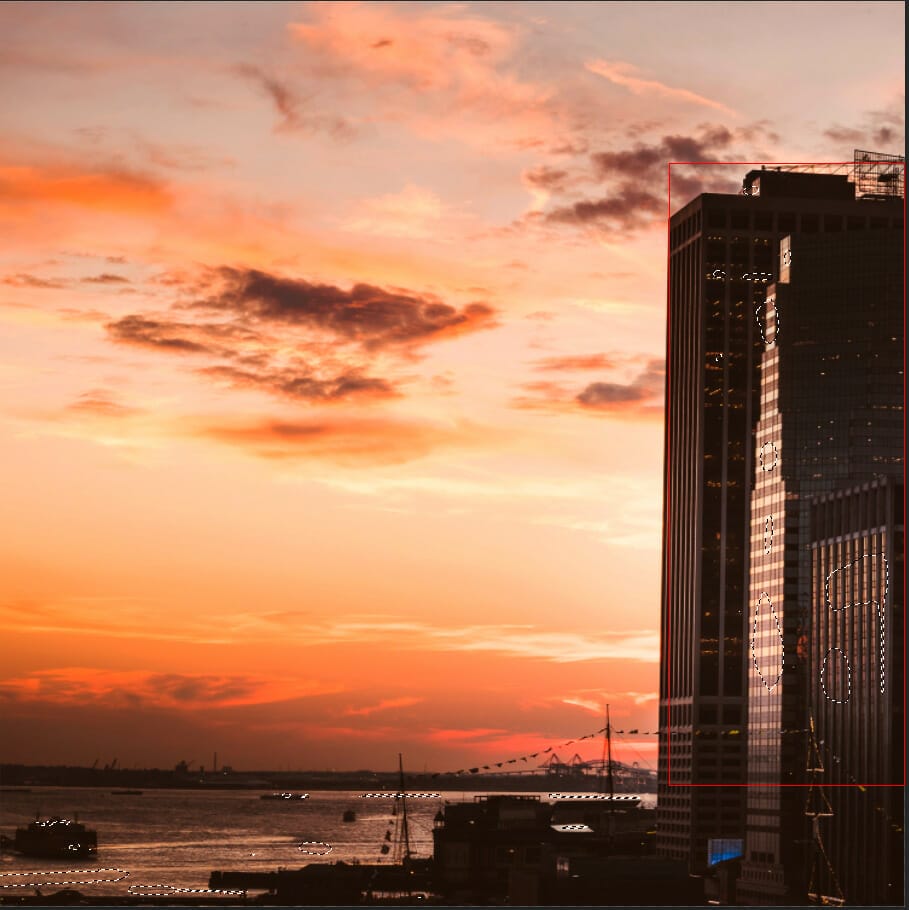
Now, place Background Go to File > Place and select City 1. Then place it to our work canvas and position the image with the transform tool (Ctrl / Cmd + T). Hold Alt + Shift and rasterize like the image below. In Photoshop CC only hold Alt to rasterize all sides together.


Step 3
Add Adjustment Layer “Color Balance”

Step 4
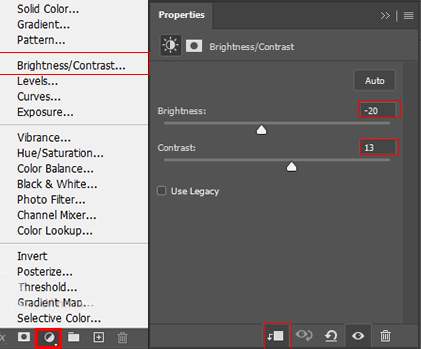
Add Adjustment Layer “Brightness/Contrast”

Step 5
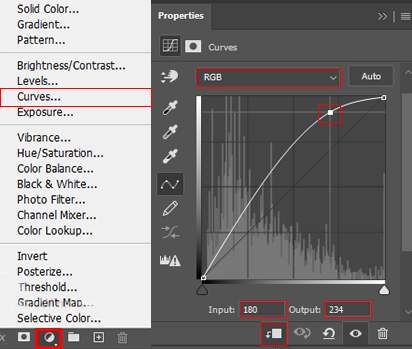
Add Adjustment Layer “Curves” and press Ctrl/Cmd + I to invert. Then use Brush Tool(B) Soft Round with foreground color white and paint on Highlight parts.


Step 6
Add Adjustment Layer “Curves” and press Ctrl/Cmd + I to invert. Then use Brush Tool(B) Soft Round with foreground color white and paint on dark parts.


Step 7
Create a new layer and use the Soft Round brush tool with the foreground color Orange and paint on the bottom image. Opacity set to 75%.

Step 8
Next, place City 2 Go to File > Place and select City 2. Then place it to our work canvas and position the image with the transform tool (Ctrl / Cmd + T). Hold Alt + Shift and rasterize like the image below. In Photoshop CC only hold Alt to rasterize all sides together.


Now select the layer and use a Pen Tool(P) and start selecting buildings. When we finish the selection press right-click on mouse and “Make Selection” then create a layer mask. The simplest path you can draw with the standard Pen tool is a straight line, made by clicking the Pen tool to create two anchor points. By continuing to click, you create a path made of straight line segments connected by corner points.
2 responses to “Create a Futuristic City Photoshop Tutorial”
-
aint futuristic tho just some normal city
-
got bit of rgb tho
-


Leave a Reply