Make skin look perfect in one-click with these AI-powered Photoshop actions.
It is my nature to be kind, gentle, and loving… But know this:
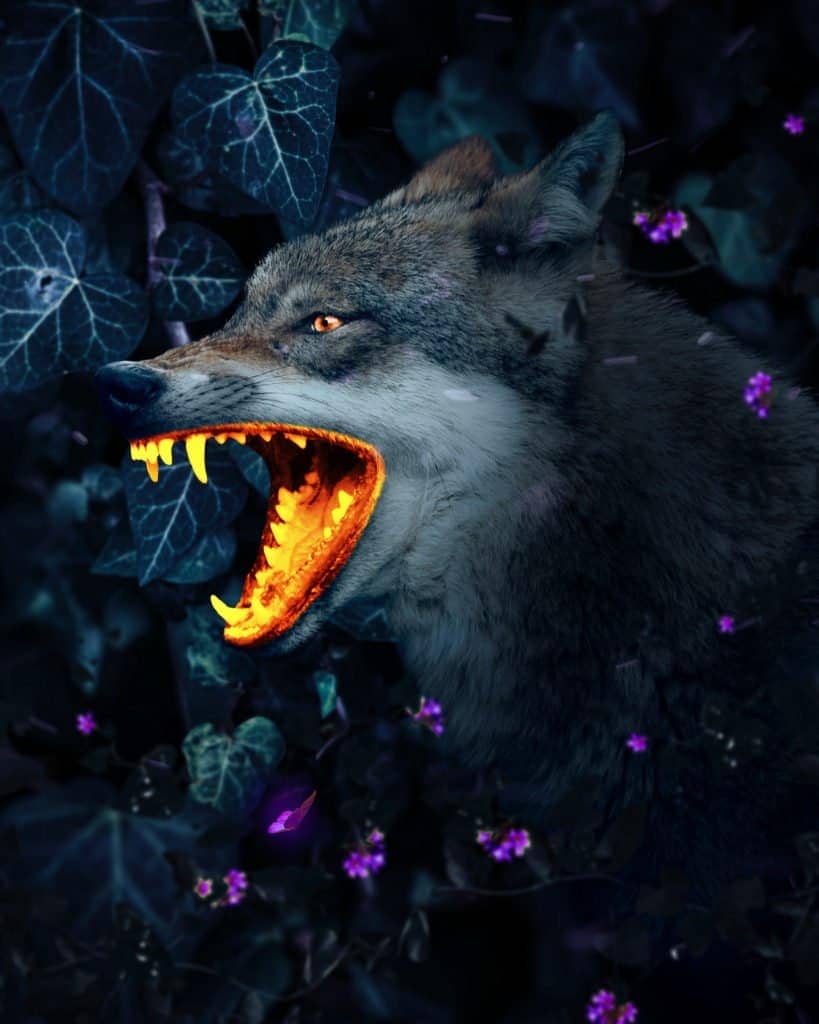
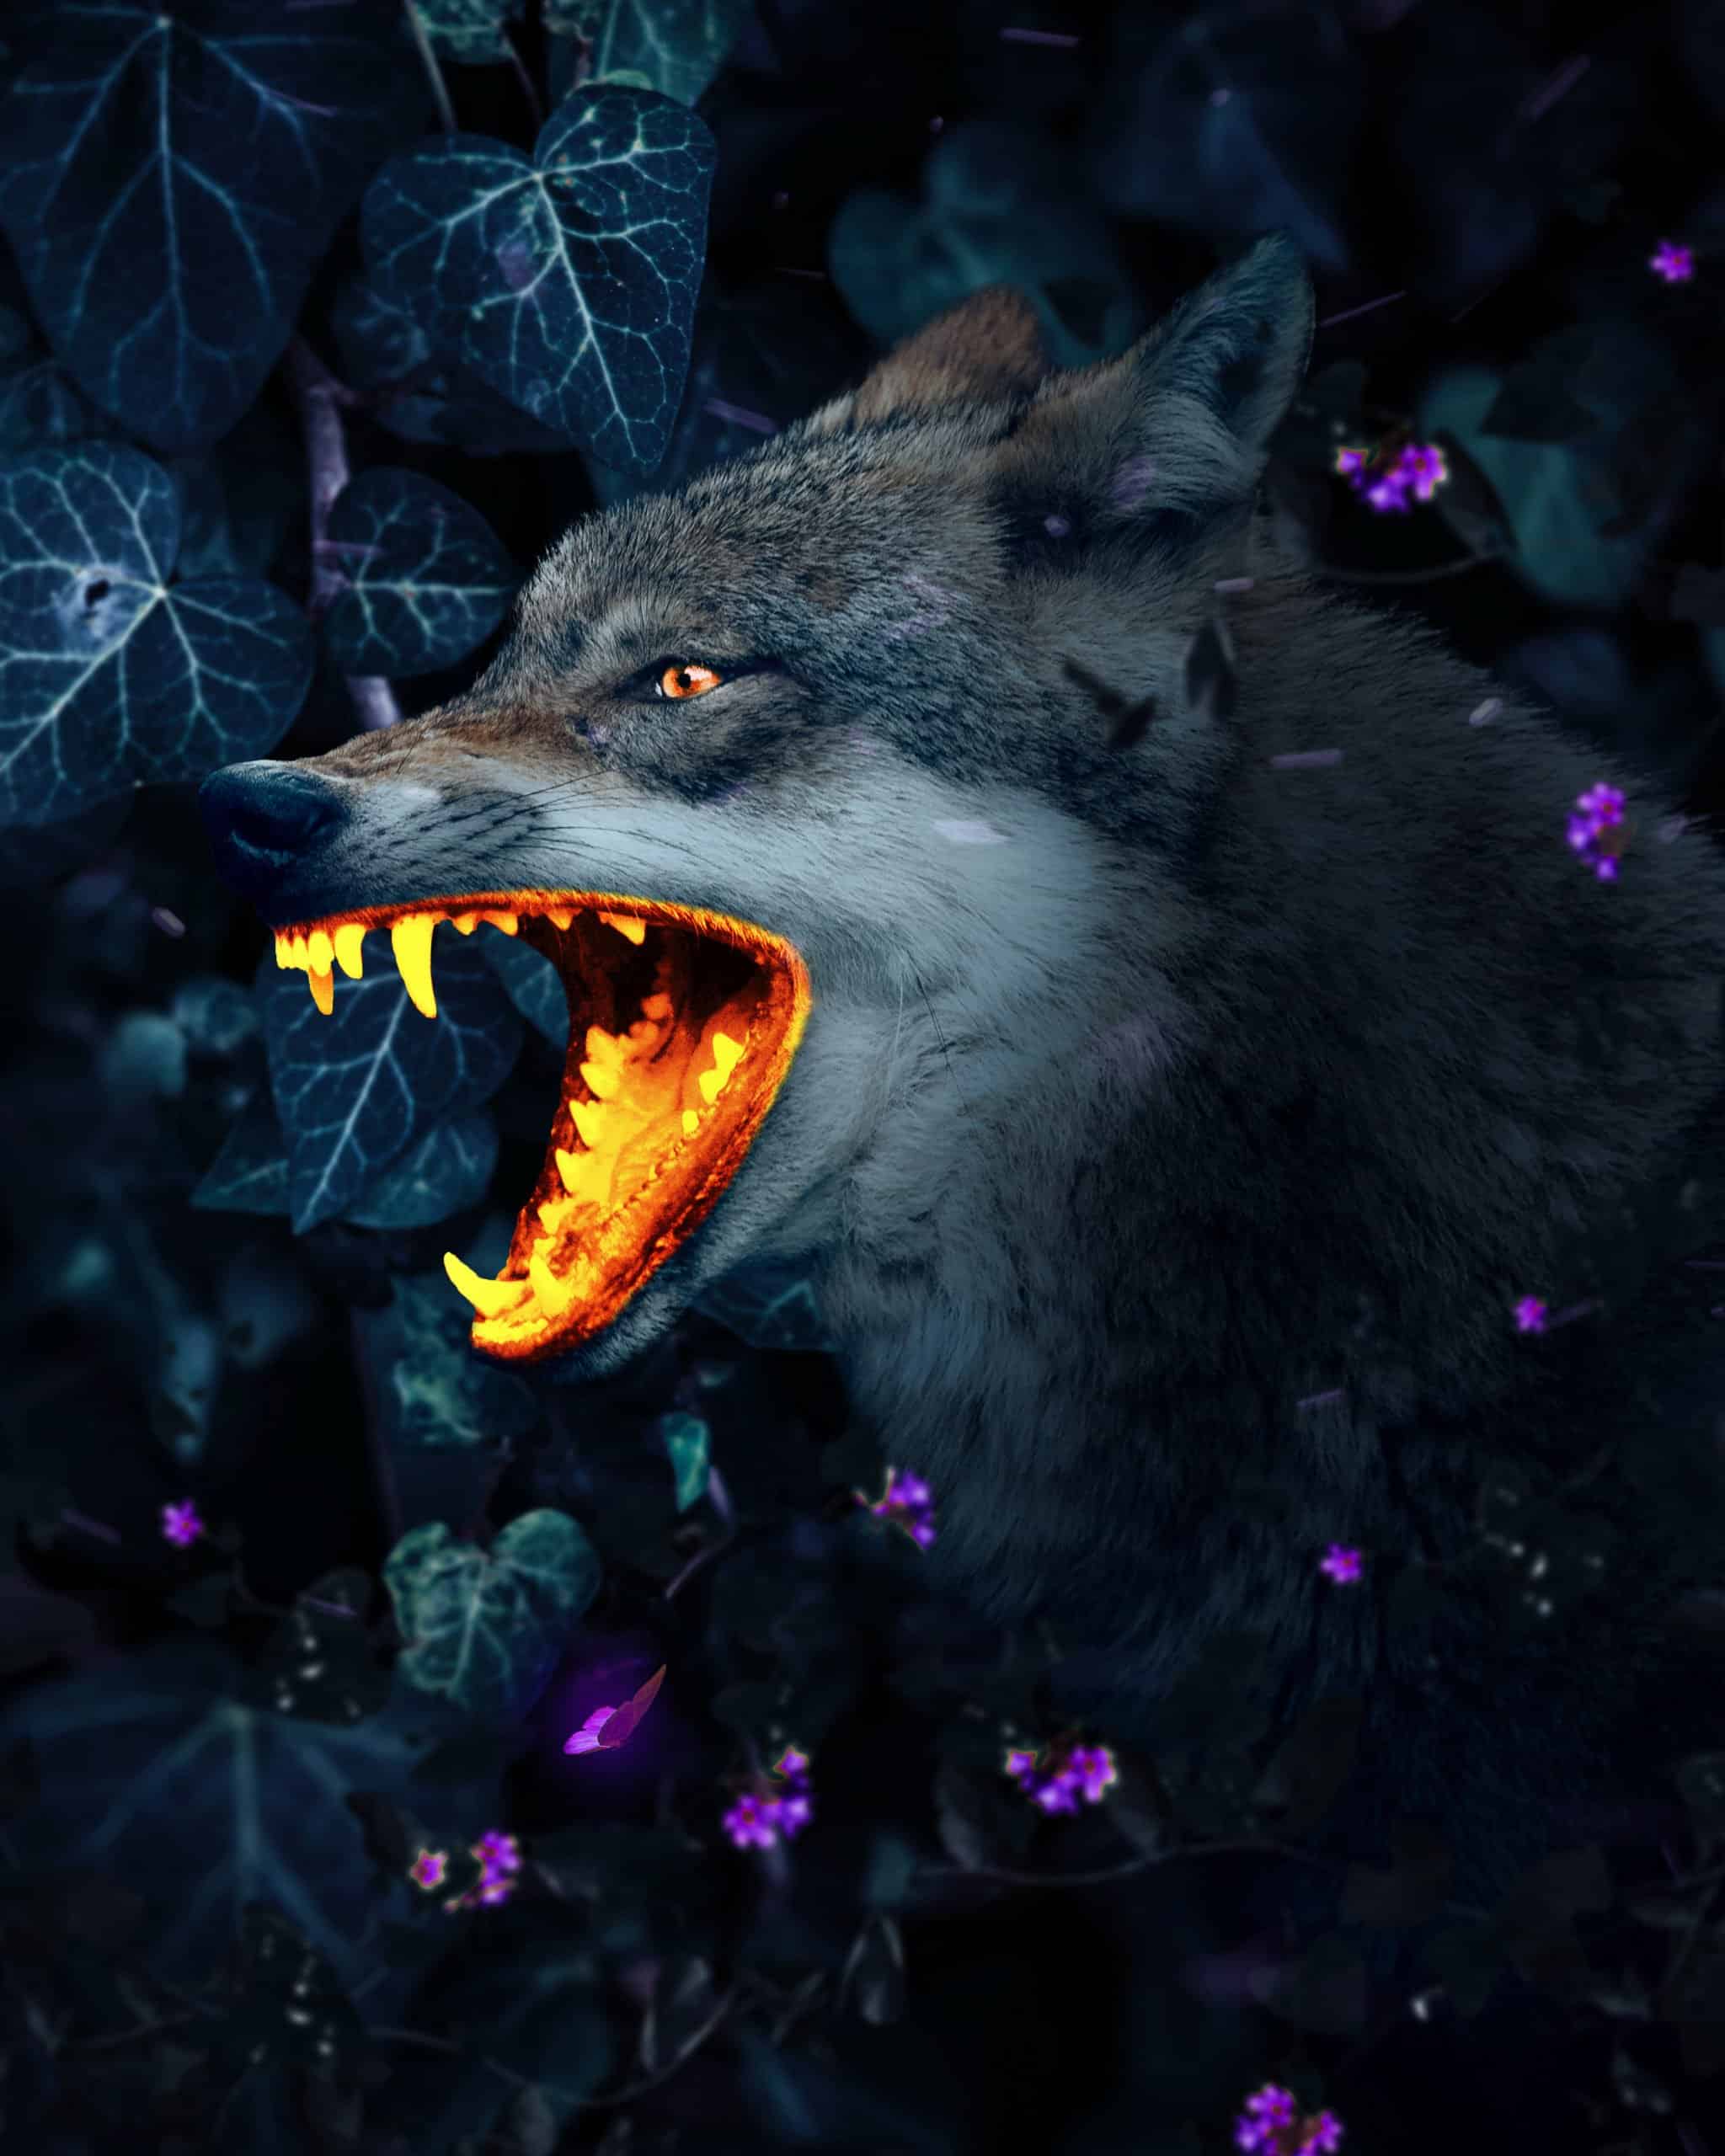
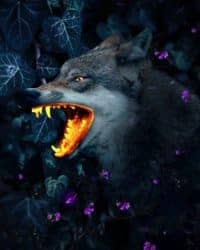
When it comes to matters of protecting my friend, my family, and my heart. Do not trifle with me. For I am also the most powerful and relentless creature you will ever know. In this Photoshop tutorial, we will learn how to create a glowing mouth on Wolf. First, we added background photos then add adjustment layers, next add Wolf and create a glowing effect. Then add some Ivy and Butterfly, and finally add some fire particles and use Camera Raw filter.
Preview of Final Image
Tutorial Resources
Step 1
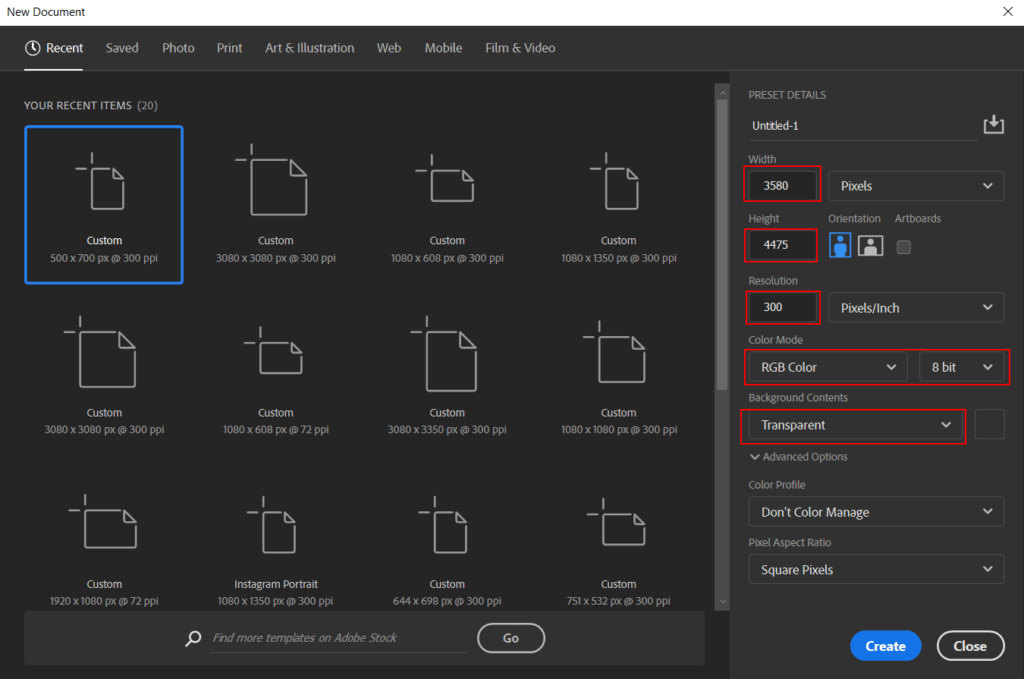
Now, let’s start by creating a new image file, go to the Menu bar and click File > New, and then input the following values on their respective fields
- Width: 3580px
- Height: 4475px
- Resolution: 300
- Color Mode: RGB Color 8 bit
- Background Contents: Black
Step 2
Next, go to open Background photo. Go to File > Open and select Background. After you open the image, use Rectangular Marquee Tool(M).
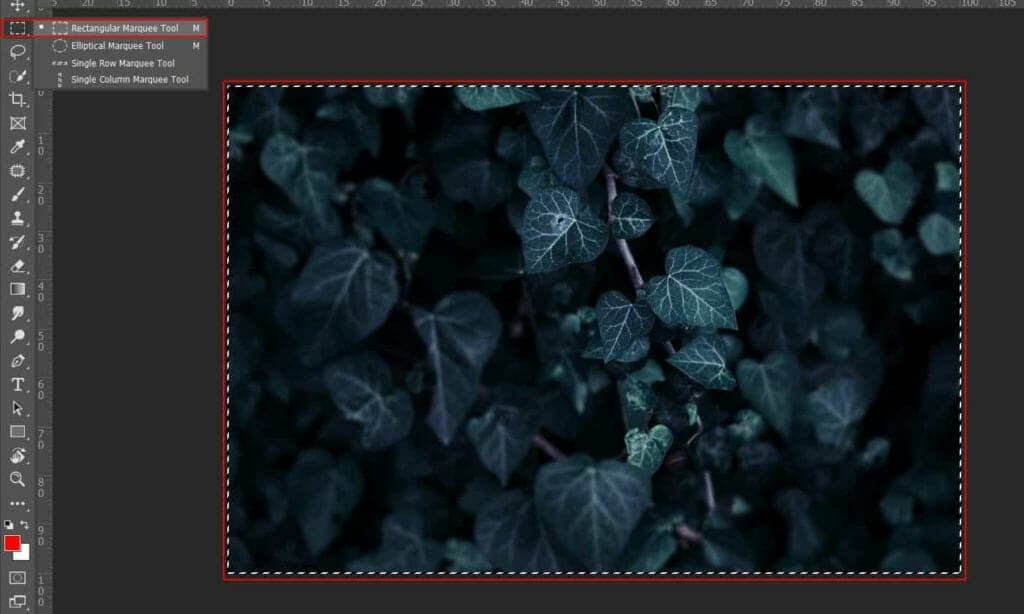
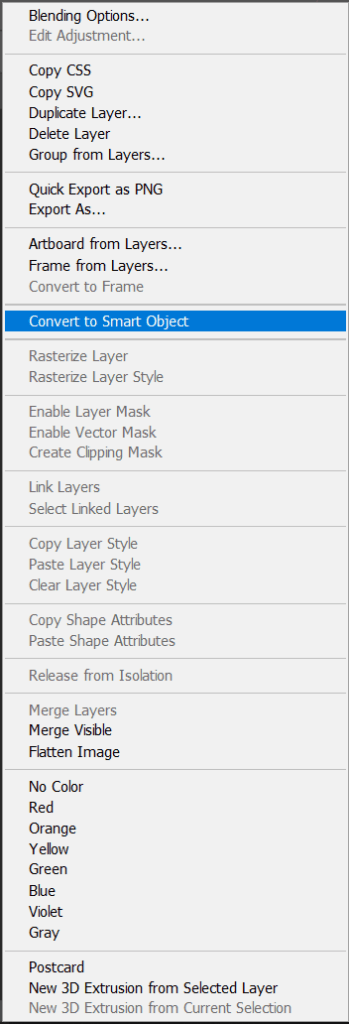
After the selection area has been created, simply copy (Ctrl / Cmd + C) and Paste (Ctrl / Cmd + V) it to our work canvas. Then position the image with the transform tool (Ctrl / Cmd + T). Hold Alt + Shift and rasterize like the image below. In Photoshop CC only hold Alt to rasterize all sides together. Right-click and select “Convert to Smart Object”.
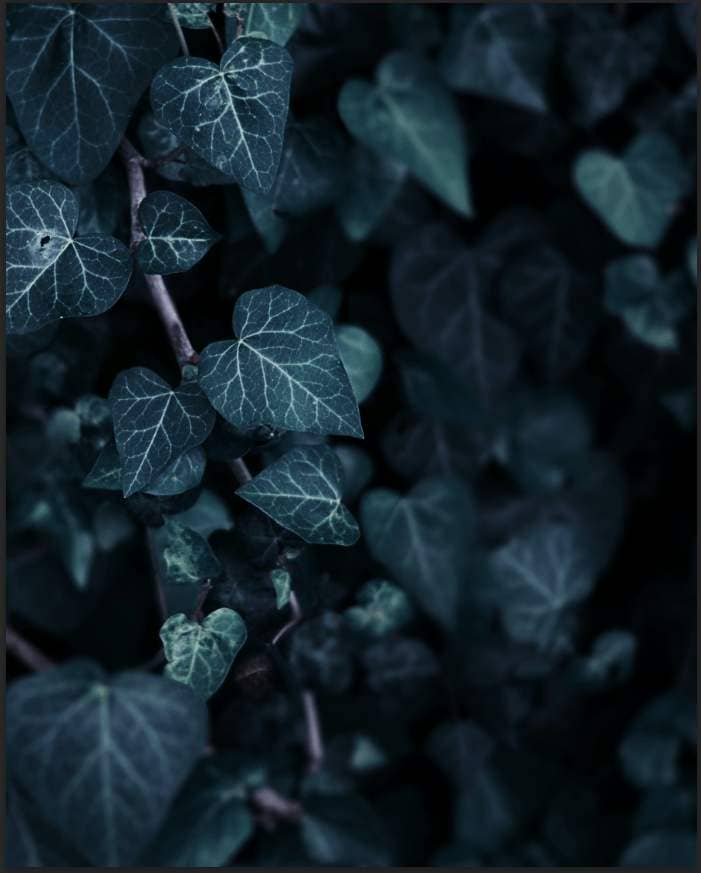
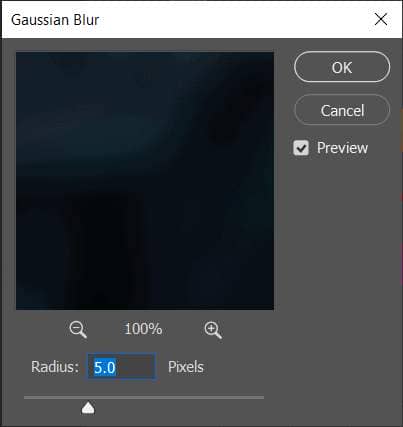
Then go to Filter > Blur > Gaussian Blur and set Radius to 5.0px.
Step 3
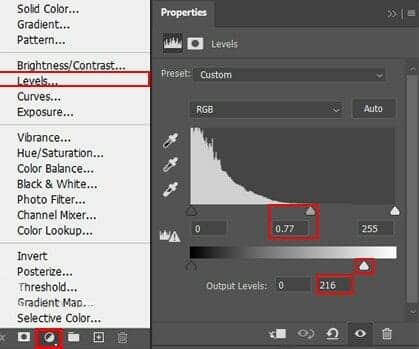
Add Adjustment Layer "Levels"
Step 4
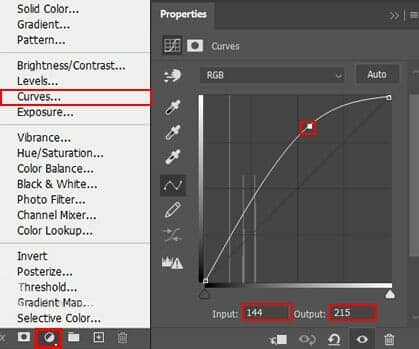
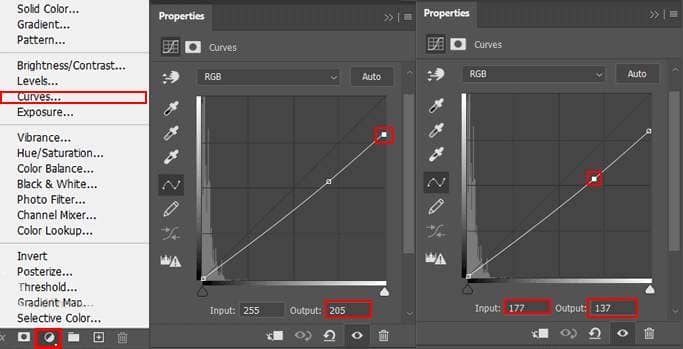
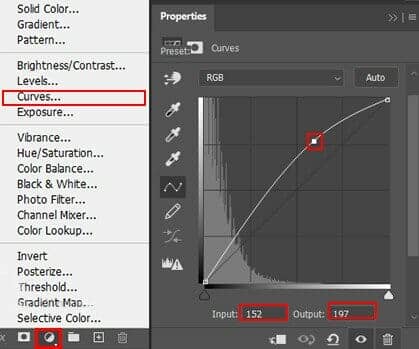
Add Adjustment Layer “Curves” and press Ctrl/Cmd + I to invert. Then use Brush Tool(B) Soft Round with foreground color white and paint on Highlight parts.
Step 5
Add Adjustment Layer “Curves” and press Ctrl/Cmd + I to invert. Then use Brush Tool(B) Soft Round with foreground color white and paint on Dark parts.
Step 6
Add Adjustment Layer “Curves” and press Ctrl/Cmd + I to invert. Then use Brush Tool(B) Soft Round with foreground color white and paint on Highlight parts.
Step 7
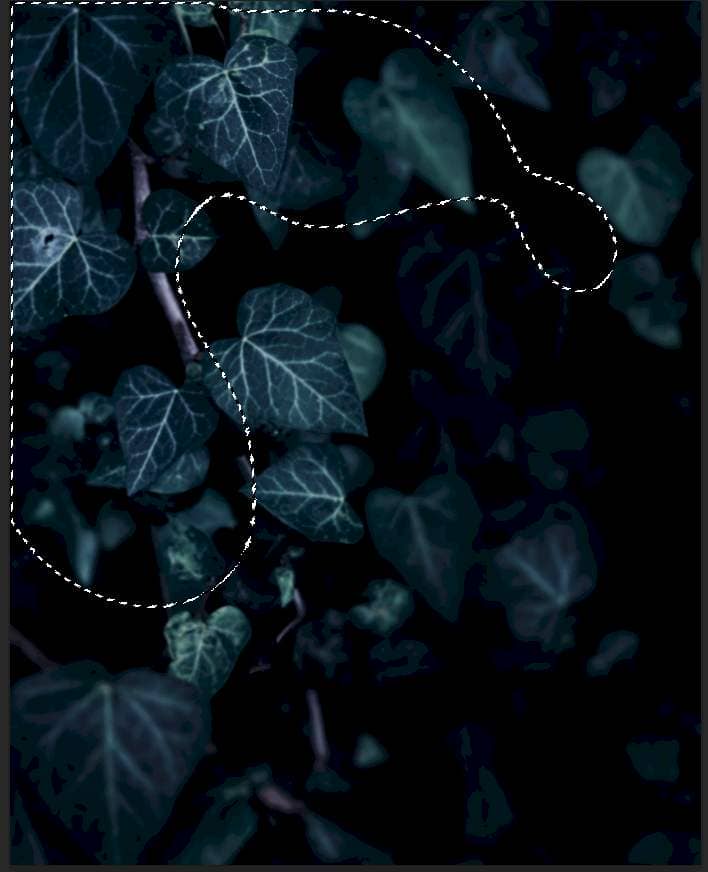
Next we will openWolf. After you open the image, use Quick Selection Tool(W) and start selecting the animal. After the selection area has been created, simply copy (Ctrl / Cmd + C) and Paste (Ctrl / Cmd + V) it to our work canvas. Then position the image with the transform tool (Ctrl / Cmd + T). Hold Alt + Shift and resterize like image below. In Photoshop CC only hold Alt to resterize al sides together.

2 comments on “Glowing Mouth Wolf Photoshop Tutorial”
Wow. That's super hideous.
Another great composite. Thanks.