In this tutorial I’ll show you how to create a fantasy castle scene. First, we’ll build the base scene using the images of sky and landscape. Later, we’ll add the castle, flowers and butterflies and blend them together using adjustment layers, masking and brushes. We’ll use several adjustment layers to complete the final effect.
Preview of the Final Result

Tutorial Resources
Step 1
Create a new 2200×1500 px document in Photoshop and fill it with white. Open the castle image and as it has a transparent background so simply drag it into the white canvas using the Move Tool (V). Convert it to a Smart Object and place it in the left side of the canvas.

Step 2
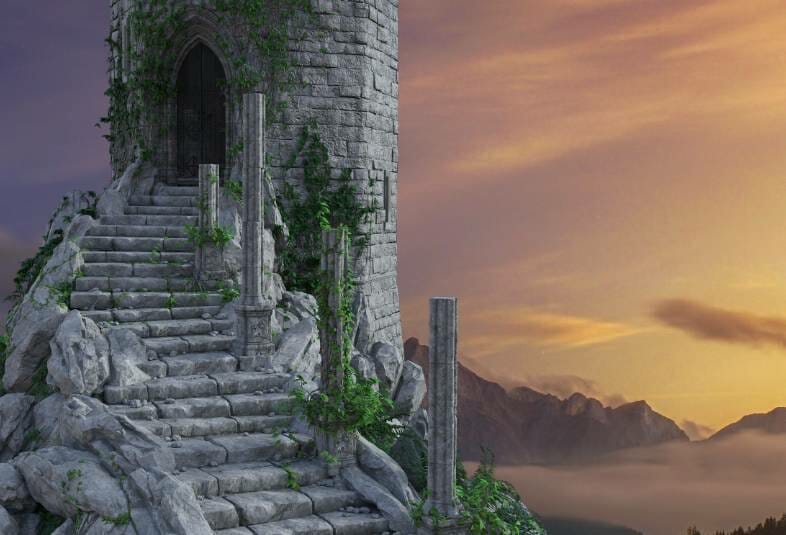
Open the landscape image and place it over the canvas and set this layer below the castle one.
Step 3
Convert this layer to a Smart Object and go to Filter > Blur > Gaussian Blur and set the radius to 8 px.

Step 4
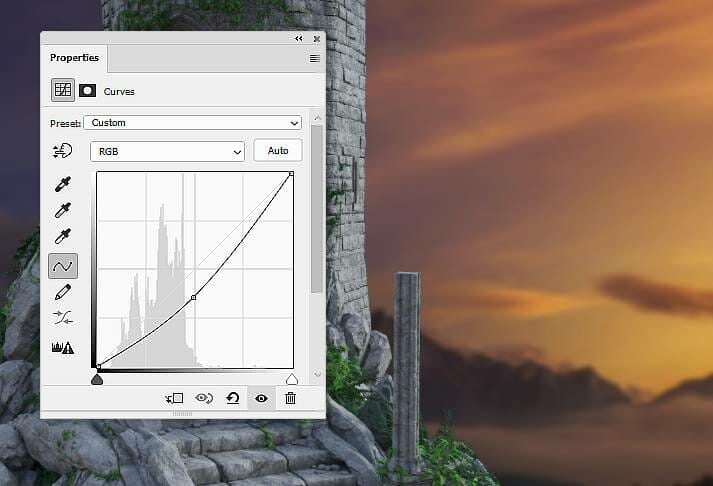
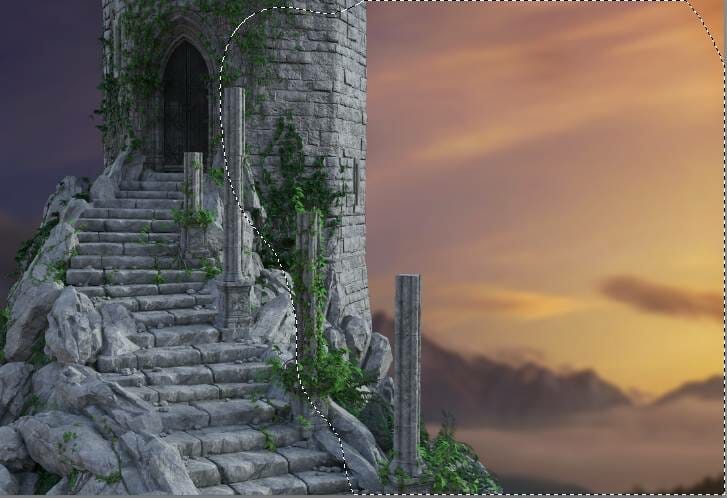
Go to Layer > New Adjustment Layer > Curves and decrease the lightness. On this layer mask, activate the Brush Tool (B) and select a soft round one with black color. Use this brush to erase the right side of the sky to fit the light on the castle.
Step 5
Make a Hue/Saturation adjustment layer and change the Hue values to +115. On this layer mask, use a soft black brush to erase the right of the sky as I want the effect only visible on the left .

Step 6
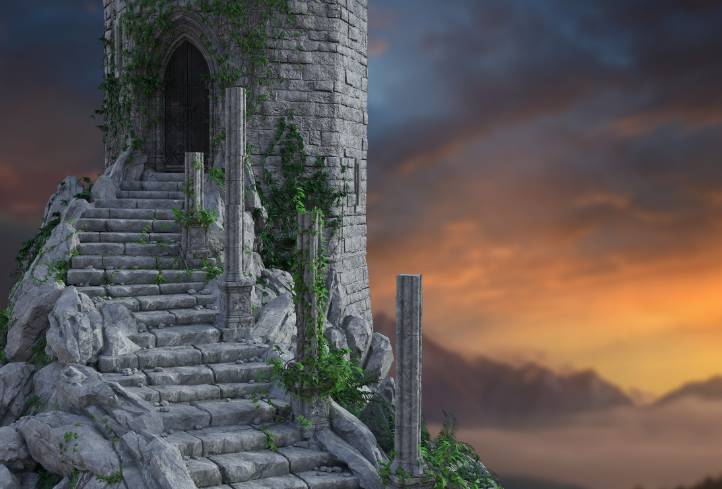
Place the sky image onto the landscape one and convert this layer to a Smart Object. Apply a Gaussian Blur of 8 px to make the sky fit the softness of the background. Click the second icon at the bottom of the Layers panel to add a mask to this layer and use a soft black brush to remove the hard edges and blend the sky with the existing one.

Step 7
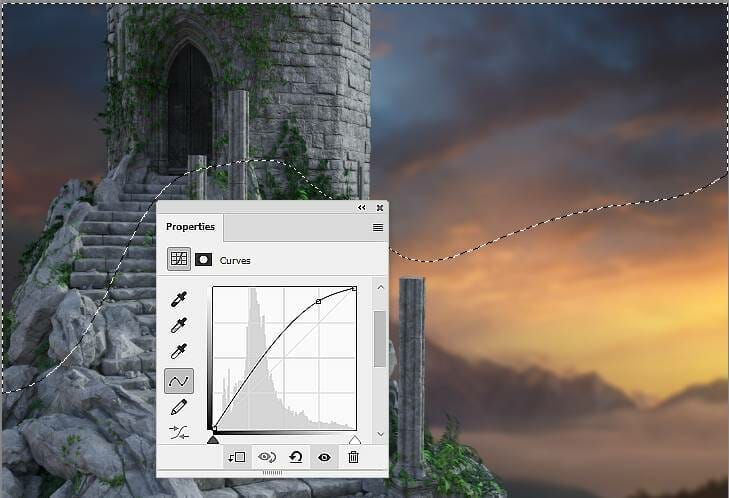
Create a Curves adjustment layer above the sky one and set it as Clipping Mask. Increase the lightness to make the light source on the bottom right of the background stronger. On this layer mask, use a soft black brush to erase the rest so it won’t be affected by this adjustment layer.
Step 8
Come back to the castle’s layer and make a Hue/Saturation adjustment layer above this one (set as Clipping Mask). Change the Greens setting to increase the vibrance, light and visibility of the plants around the castle. On this layer mask, use a soft black brush to erase/reduce the green cast on the unwanted areas as the screenshot below shows:
2 responses to “How to Create a Fantasy Castle Scene with Adobe Photoshop”
-
This is excellent, thank you!
-
Great learning resource thank you,pity about all the annoying advertisments

Leave a Reply