
Step 23
Open the butterflies image and select the ones in the lower section to add to our main canvas. Use Ctrl+T to change the form, size and pose of the butterflies to arrange them around the castle and on the background.

Step 24
Apply a Gaussian Blur of 4 px to two layers of the butterflies on the foreground.

Step 25
Apply a Gaussian Blur of 3 px to the smaller ones on the background:

Step 26
Select all of the butterfly layers and hit Ctrl+G to make a group for them. Change the group’s mode to Normal 100% and make a Color Balance adjustment layer within this group. Alter the Midtones and Highlights values and on this layer mask, use a soft black brush to erase the biggest butterfly on the top of the tower as it’s in the shade.


Step 27
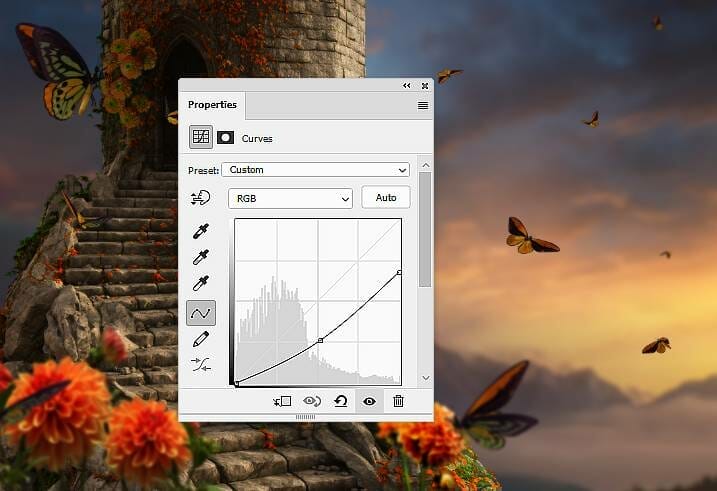
Make a Curves adjustment layer to darken the butterflies. On this layer mask, use a soft black brush to erase the parts which are illuminated by the light.


Step 28
Create another Curves adjustment layer to reduce the contrast of the butterflies on the background a little. On this layer mask, use a soft black brush to erase the rest so they won’t be affected by this adjustment layer.

Step 29
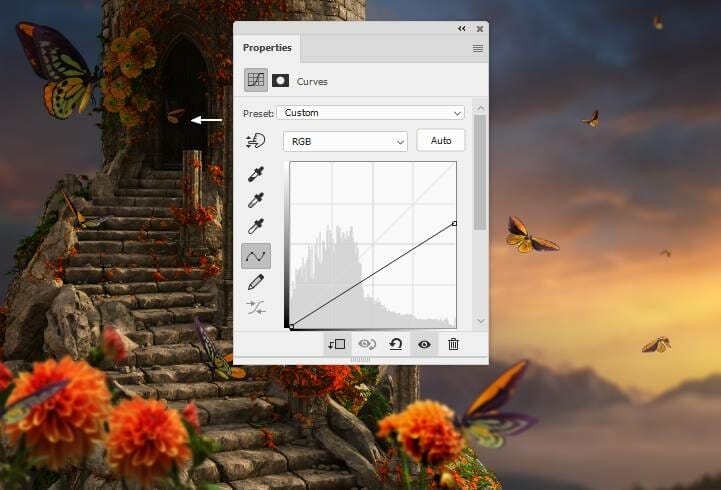
Make a Curves adjustment layer to darken the butterfly inside the door of the tower (set as Clipping Mask):

Step 30
To make shadow for the butterfly on the middle of the foreground, create a new layer below this one (within the butterflies’ group). Hold down the Ctrl key while clicking this thumbnail layer to load its selection. Fill this layer with the color #211811 and flip it vertically (Edit > Transform > Flip Vertical). Use Ctrl+T to transform it a bit and lower the opacity of this layer to 50%. Add a mask to this layer and use a soft black brush to remove the shadow’s part outside the flower.

Step 31
Use the same method to make shadow for the butterflies in the middle of the stair and apply a Gaussian Blur of 2 px to each of these layers.

Step 32
Add a mask to the butterflies’ group and use a soft black brush with the opacity about 20% to reduce the visibility of the butterflies on the background:
2 responses to “How to Create a Fantasy Castle Scene with Adobe Photoshop”
-
This is excellent, thank you!
-
Great learning resource thank you,pity about all the annoying advertisments


Leave a Reply