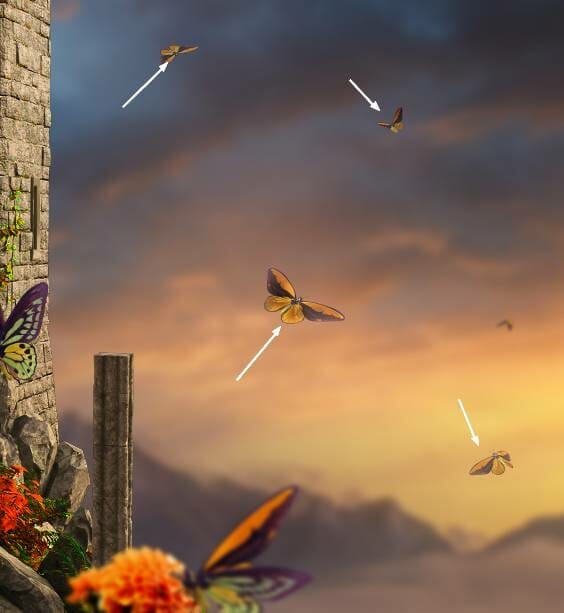
Step 33
Make a Gradient Map adjustment layer on top of the layers and pick the colors #7f0a0a and #14510a. Lower the opacity of this layer to 20%.

Step 34
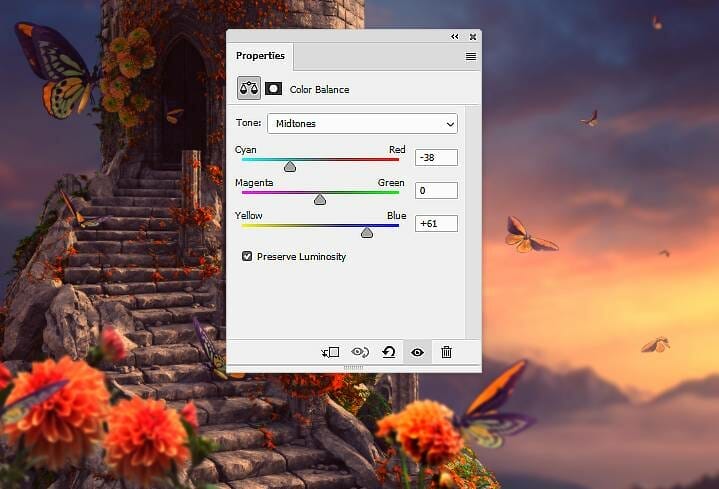
Create a Color Balance adjustment layer and change the Midtones and Highlights settings:


Step 35
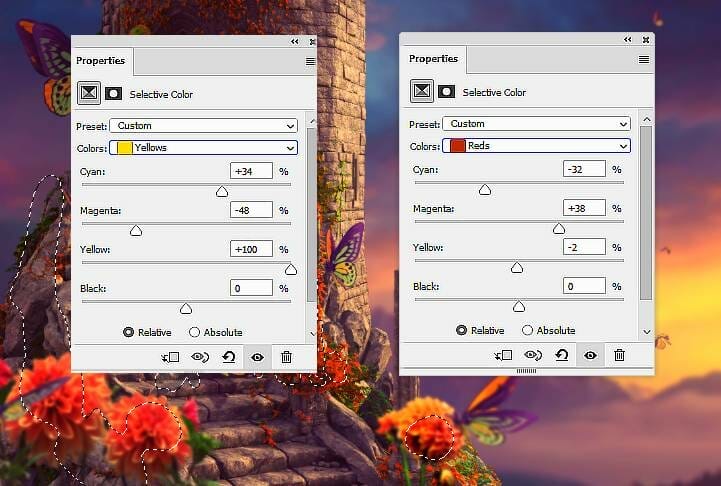
Make a Selective Color adjustment layer and change the Reds, Yellows, Cyans, Blues and Magentas values. On this layer mask, use a soft black brush to erase the color effect on some parts as the screenshots below show:


Step 36
Create another Selective Color adjustment layer and alter the Magentas values to remove the magenta’s cast on some parts below. The selected areas show where to paint on the layer mask.

Step 37
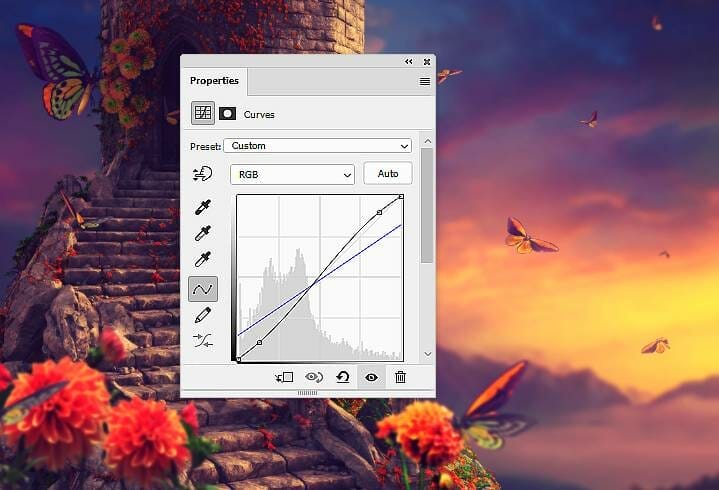
Add a Curves adjustment layer to change the color and increase the contrast of the whole scene:

Step 38
Make another Curves adjustment layer to increase the contrast of the scene more:

Final Result

2 responses to “How to Create a Fantasy Castle Scene with Adobe Photoshop”
-
This is excellent, thank you!
-
Great learning resource thank you,pity about all the annoying advertisments


Leave a Reply