
In this tutorial I’ll show you how to create a fantasy piece featuring two kittens flying in a hot air balloon. First we’ll build the background using a sky and city images. After that, we’ll import the hot air balloon and add the kittens. In the last stage, we’ll add the bird and blend them with the background using adjustment layers, masking and brushes to complete the final effect.
Preview of The Final Result
Tutorial Resources
Step 1
Create a new 1800×2300 px document in Photoshop and fill it with white. Open the city image and drag it into the white canvas using the Move Tool (V). Convert it into a Smart Object and place it in the lower of the canvas.

Step 2
Go to Filter > Blur > Gaussian Blur and set the radius to 8 px.

Step 3
Go to Layer > New Adjustment Layer > Color Balance and set it as Clipping Mask. Change the Midtones settings:

Step 4
Make a Curves adjustment layer (set as Clipping Mask) to reduce the light of the city.

Step 5
Open the sky image and place it onto the canvas. Convert this layer to a Smart Object and apply a Gaussian Blur of 3 px to this layer. Click the second icon at the bottom of the Layers panel to add a mask to this layer. Select a soft round brush with black color to remove the bottom of the sky and blend it with the existing one.


Step 6
Create a Color Balance adjustment layer (set as Clipping Mask) and change the Midtones values:

Step 7
Make a Curves adjustment layer and reduce the lightness.

Step 8
Create a Gradient Map adjustment layer on top of the layers and pick the colors #0a5952 and #ff9672. Change this layer mode to Soft Light 100%.

Add another Gradient Map adjustment layer and pick the colors #e10019 and #00601b. Lower the opacity of this layer to 20%.

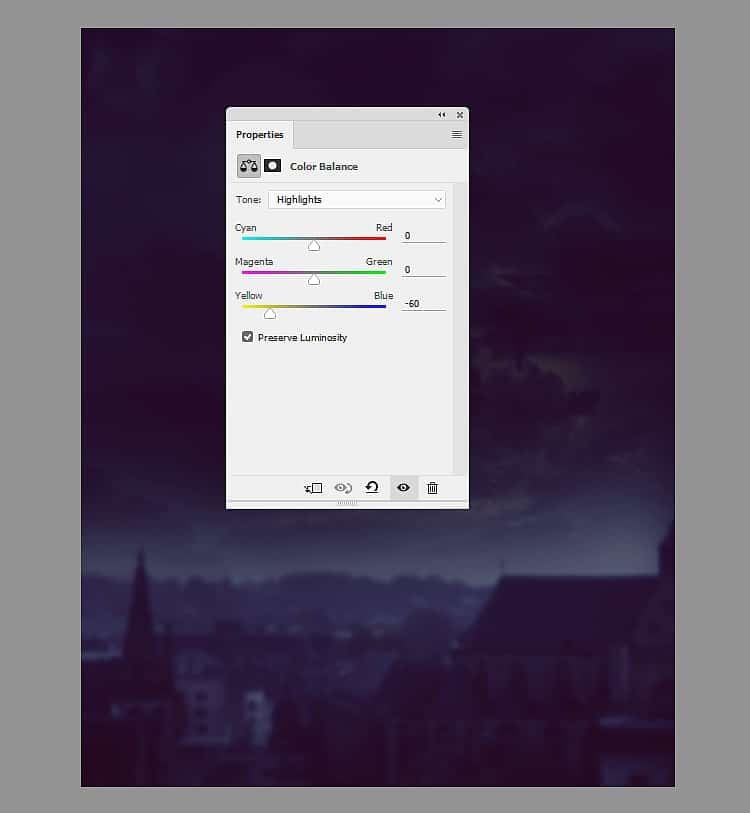
Step 9
Make a Color Balance adjustment layer and alter the Midtones and Highlights settings:

Step 10
Open the hot air balloon image. We’ll break the parts of the balloon and then add them to the main canvas with the change of their ratio. First use the Lasso Tool (L) to select the envelope of the balloon to add to the top middle of the canvas. Use the Free Transform Tool (Ctrl+T) with the Warp mode to tweak the bottom of the envelope a bit.
6 responses to “How to Create a Fantasy Fly Photo Manipulation with Adobe Photoshop”
-

Beautiful 😍
-
Hi! in step 18, what is the envelope layer?
-
You can download the psd and see the layer structure
-
-
This is neat! Thank you!
-
Lovely! Many thanks
-
Great jop
Leave a Reply to LizCancel reply