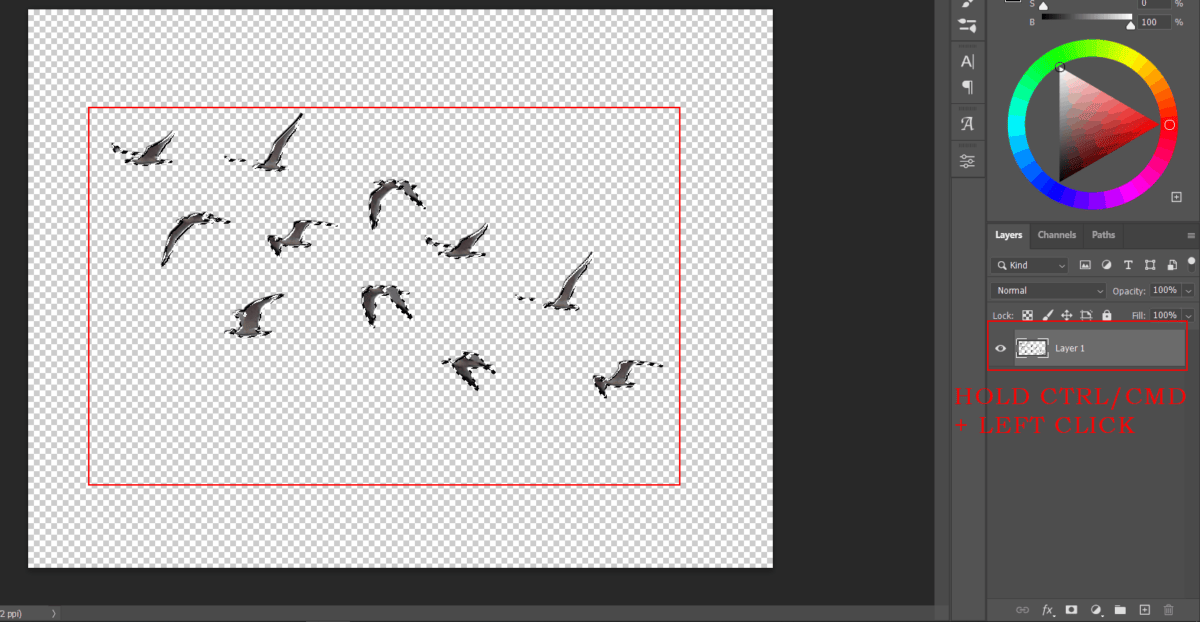

Step 18
Create a new layer and change the Blend Mode to Soft Light with the opacity of 79%. Then use a Brush Tool(B) Soft Round with foreground color orange #f68e6d and Size to max(5000px). Then paint to the right side.


Step 19
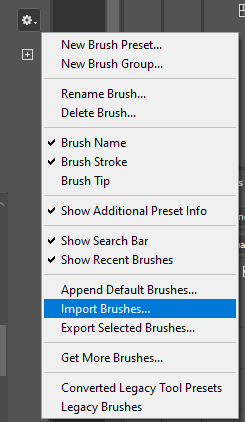
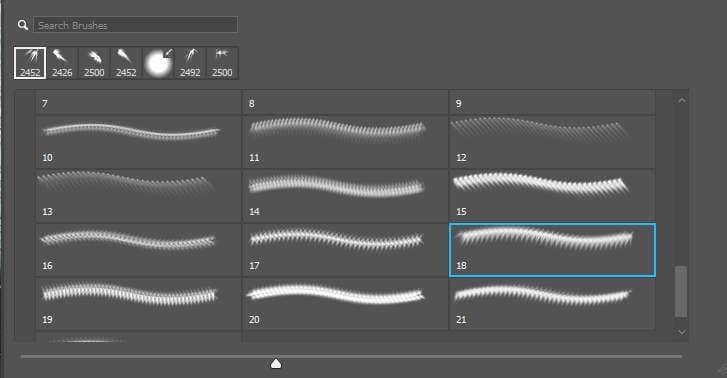
Next, we will add Ray Highlights but first, we need to import brushes. Select a Brush Tool (b) and right-click on the background. Now click on the gear icon and Import Brushes. Select a downloaded brush.


Now we can paint ray. Create a new layer and Foreground color use white. Opacity 40%.

Now go to Filter > Blur > Gaussian Blur and set radius to 12px.

Step 20
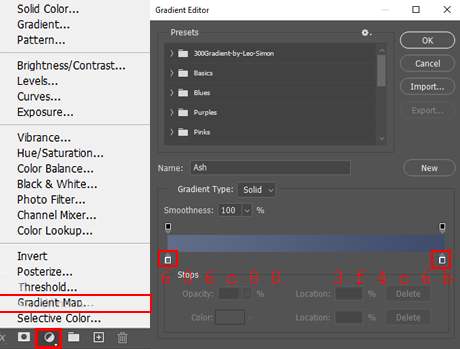
Add Adjustment Layer “Gradient Map” Soft Light 50%.

Step 21
Add Adjustment Laye “Gradient Map” Soft Light 50%.

Step 22
When we finished all this, now merge all layers into one. Select the last layer and hold CTRL/CMD + SHIFT + ALT + E. Now we have a final layer, right-click on mouse and select Convert to Smart Object. Then go to Filter > Camera RAW Filter. At its most basic, the Photoshop Camera Raw filter allows you to use the functions of the ACR interface at any time within Photoshop.

Step 23
Now in Camera Raw Filter, set the Value: Basic
- Temp: +4
- Exposure: -0.10
- Contrast: +4
- Highlights: +10
- Shadows: +10
- Texture: +10
- Clarity: +15
- Vibrance: +12
- Saturation: -7

Curve
- Highlights: +8
- Lights: +4
- Darks: -2
- Shadows: -2

Color Mixer Saturation
- Reds: +7
- Oranges: +3
Lumiance
- Reds: -8
- Oranges: -4

Color Grading
- Midtones : H34 S15

Radial Filter
- Exposure: +0.25
- Highlights: +8
- Shadows: +8

Graduated Filter
- Exposure: -0.25
- Shadows: -11
- Whites: +4

And finally, everything should look like this.


Leave a Reply