

Step 23
Create a Hue/Saturationadjustment layer and bring the Saturationvalues down to -60:

Make a Color Balance adjustment layer to give the mountains some green.

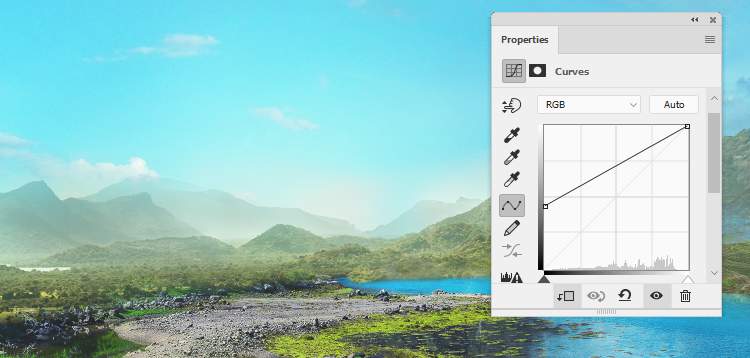
Add a Curvesadjustment layer to decrease the visibility of the mountains.
Step 24
Open the mountain 2 image and place it in the right of the foreground. Add a mask to this layer to remove background, leaving the mountains and the plant around it visible only.


Step 25
Make a new layer and use a small soft brush with the color #606b5cto paint on the front of the mountain to reduce the light on it. Change this layer mode to Multiply 25%.
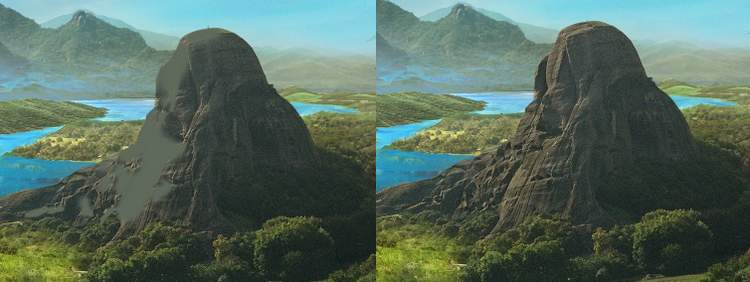
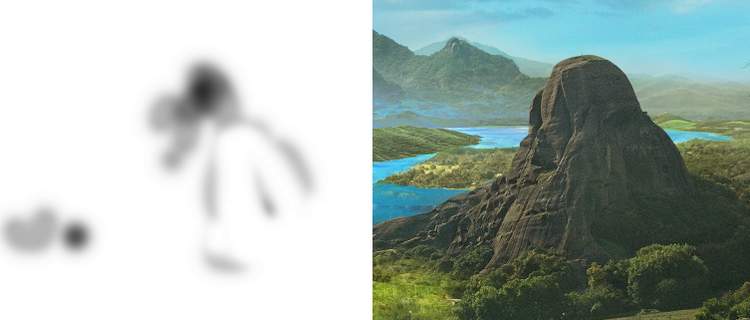
Create a new layer and use a soft brush with the color #d2ccabto paint on the shadow areas of the mountain. Alter the layer mode to Soft Light 30%and use a layer mask to reduce the effect on some details.

Step 26
Add a new layer, change the mode to Overlay 100%and fill with 50%gray. Use the Dodgeand Burn Tool to refine the light and shadow on the mountain.

Step 27
Make a Hue/Saturation adjustment layer and bring the Yellowsvalues up to +12:

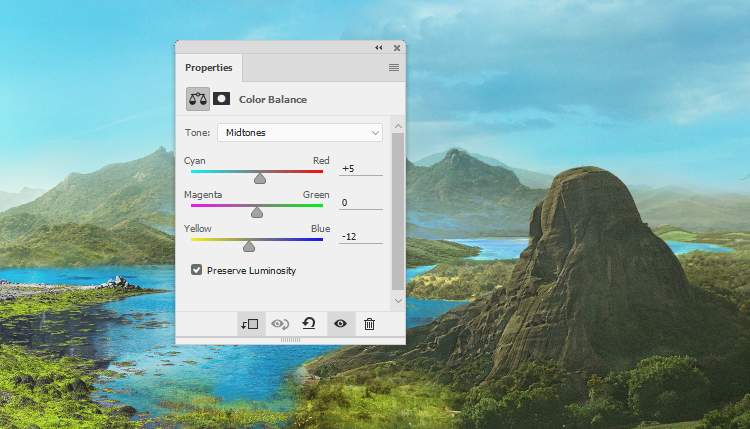
Create a Color BalanceBalanceand alter the Midtonessettings:
Add a Curvesadjustment layer to increase the contrast of the mountain and the environment around it.
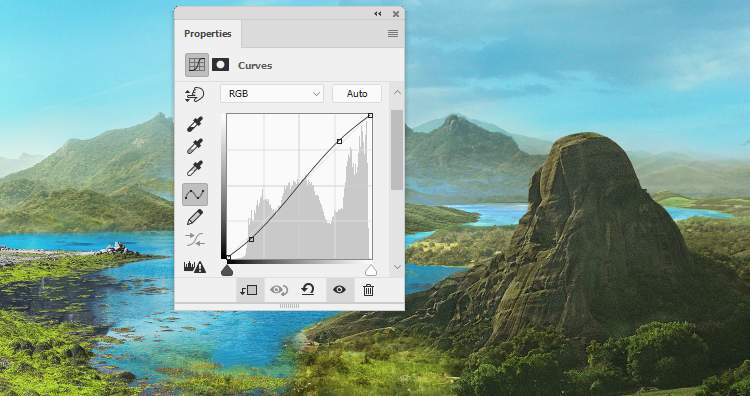
Make a Brightness/Contrastadjustment layer and bring the Brightnessvalues to+35. On this layer mask, paint on some bright details of the mountain to reduce the light there.

Step 28
Open the landscape 4 image and use the Lasso Toolto select the midground and foreground to add to the left of the main document. Convert this layer to a Smart Object.
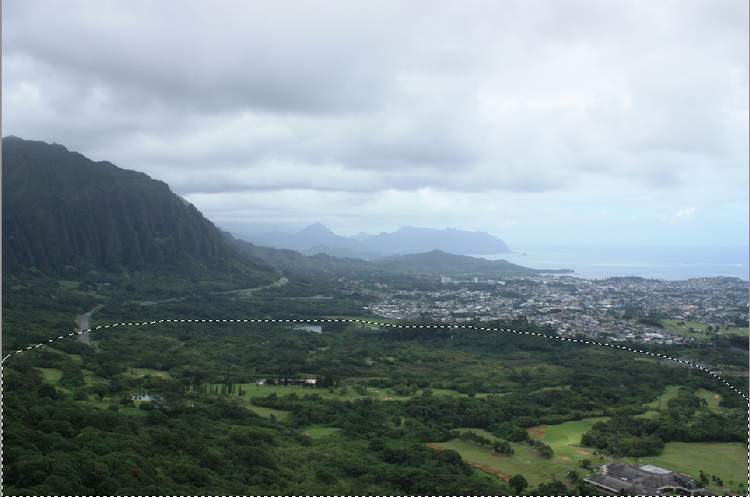
Add a mask to this layer to remove the hard edges to blend it with the existing ground.


Step 29
Go to Filter > Sharpen > Unsharp Mask and fill in the following settings to make this part sharper.

Step 30
Create a new layer (set as Clipping Mask), change the mode to Overlay 100%and fill with 50%gray. Use theDodgeand Burn Tool to paint more details, light and shadow for this part.


Step 31
Duplicate this layer and move it to the right of the foreground. Flip it horizontally (Edit > Transform > Flip Horizontal) and use a layer mask to blend it with the foreground besides the mountains 2.
2 responses to “How to Create a Scenic Landscape Photo Manipulation with Adobe Photoshop”
-
the pictures are in purchase mode
-
Pls, can the tutorials be in video form
-


Leave a Reply