Step 27
Right-click the Blur Tool in the left toolbar and choose the Smudge Tool. Set the size to 10 and the Strength to 55 and smudge the flame(s) of your candle upward to give the impression of motion.

Step 28
Create a new layer called “smoke.” Choose the Brush Tool, open the Brush panel and load your smoke brushes (see Step 13 if you forgot how.) Select the “Sampled Brush 3” and click once over the candle flame. To see the names of the brushes, hover your mouse over the thumbnail and wait a moment for the tooltip to appear.

Use the Move Tool to elongate the smoke by about 100 pixels.

Step 29
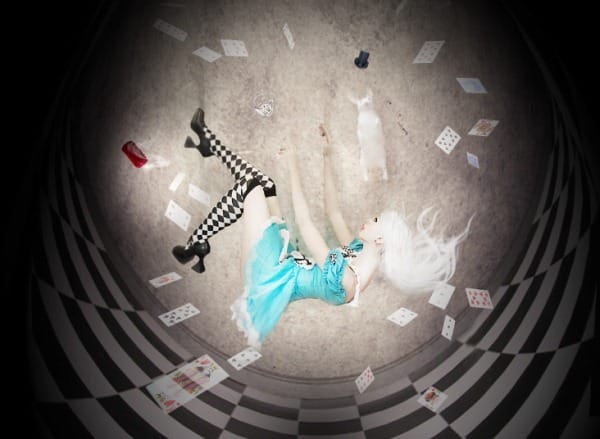
Click “File > Place” and choose the playing cards image. Scale it down a bit and then drag the layer below the “alice” group. Add a mask to the layer and brush over some of the cards to thin them out.
Set the layer mode to Linear Burn when finished.

Step 30
Save your PSD. You have a completed composite, but it still doesn’t quite have the right mood. The next several steps will walk you through how to use a few techniques to adjust the lighting and tone of the finished image.
Hold down the Shift key and select all of your layers in the Layer panel. Click “Layer > New > Group from Layers” and name it “Composite.” Right-click the group and choose “Duplicate Group.” Right-click the group copy and choose “Merge Group.” Set the merged layer mode to “Screen” and reduce the Opacity to 60%.

Step 31
Click “Layer > New Fill Layer > Solid Color: and click “OK.” Enter “2d260a” into the # field and click “OK.” Change the layer mode to “Screen.”

Step 32
Add another Fill Layer using Solid Color. Enter “0a1a25” into the # field and click “OK.” Set this layer mode to “Exclusion.”

Step 33
Create a third Solid Color Fill Layer set to “ffcc00.” Set this layer mode to “Multiply” and reduce the Opacity to 10%.

Step 34
Click on “Layer > Flatten Image.” Click on “Image > Adjustments > Selective Color” and select “Blacks” from the Colors list. Enter “-12” into the Yellows field and “54” into the Blacks field. Select “Absolute” and click “OK.”

Step 35
Right-click your flattened image layer and choose “Duplicate.” Click “Image > Adjustments > Hue/Saturation.” Enter “-80” into the Saturation field, make sure “Colorize” is not checked and click “OK.”
8 responses to “How to Create an “Alice in Wonderland” Inspired Artwork with Photoshop”
-
Love it
-
dank je wel voor deze super tutorial
-
AMAZING but I did it myself and it was 10x better
-
what an awesome tutorial!!
-
c_oOl n_-eX+ d_0 j_Us)+_iN_n b_iE_-Be_r
-
amazing tutorial thanks
-
AWESOME TUTORIAL!~
LOOKS WICKED!~
-
Thanks Vail Joy, its helpful on me!


Leave a Reply