
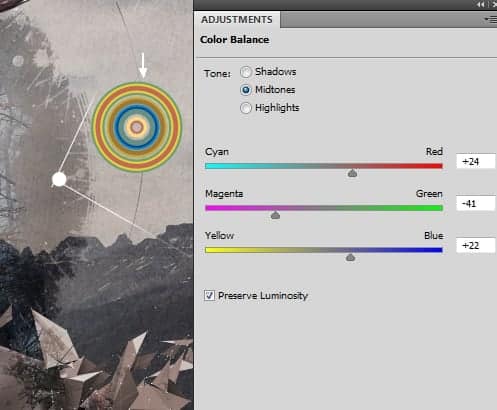
I used Color Balance and Hue/Saturation to change its color:

Add another circle to another side of the model and use Hue/Saturation for it:
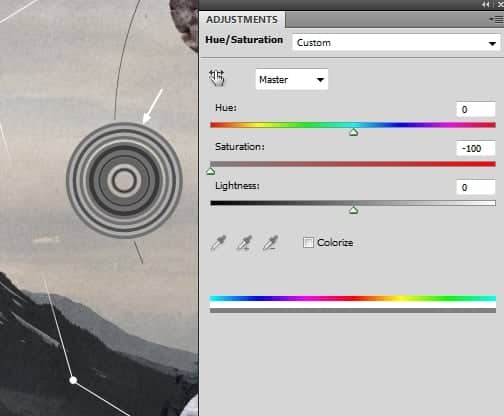
Step 24
Continue adding more the circles and match their color with the background using adjustment layers:


Step 25
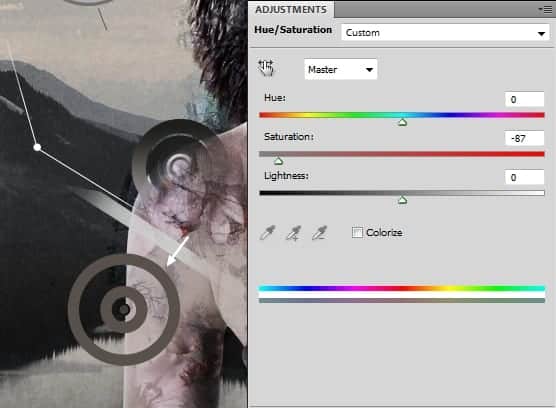
I added one circle to the one of the model arms and blur its opacity using a layer mask:

Use Hue/Saturation for this layer:
Step 26
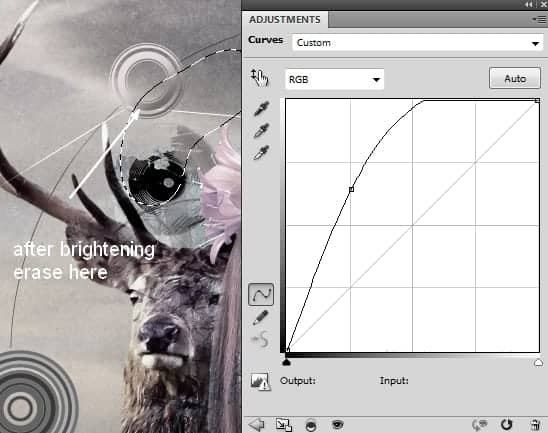
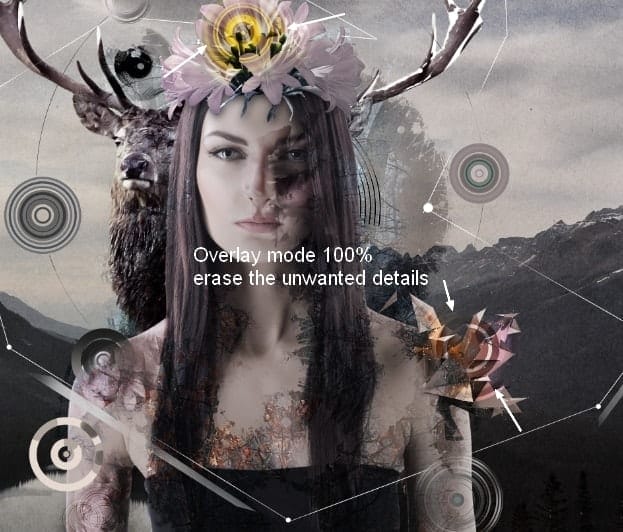
I used three circle designs to add to the head, shoulder and arm and changed their mode to Overlay 100%. Add a layer mask to each layer and erase the unwanted details:

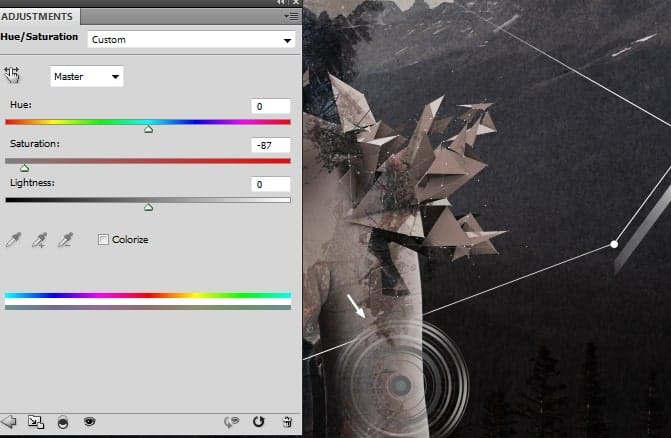
Use Hue/Saturation to desaturate the color effect:

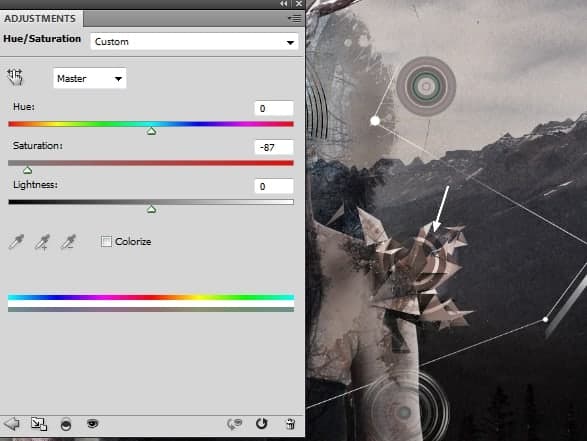
Step 27
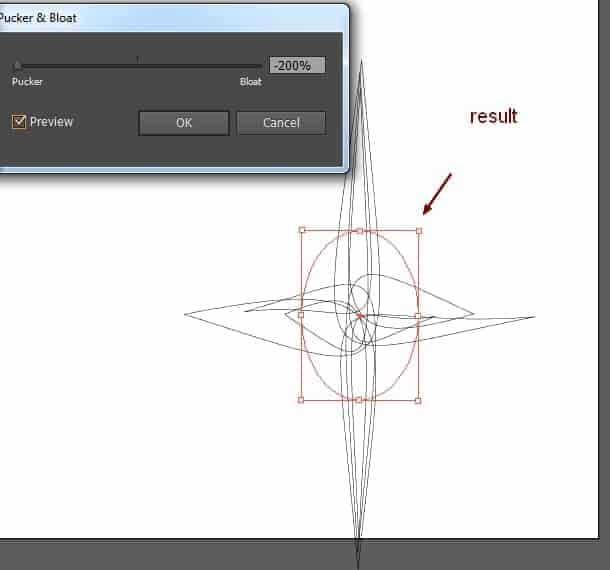
Come back to Illustrator. Create a new document and use the Pen Tool to draw a random shape with black color, the troke 1 pt as shown below:

Go to Effect > Distort & Transform > Transform:

Go to Effect > Distort & Transform > Pucker & Bloat:
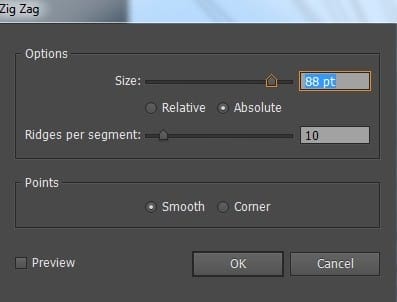
Click the same links, choose Zig Zag:
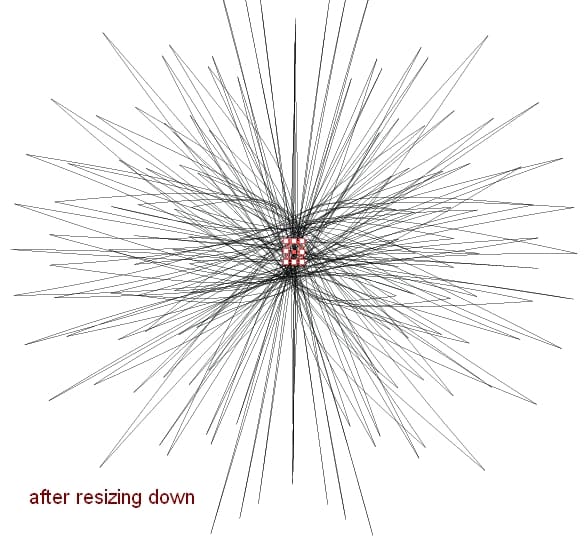
We have this result:
Resize it down to fit the document:
Save it as an EPS file.
Step 28
Open this file in Photoshop and rasterize it. Place this shape under one circle, also set this layer under the model one:

Step 29
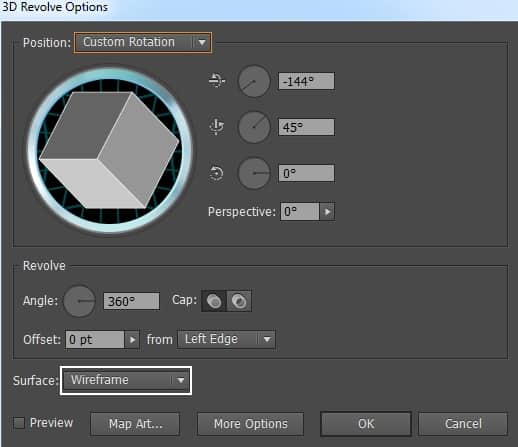
Time for Illustrator again. Create a new document and draw two shapes as shown below (you can draw the first then duplicate it, transform):

Go to Effect > Distort & Transform > Transform:

Go to Effect > 3D > Revolved:
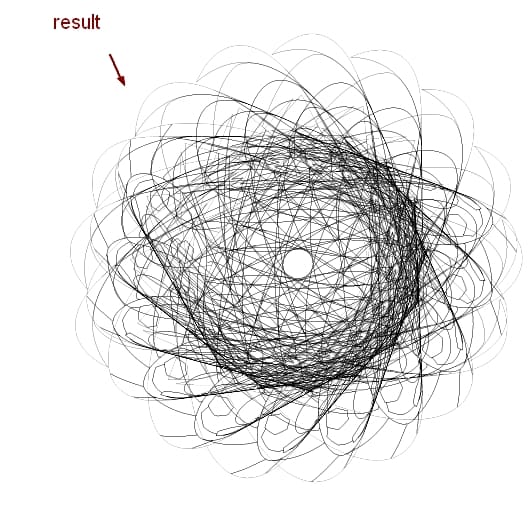
Apply Pucker & Bloat:

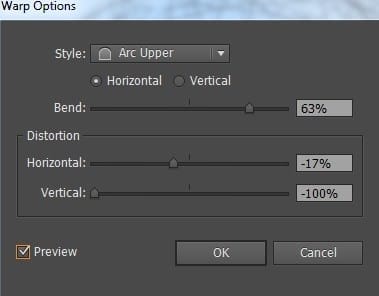
Go to Effect > Warp > Arc Upper:
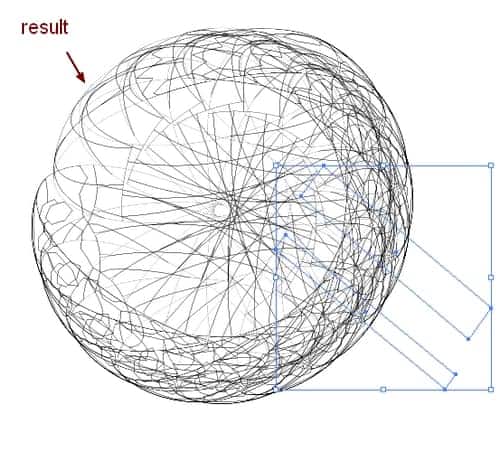
Save it as an EPS file.
Step 30
Open this wireframe in Photoshop and rasterize it. Place it over the model head and change the mode to Overlay 100%:
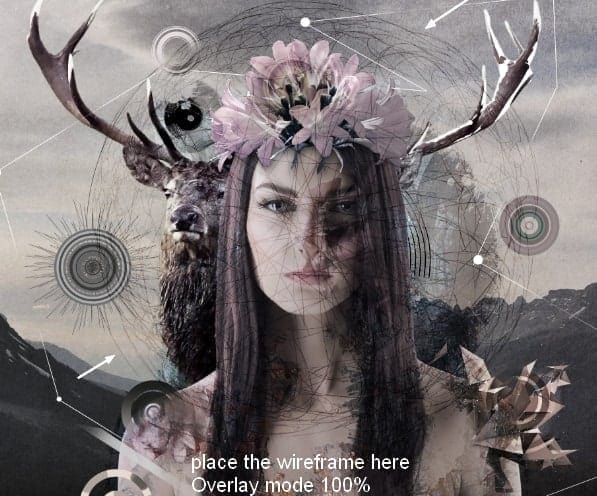
Add a mask to this layer and clear any unecessary parts:
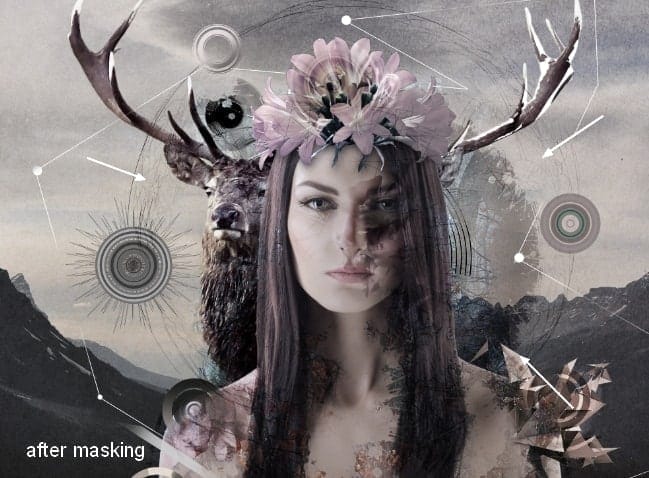
Step 31
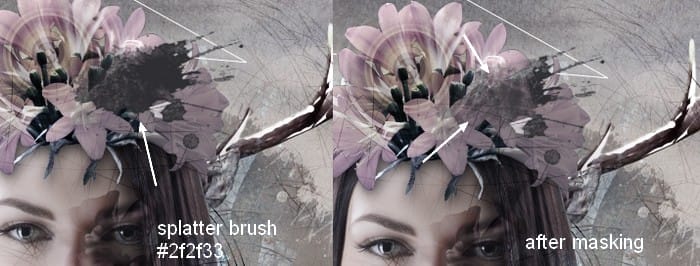
Make a new layer on the top. Use the splatter brushes with the color #2f2f33 to paint on the flower on the head then use a soft black brush on its layer mask to blend it with the flower:
Continue using these brushes with the same color to add to the flower and the model arm. I changed the brush layer mode on the arm to Overlay 100%:

Step 32
Make several layers on the top and change the brush color to #413338. Paint them on and around the model, deer, circles. I changed the brush layers mode on the face and shoulder to Overlay 100%:
5 responses to “Composite a Modern Matte Portrait in Photoshop”
-

Beautiful ;)
-
I don’t fully understand step 7? Pls help!
-
The tutorial is fine for the most part but I’m astonished that the author can get away with such laziness. The point of a tutorial is to teach you _how_ not what you did.
Let me help you:
Add a Curves layer (from the adjustments panel). Add a point in the middle of the line and drag it down. This will darken it. OR…. add a Brightness/Contrast layer instead of Curves. No reason to use curves for something this basic.Click on the layer mask thumbnail in the layers panel. Use the Brush tool (b) and then right-click on the document and pick a round brush with a hardness of 0-50%. Set your foreground color to black and then paint over the areas that you want to brighten back up.
-
-
where can i get some of your tutorials, pls am a graphic designer and i want to learn more. pls help
-
Pls help send. Autocad 2d tutorials.
Leave a Reply