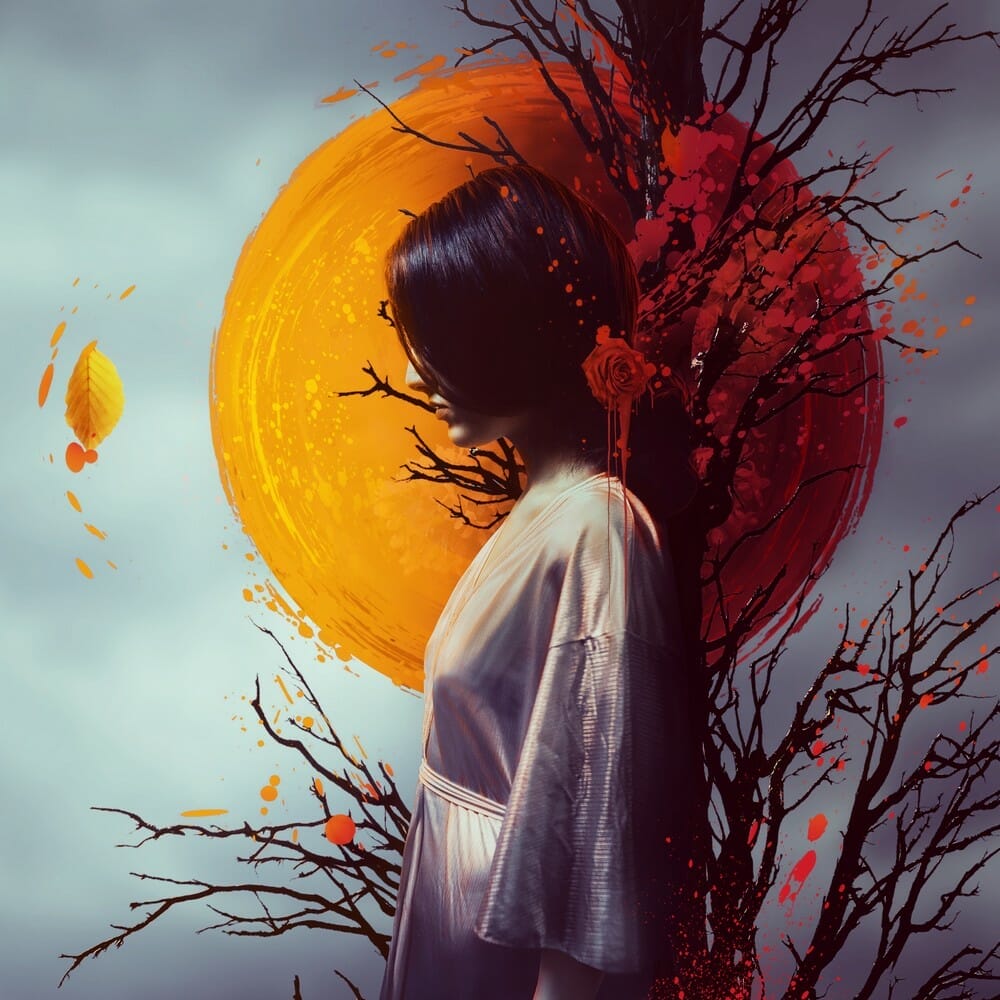
In this tutorial I’ll show you how to create an abstract, fantasy autumn piece featuring an emotional woman. First, we’ll add the sky and then build an abstract circle using several images and brushes. Later, we’ll add the tree, model, leaf and rose and use an splatter image and some splatter brushes to increase the abstract feel of the artwork. We’ll use several adjustment layers to enhance the final effect.
Preview of the Final Result

Tutorial Resources
Step 1
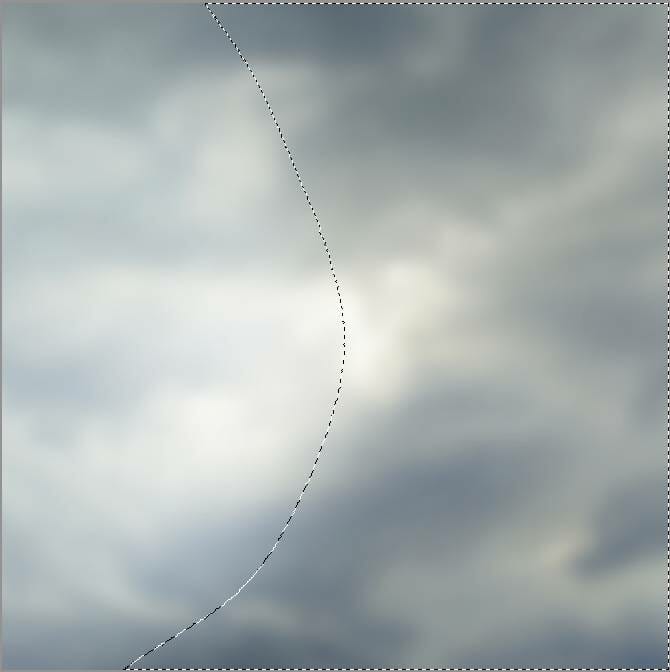
Create a new 2000×2000 px document in Photoshop and fill it with white. Open the sky image and use the Rectangular Marquee Tool (M) to select the sky part only. Drag this sky part into our white canvas using the Move Tool (V) . Convert this layer to a Smart Object.

Step 2
Go to Filter > Blur > Gaussian Blur and set the radius to 25 px.

Step 3
Go to Layer > New Adjustment Layer > Hue/Saturation and change the Hue values to +14:

Step 4
Create a Curves adjustment layer and increase the lightness. On this layer mask, activate the Brush Tool (B) and select a soft round one with black color. Use this soft black brush to erase the right of the canvas to keep the lightness there (we aim to make the main light source from the left to right).


Step 5
Make another Curves adjustment layer to darken the right of the canvas more. On this layer mask, use a soft black brush to reveal the light on the left.

Step 6
Add a Hue/Saturation adjustment layer and bring the Saturation values down to -59:

Step 7
Hold the Shift key and use the Elliptical Marquee Tool to make a circle on the canvas as shown below. Go to Layer > New Fill Layer > Solid Color and pick the color #6f1818.


Step 8
Create a Curves adjustment layer above the fill color and set it as Clipping Mask. Increase the lightness and on this layer mask, use a soft black brush to erase the right to fit the main light from the left.

Step 9
Make another Curves adjustment layer (set as Clipping Mask) and darken the top right of the circle more. On this layer mask, paint on the rest to reveal the light there..

Step 10
Create a new layer on top of the layers and activate the abstract circle brushes. Set the foreground to #6d1617 and select the brush 8 to paint on the left of the existing circle. Go to Edit > Transform > Flip Horizontal :
2 responses to “How to Create an Abstract, Fantasy Autumn Artwork with Adobe Photoshop”
-
Pity the Tutorial .zip does not work
-
Beautiful artwork ❤️


Leave a Reply