Download Lightroom presets and LUTs, absolutely free. Use the presets to add creativity and style to your photos.
Step 23
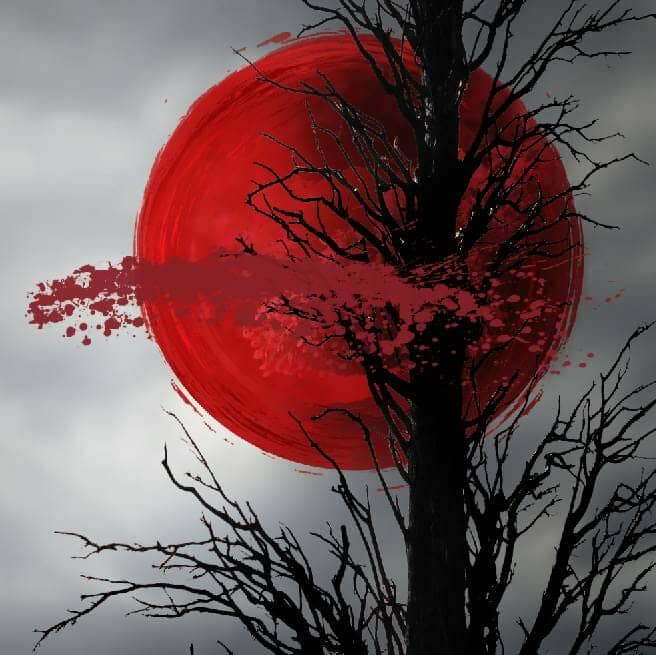
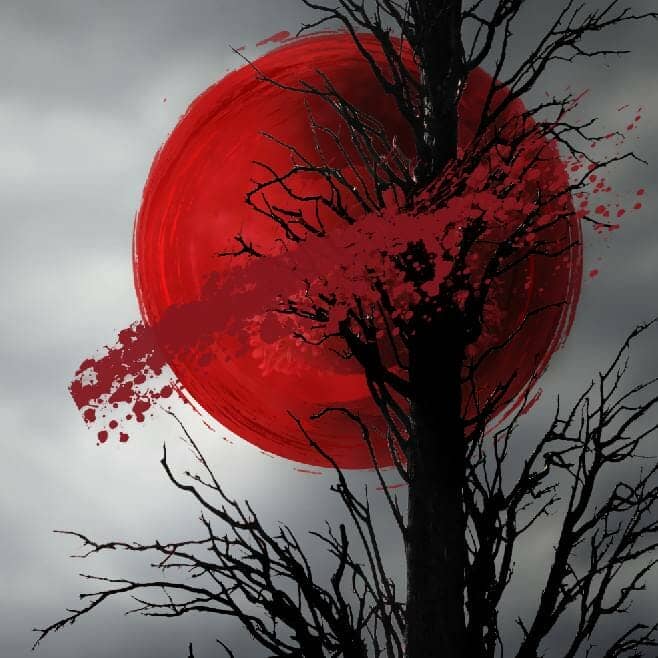
Use the brush 67 with the color #85161f to paint on the upper of the tree's branches and use a layer mask to erase a bit of the details as shown below:

Step 24
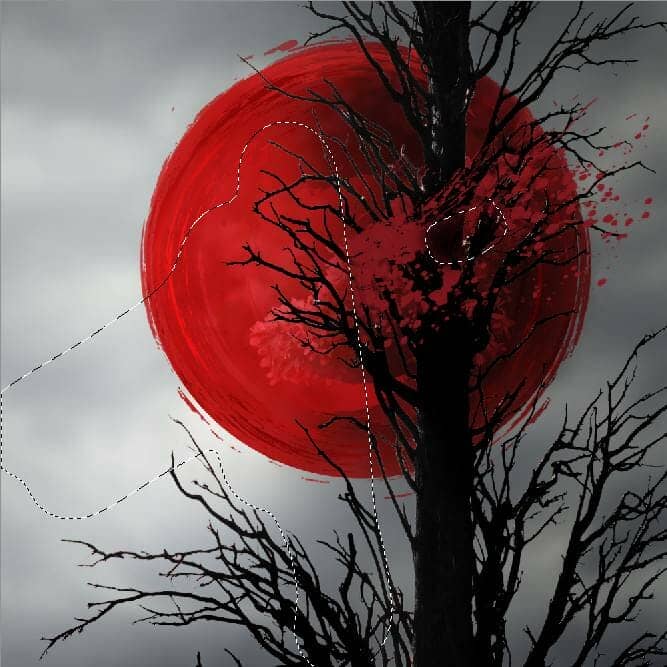
Use the brush 40 with the color #e13e58 to paint on the left of the abstract circle. Change this layer mode to Overlay 100% and use a layer mask to reduce the effect on the upper and bottom part .


Step 25
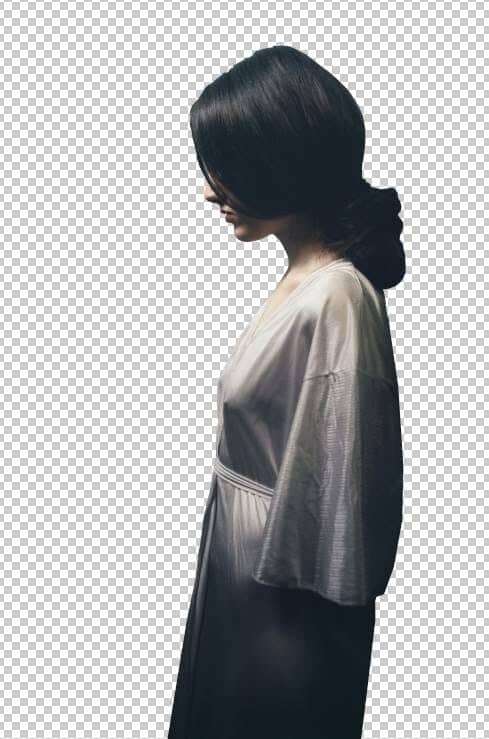
Open the model image and cut her out from the background.
Step 26
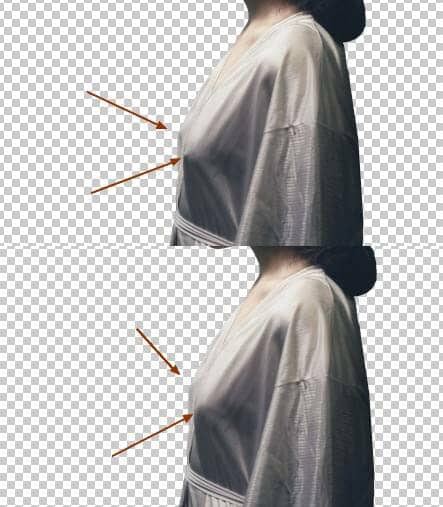
Create a new layer and use the Clone Tool (S) to fix some details on her breast.
Step 27
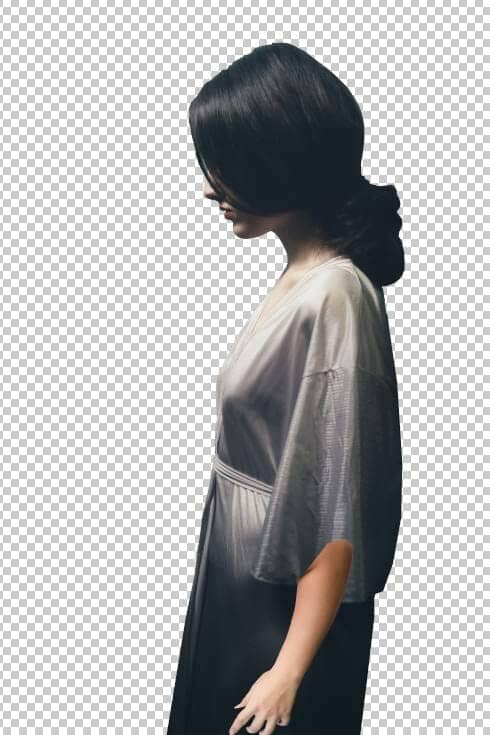
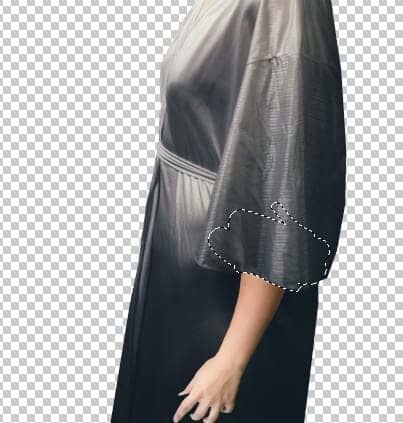
We'll add an arm to the model's body. Open the image of the girl with a horse and cut her arm to add to the main model. Use Ctrl+T to rotate the arm to fit the pose of the existing model. Add a mask to this layer and use a hard black brush to erase the top of the arm to make the arm appear below the sleeves.
Step 28
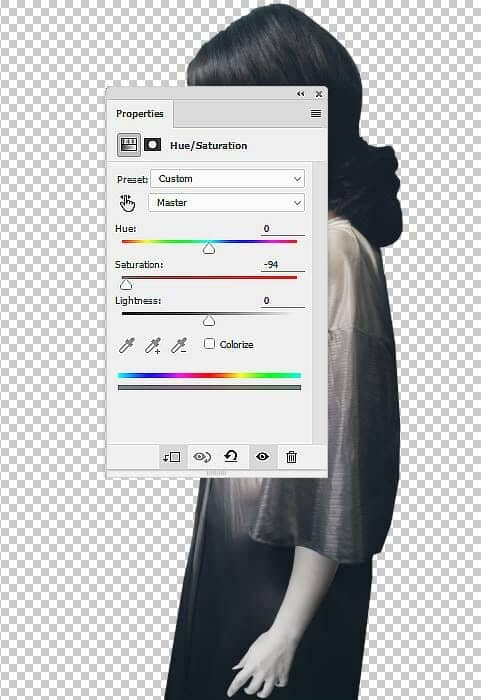
Make a Curves adjustment layer above the arm's layer and set it as Clipping Mask. Bring the Saturation values down to -94:
Step 29
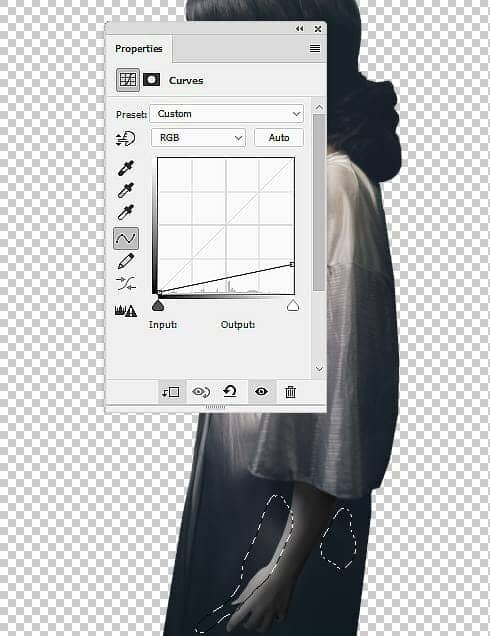
Create a Curves adjustment layer to darken the arm. On this layer mask, paint on the front and below the arm to reveal some light there.
Step 30
Make a new layer below the arm's one and use a soft brush with the color #0e1219 to paint shadow for the arm.
Step 31
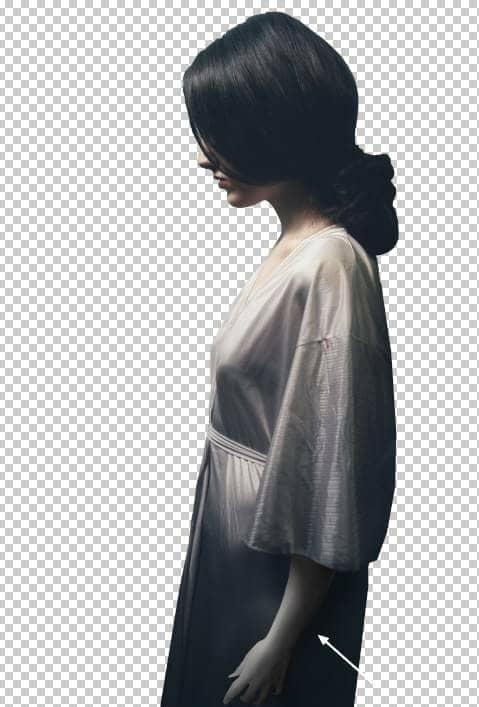
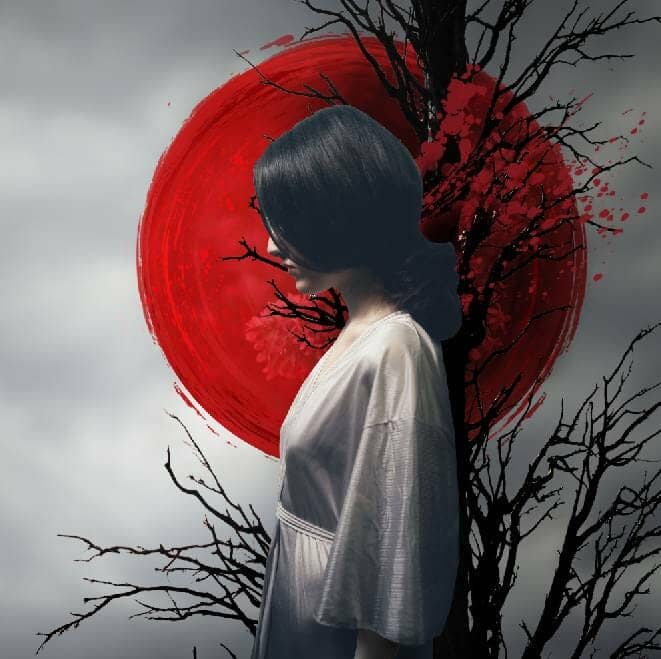
Turn off the background layer and hit Ctrl+Shift+Alt+E to merge all of the transparent layers into a new one. Drag the merged model into the main document and place it on the middle of the main canvas.
Step 32
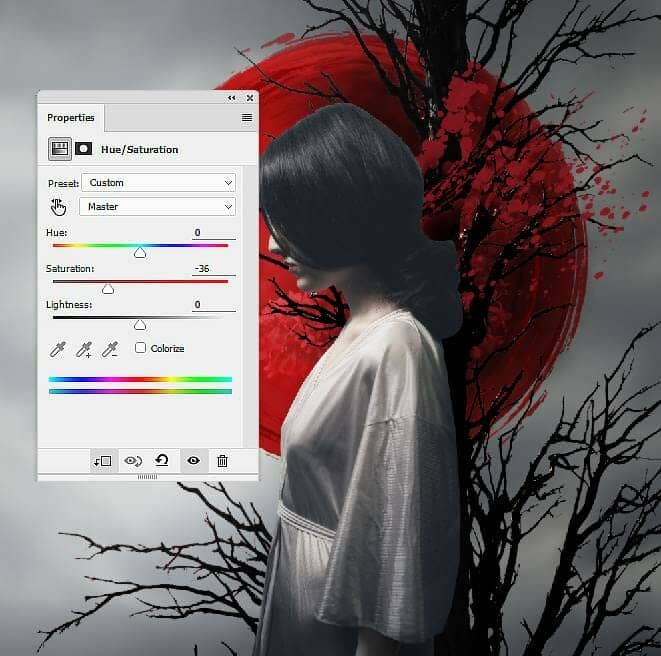
Create a Hue/Saturation adjustment layer (set as Clipping Mask) and change the Saturation settings to -36.
Step 33
Make a Selective Color adjustment layer to give the model some light red cast.

Step 34
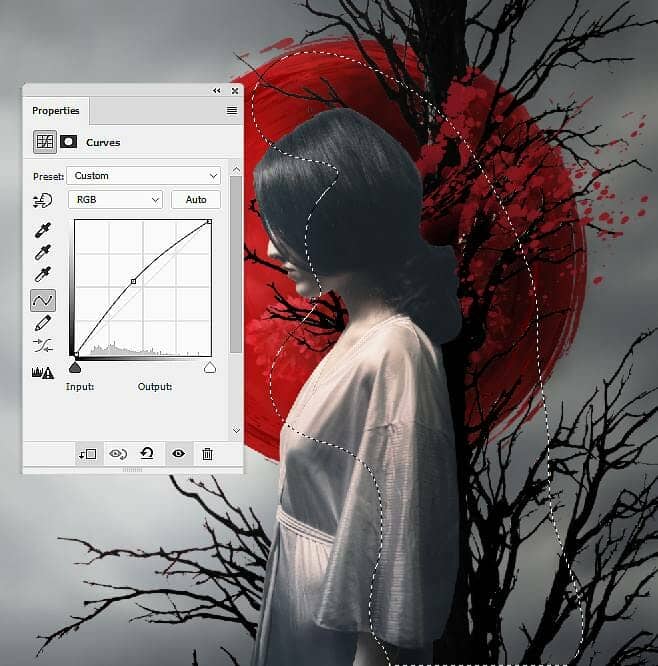
Add a Curves adjustment layer to bring more light to the face and bottom of the dress of the model. The selected part shows where to paint on the layer mask.
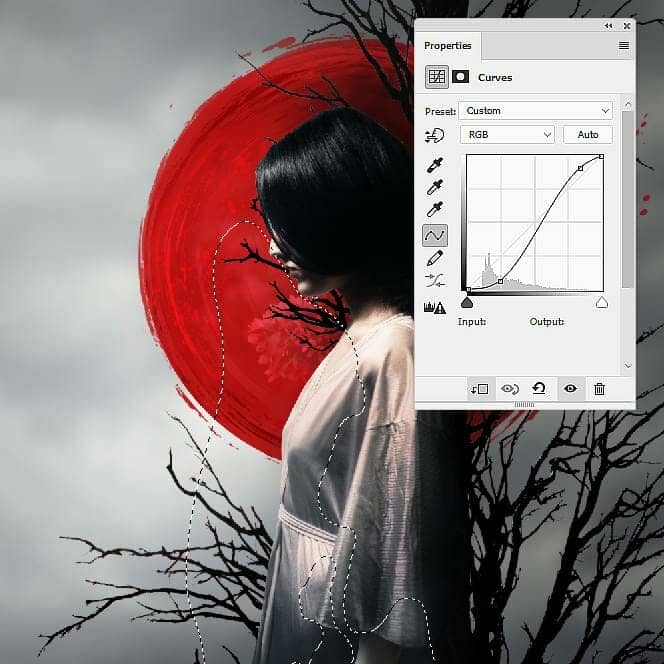
Make another Curves adjustment layer to increase the contrast of the model. Paint on the front of the dress and arm to reduce the effect there.
Step 35
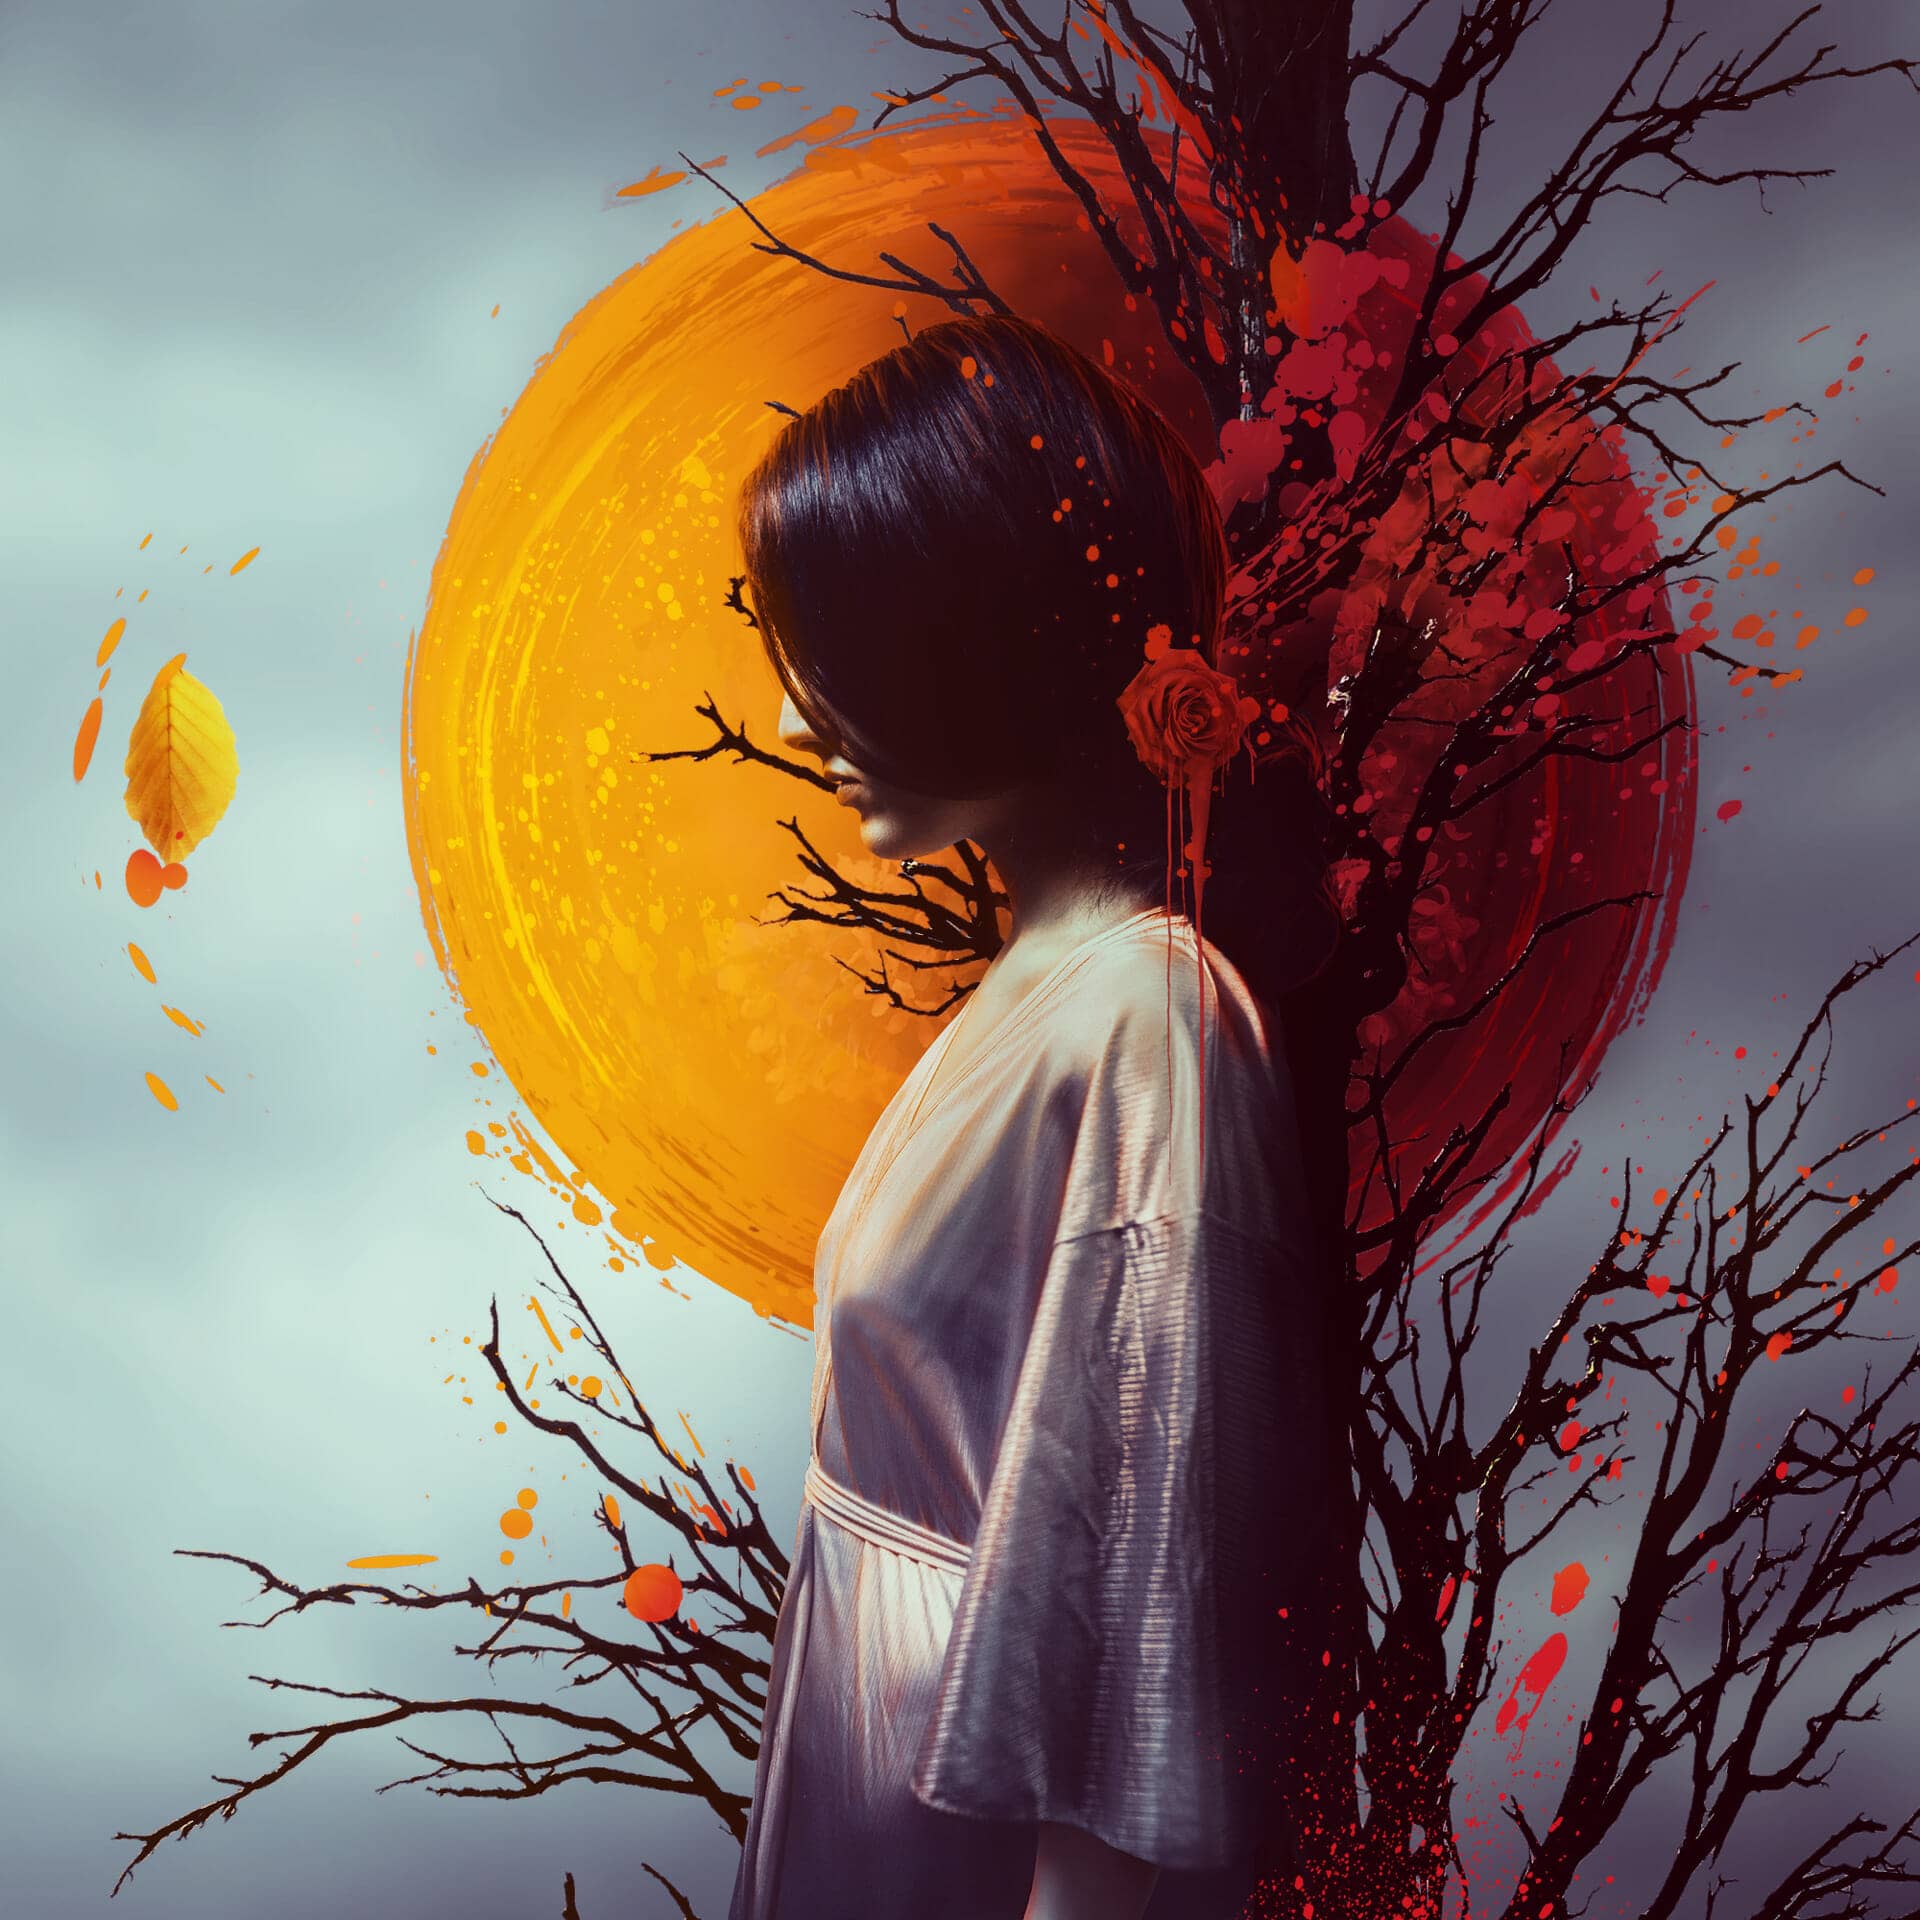
Create a new layer, change the mode to Overlay 100% and fill with 50% gray. Use the Burn Tool (O) with Midtones Range, Exposure about 10% to paint more shadow on the sleeves and shoulder. You can see how I did it with Normal mode and the result with Overlay mode.

2 comments on “How to Create an Abstract, Fantasy Autumn Artwork with Adobe Photoshop”
Pity the Tutorial .zip does not work
Beautiful artwork ❤️