Download Lightroom presets and LUTs, absolutely free. Use the presets to add creativity and style to your photos.


Step 11
Click the second icon at the bottom of the Layers panel to add a mask to this layer. Use a soft black brush to reduce the top left of the circle.

Step 12
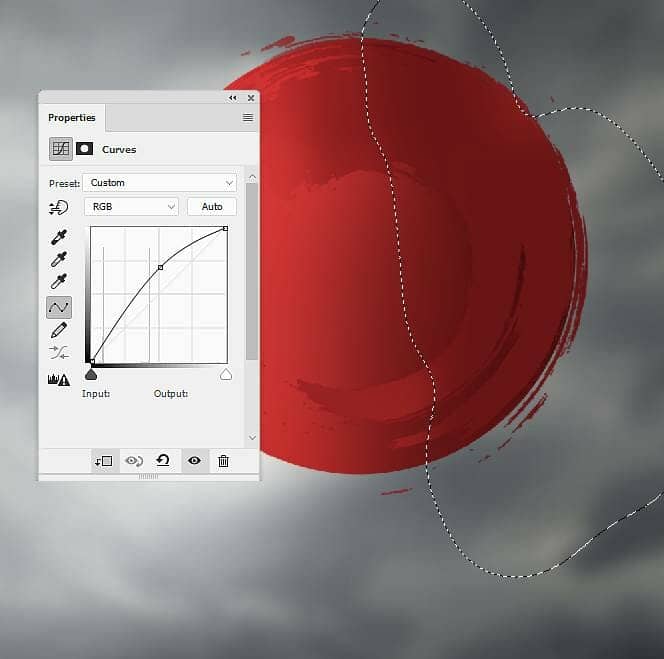
Make a Curves adjustment layer (set as Clipping Mask) and increase the lightness. on this layer mask, paint on the right of the circle so it won't be affected by this adjustment layer.
Step 13
Create a new layer and change the brush's color to #cb2122 . Use the same brush to paint on the left of the circle. Add a mask to this layer and use a soft black brush to erase the part on the top right of the effect.


Step 14
Add a new layer and use the brush 2 with the color #a01012 to paint inside the big circle. Change this layer mode to Color Dodge 100%.


Step 15
Duplicate this layer and change this layer mode to Linear Burn 100%. Use a layer mask to erase the left of this circle.


Step 16
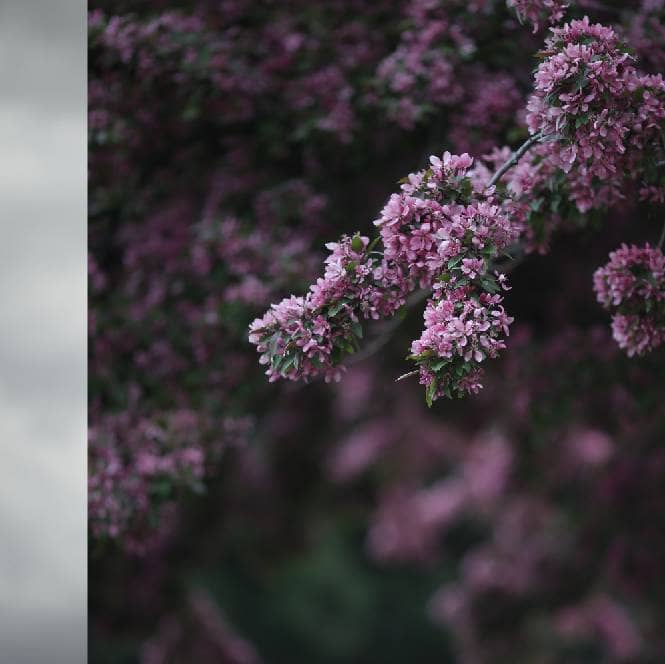
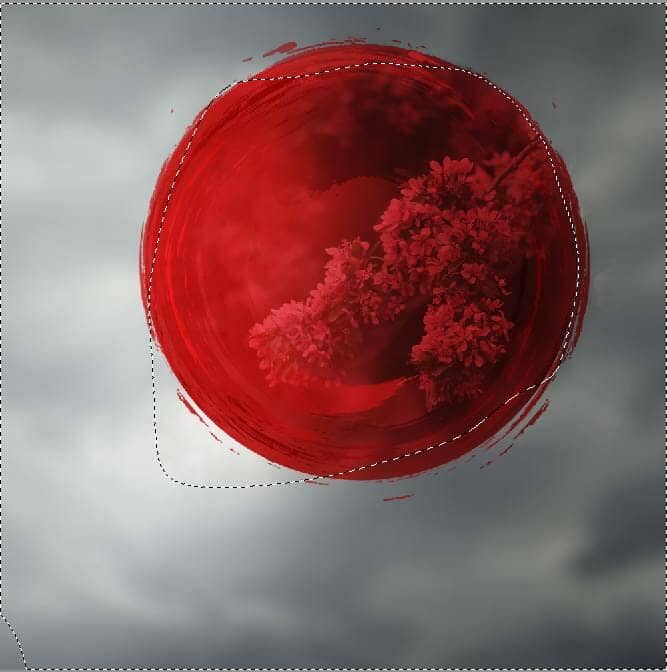
Open the flowers image and place it onto the main canvas and change this layer mode to Overlay 70%. Add a mask to this layer and use a soft black brush to remove the part outside the circle.
Step 17
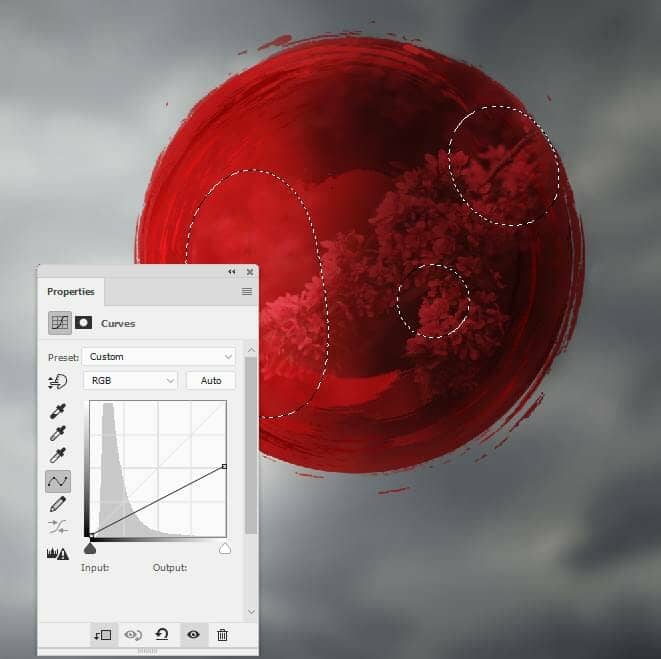
Create a Curves adjustment layer (set as Clipping Mask) to darken the right of the flower background. Use a layer mask to reveal the light on the left and on some parts which are dark enough.
Step 18
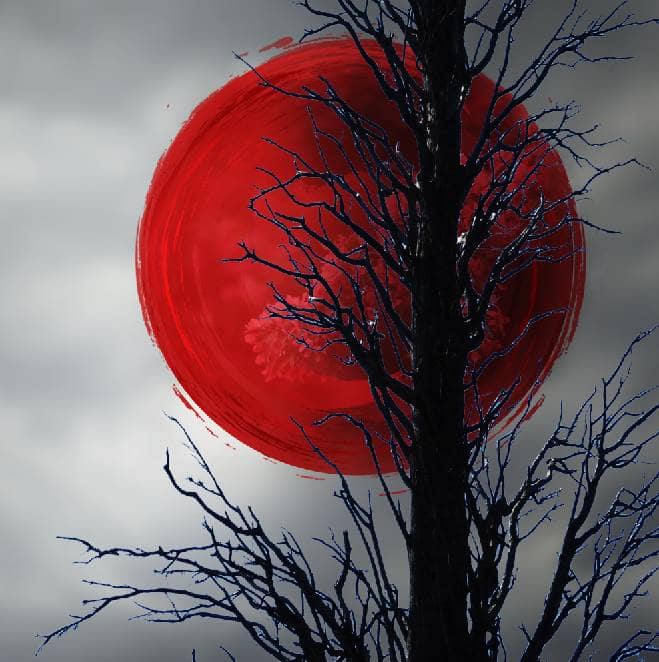
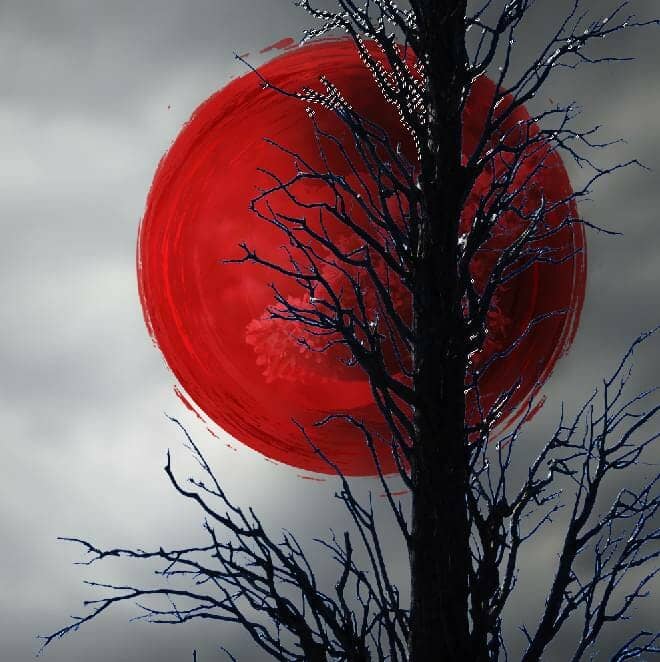
Cut out the tree from the background and place it on the right of the main document. Add a mask to this layer and use a small hard black brush to remove some unwanted details remained after isolating.
Step 19
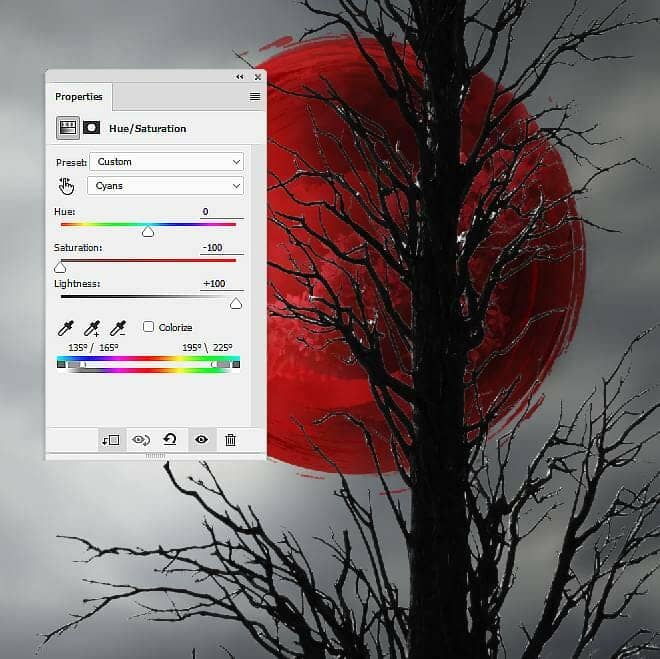
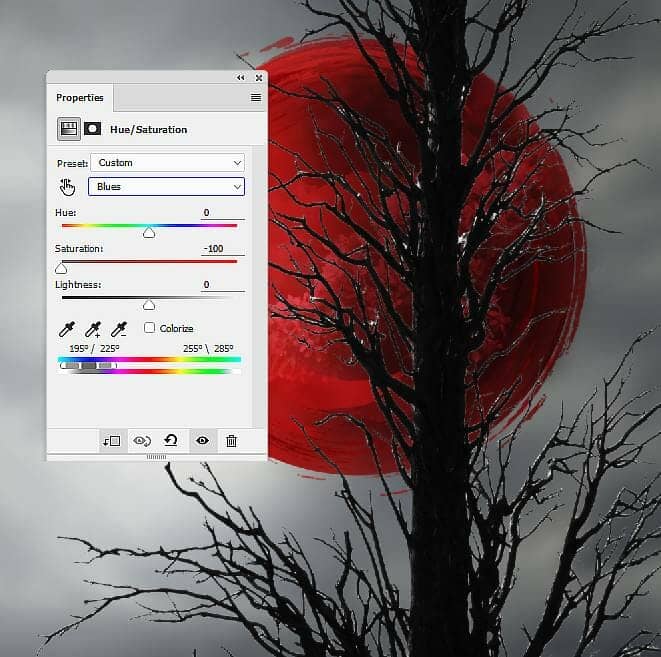
Make a Hue/Saturation adjustment layer and change the Cyans/Blues settings. This step is to turn the cyan/blue cast of the tree to white.
Step 20
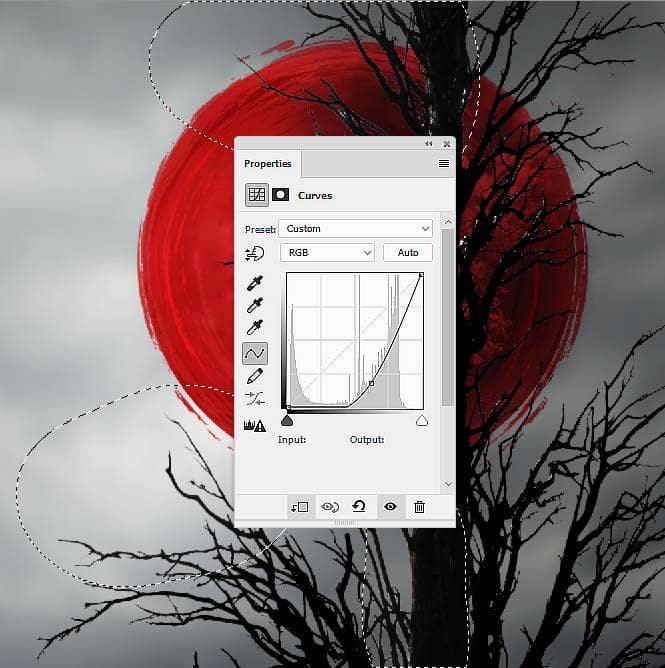
Create a Curves adjustment layer and decrease the lightness. On this layer mask, use a soft black brush to remove the dark effect on the top left, bottom middle and some branches on the bottom left.
Step 21
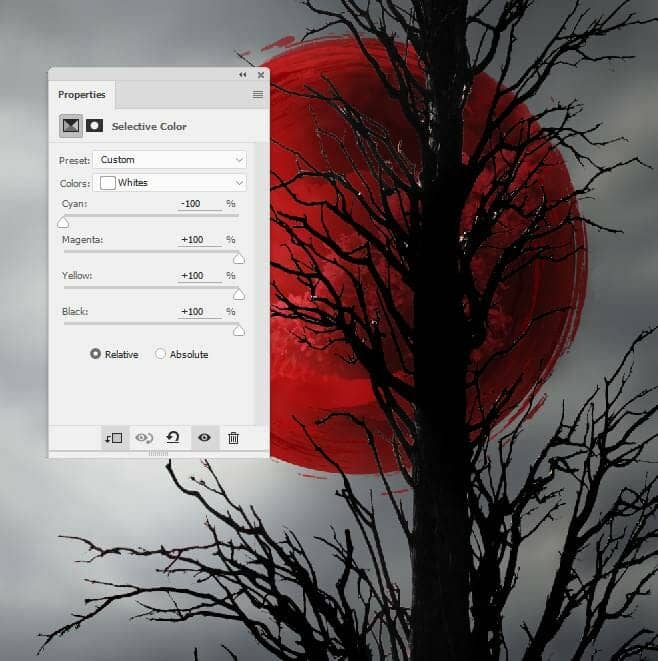
Use a Selective Color adjustment layer and change the Whites values, giving some red cast to the tree.
Step 22
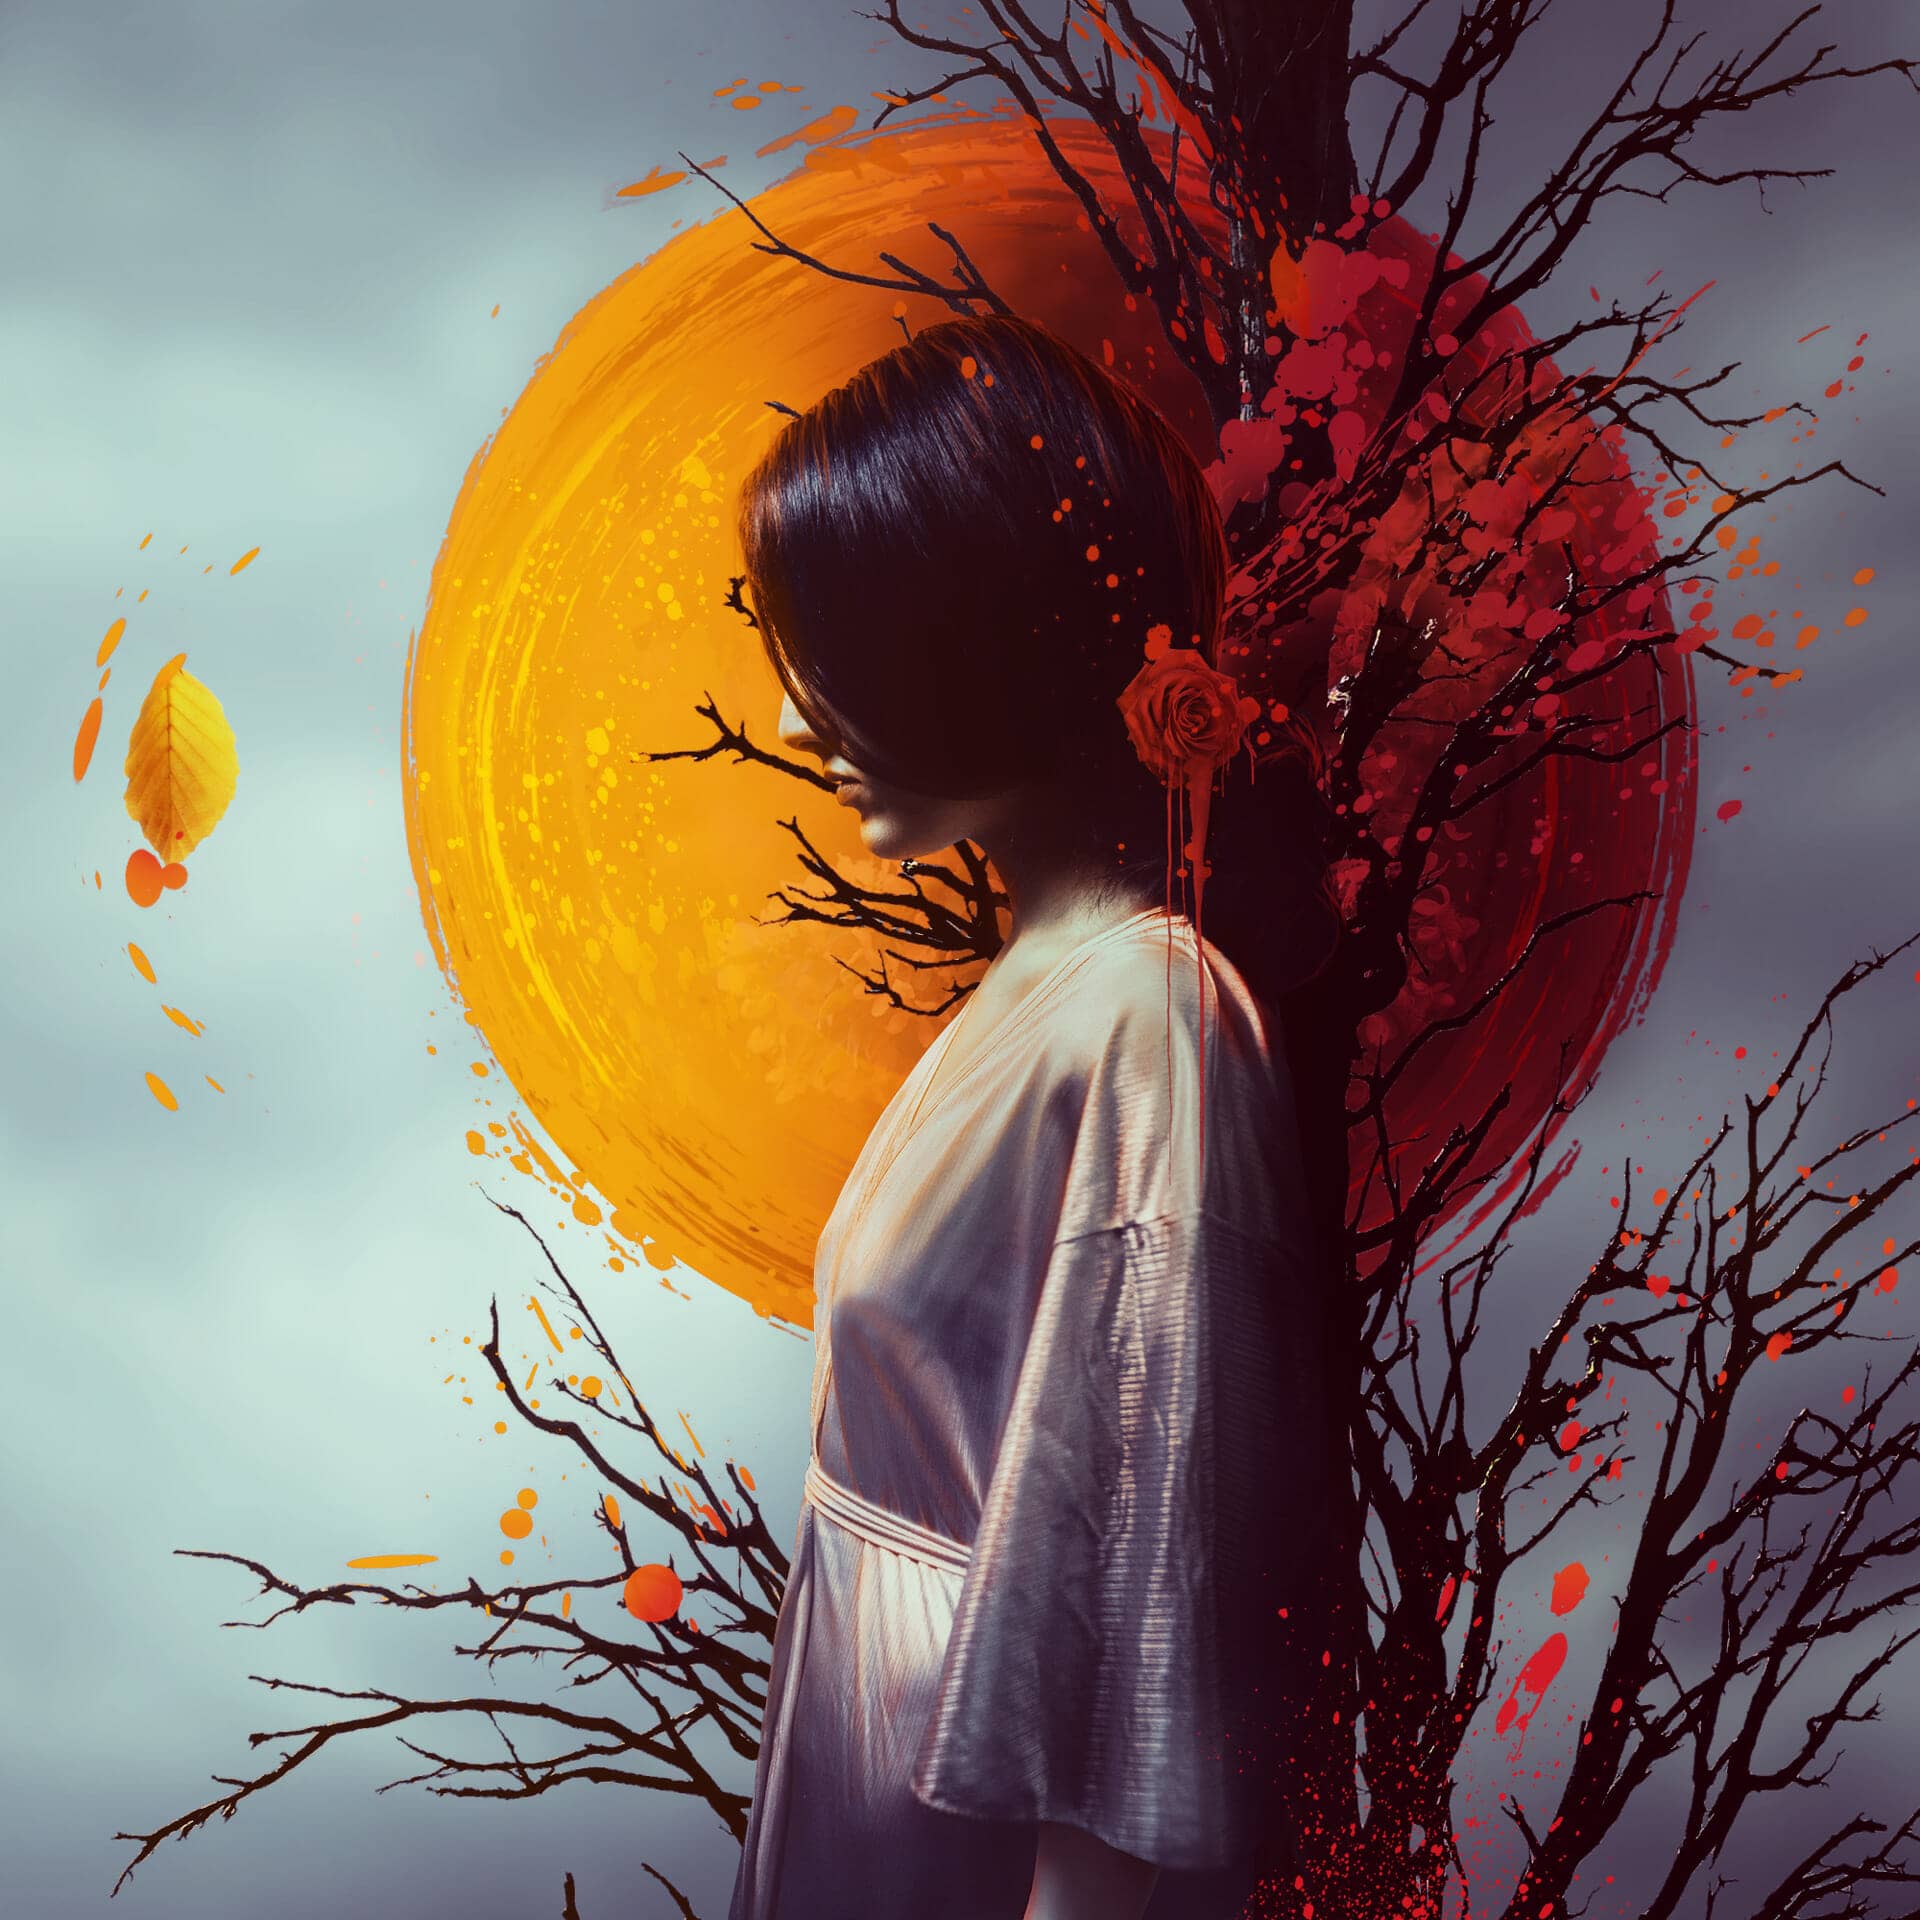
Make a new layer on top of the layers and change the brush to the splatter ones. Use the brush 44 with the color #892028 to paint on the canvas as shown below. Use the Free Transform Tool (Ctrl+T) to rotate it a bit and add a mask to this layer. Use a soft black brush to erase the part on the left and on the trunk.


2 comments on “How to Create an Abstract, Fantasy Autumn Artwork with Adobe Photoshop”
Pity the Tutorial .zip does not work
Beautiful artwork ❤️