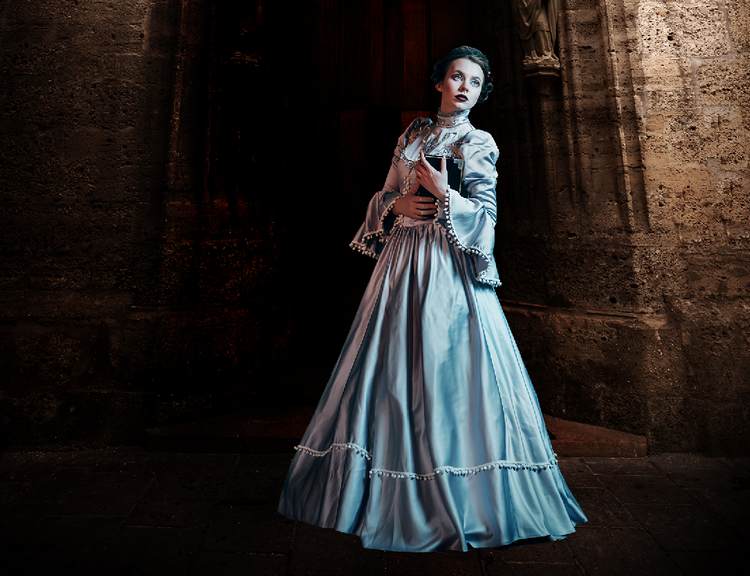
In this tutorial, I’ll show you how to create a fantasy piece featuring a ghost woman in a mysterious dark scene. You’ll learn how to combine different stock images together, turn a woman in a ghost one, adjust color, enhance the mood and more.
Preview of the Final Result

Tutorial Resources
Step 1
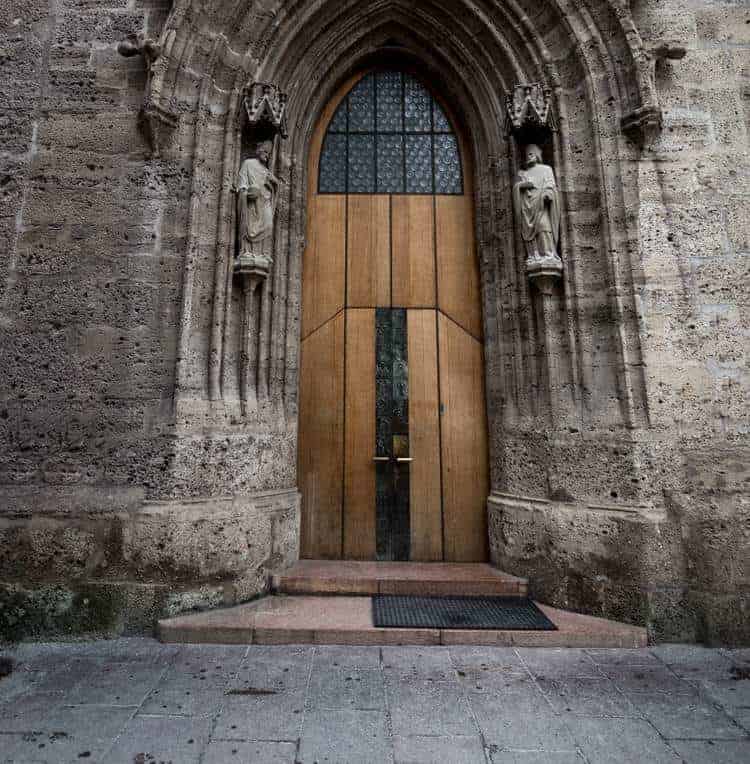
Create a new 1666×1697 px document in Photoshop and fill it with white. Open the background image and drag it into the white canvas using the Move Tool (V).

Step 2
We’ll remove one detail on the door as it looks messy through the transparent dress of the model. Hit Ctrl+Shift+N to make a new layer and activate the Clone Tool (S). Use this tool to erase the indicated detail.

Step 3
Go to Layer > New Adjustment Layer > Color Balance and change the Midtones and Highlights values to give the background some warm tone.


Step 4
We’ll be making a dark scene so the background should be darker. Create a Curves adjustment layer and reduce the lightness. On this layer mask, activate the Brush Tool (B) and select a soft round one with black color. Use this brush to erase the dark effect on both sides of the top of the wall and the lower right as we aim to make some light on these areas.


Step 5
Make another Curves adjustment layer to make the background, especially the door darker and mostly hidden in the shadow. On the layer mask, paint on the both sides of the wall to reveal the lightness there.

Step 6
Isolate the model and place her on the area near the middle of the foreground.

Click the second icon at the bottom of the Layers panel to add a mask to this layer. Use a medium-soft black brush to reduce the opacity of the model’s dress , make it appear semi-transparent but leave the wrinkles more visible than the rest.

Step 7
Make a Hue/Saturation adjustment layer above the model’s one and set it as Clipping Mask. Bring the Saturation values to -43 to reduce the cyan of the model’s dress, especially the part exposed in the light a bit. On this layer mask, use a soft black brush to erase the head and the part hidden of the model to keep it color’s saturation.


Leave a Reply