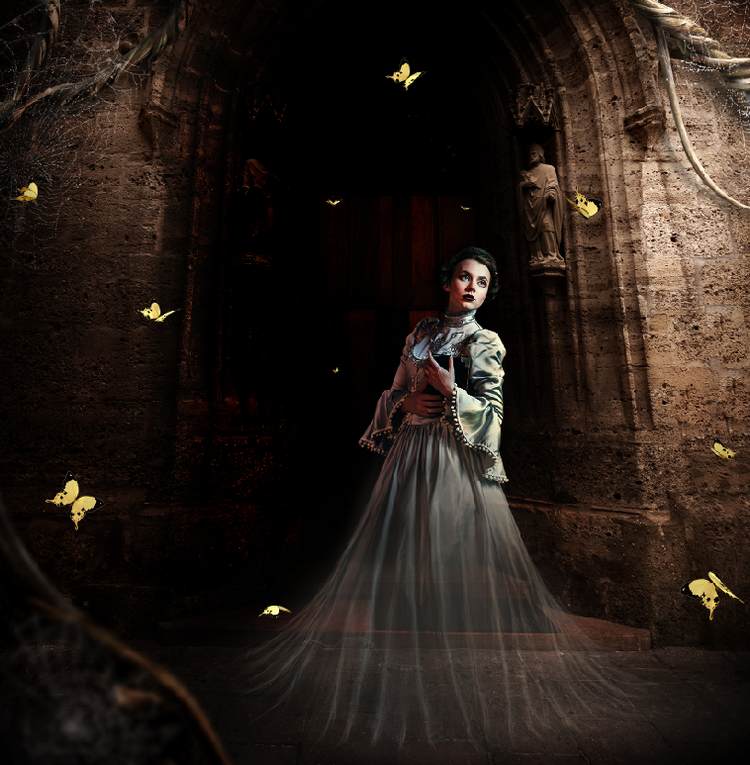
Step 28
Double click each of the butterfly layers , choose Outer Glow. Set the color of glow to white.
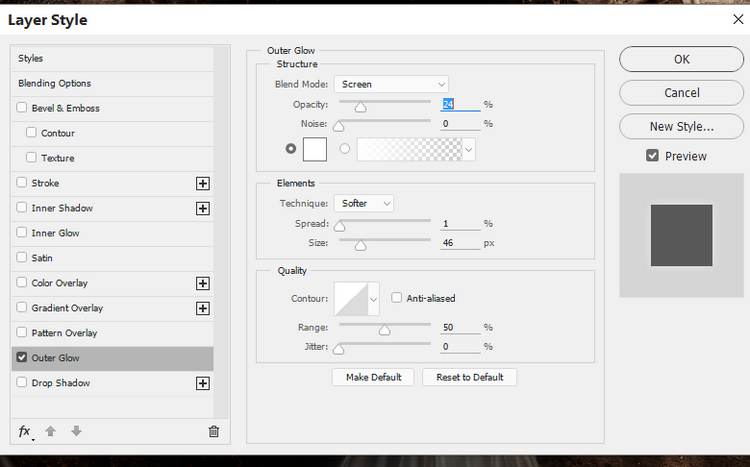

Step 29
Apply a Gaussian Blur of 6 px to the big butterflies on the foreground to help increasing the depth of the scene.

Step 30
Create a group for the butterflies layers and add a Color Balance adjustment layer to give the butterflies more vibrant.

Step 31
Use a Curves adjustment layer and increase the light so much to give the butterflies some ghostly effect.

Step 32
Add a mask to this butterflies group and use a soft black brush with a lowered opacity (about 20-30%) to reduce their visibility to make them more mysterious.
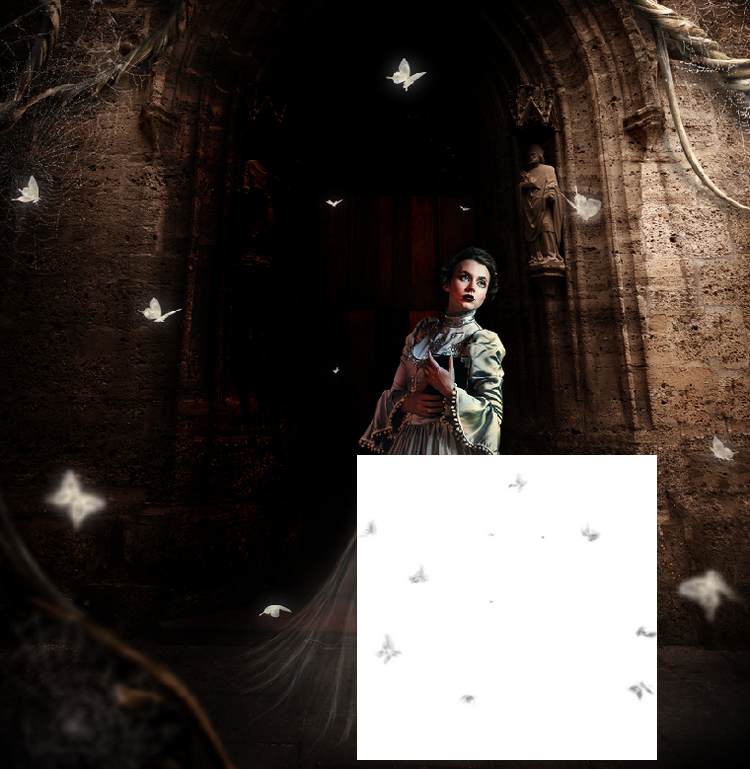
Step 33
Make a new layer on top of the layers and use a soft brush with the color #9c9489 to paint over the butterflies . Change this layer mode to Linear Dodge 20% give them some glowing effect.


Step 34
Create a new layer and select a small brush with the color #9c9489. Press F5 to change the settings of this brush:


Use this brush to paint tiny dots around the transparent dress. You can hit [ or ] while painting to change the size of the brush if needed.

Hit Ctrl+G to make a group for this layer and alter this layer mode to Color Dodge 100%.

Step 35
Make a new layer and the same brush to paint bigger dots on the dress. I’ve used a layer mask to reduce their visibility and the unwanted dots.


Step 36
Create a Channel Mixer adjustment layer on top of the layers and change the Red and Blue settings.


On the mask of this layer, use a soft black brush to erase the blue effect on the right side, leaving the blue visible only on the left.
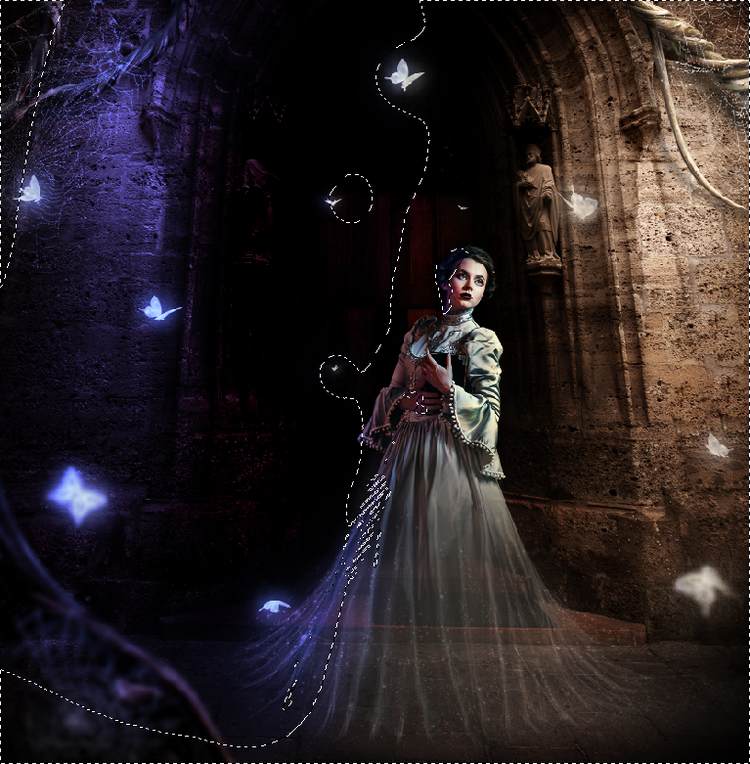
Step 37
Make a Gradient Map adjustment layer and pick the colors #e10019 and #00601b. Lower the opacity of this layer to 20%.

Step 38
Add a Color Balance adjustment layer and alter the Midtones and Highlights values:


Step 39
Use a Vibrance adjustment layer to enhance the whole effect. Paint on some butterflies to reduce the blue cast on them.

Step 40
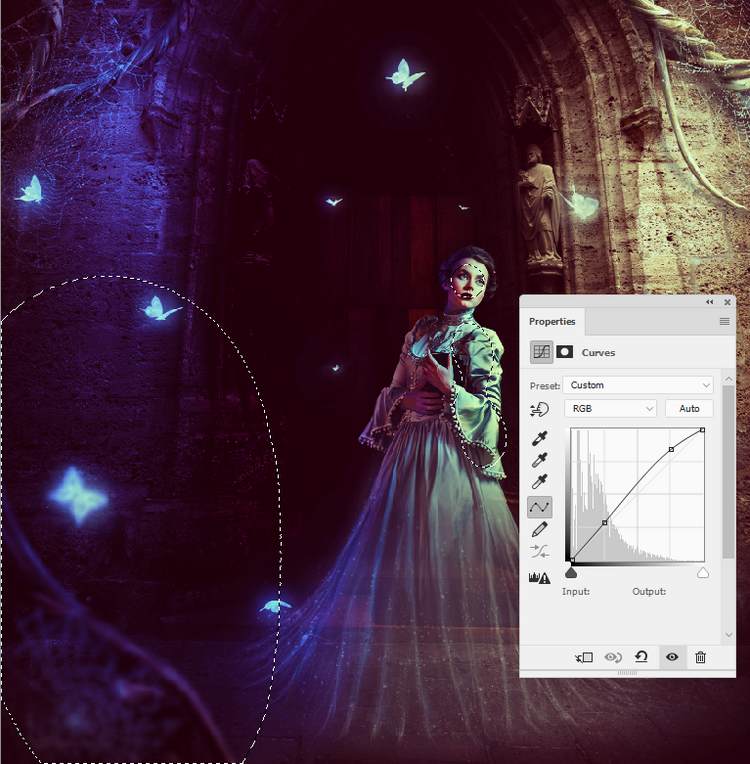
Make a Curves adjustment layer to increase the light and contrast of the scene a bit. Paint on some areas to keep their lightness.
Final Result


Leave a Reply