Luminar AI lets you turn your ideas into reality with powerful, intelligent AI. Download the photo editor and see how you can completely transform your photos in a few clicks.
Activate the Brush tool (B) and input the following:
- Brush size: 1300px
- Hardness: 0%
- Opacity: 15%
- Flow: 100%
- #: 000000
And, let’s paint!
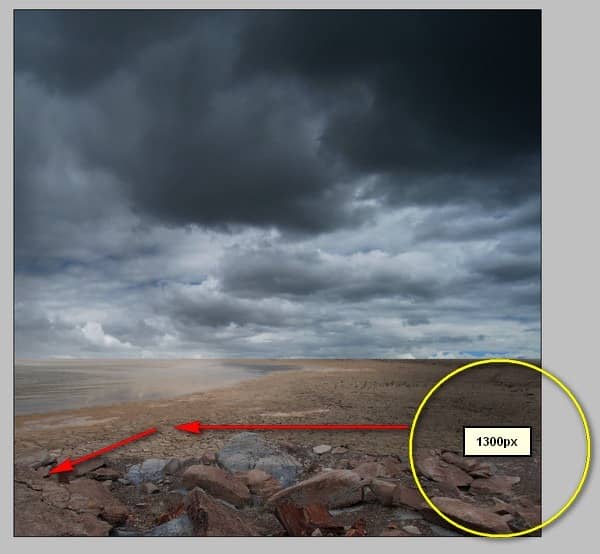
The result of that should bring about something similar to this:
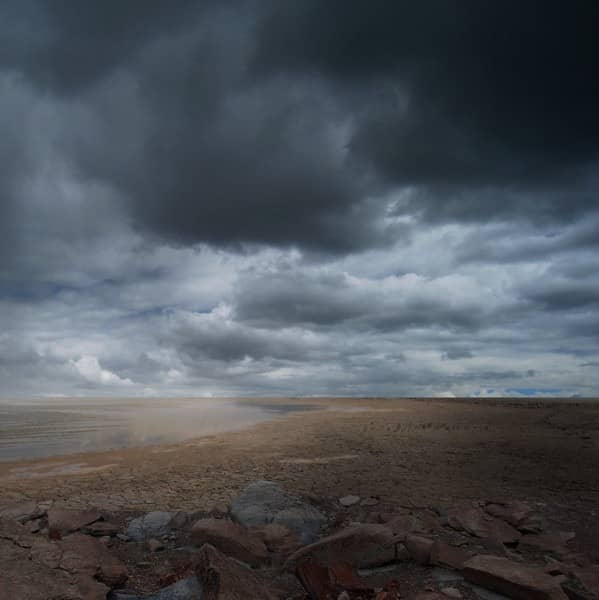
The background is now complete, so select all the layers that we’ve created and then press Ctrl/Cmd + G to group all these layers. Once you’re done, rename the group to “BG”.
Note: Renaming a group is similar to renaming a layer.
Step 4: Create the Wall
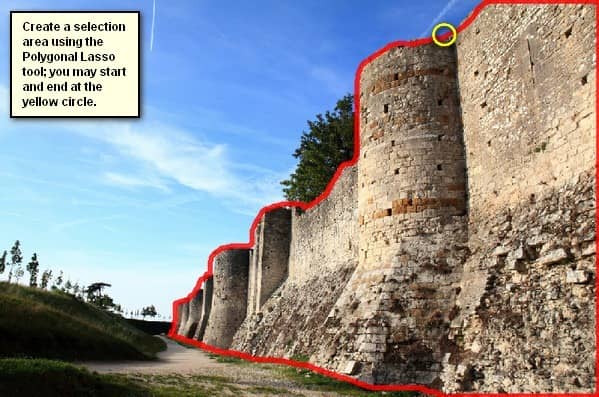
Now, we will be adding the huge castle wall where a mysterious light will come out. To start, let’s open the stock image: “Battlements” by OeilDeNuit.
Once opened, activate the Polygonal Lasso Tool (L) and create a selection area around the castle walls. See image below:
Next, activate the Move tool (V) and drag the selected area to our canvas. Put this layer above all the “BG” group that we’ve created.
Position the castle wall as shown on the image below:
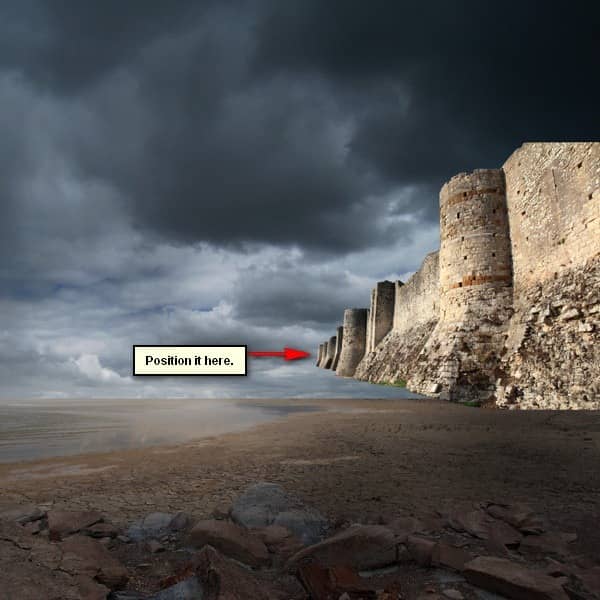
Rename it now to “castle wall”. After that, activate the Transform tool (Ctrl/Cmd + T) and resize it as shown on the images below:
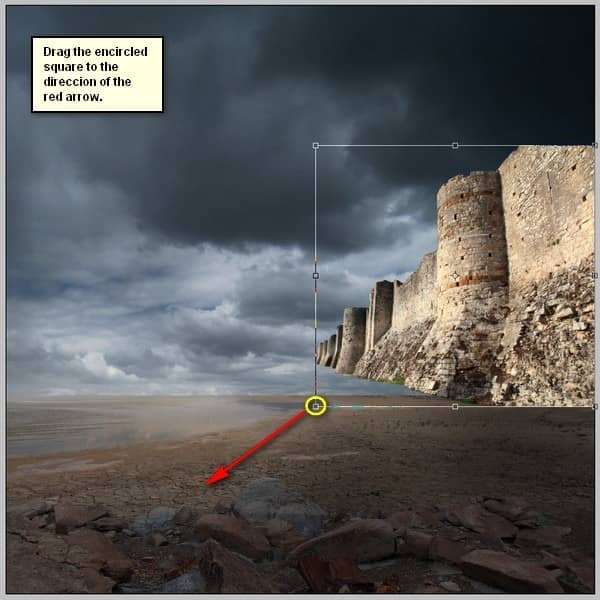
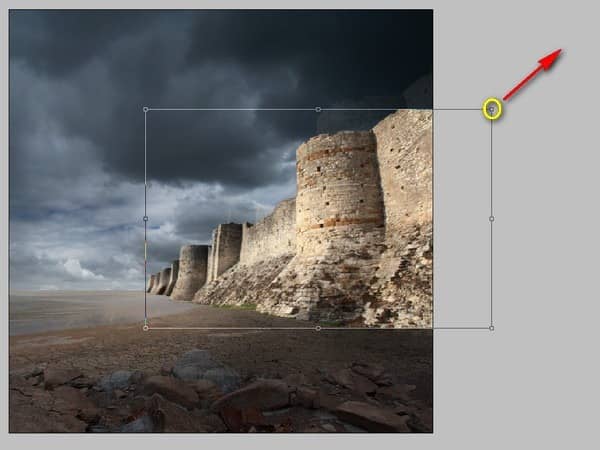
The result of that should be something like this:
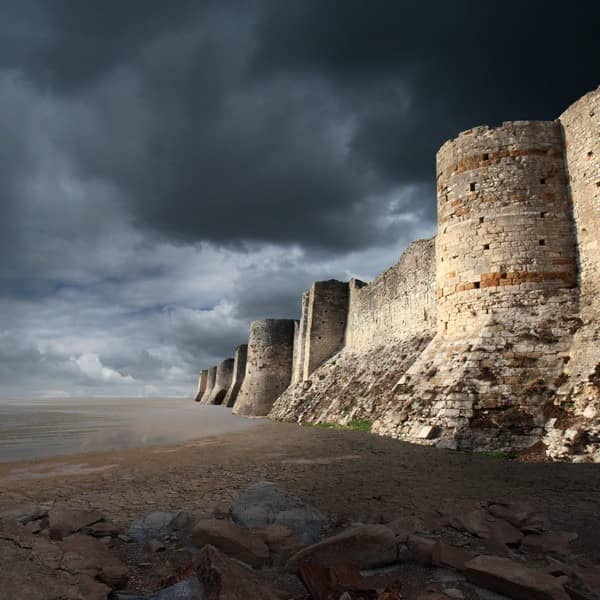
Next, we will make the castle wall blend-in with “ground 1”. To do that, we will need the Eraser tool (E). Activate this tool and then input the following:
- Brush size: 100px
- Hardness: 0%
- Opacity: 100%
- Flow: 100%
Now, we will erase.
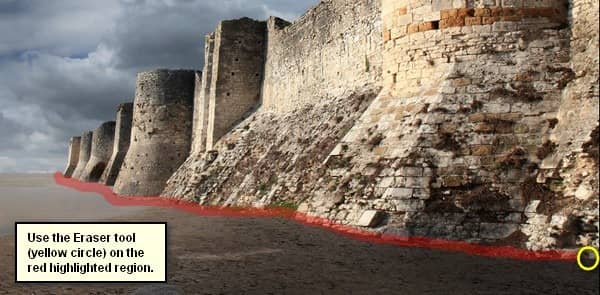
The result of that should be similar to this:
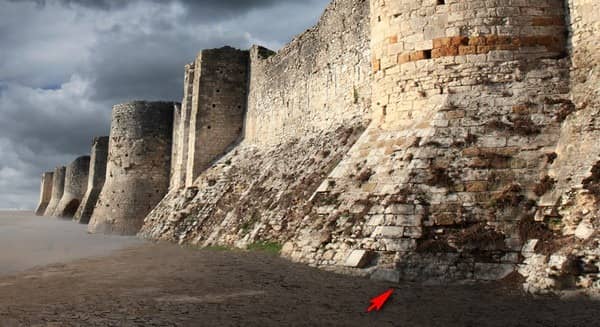
In detail:
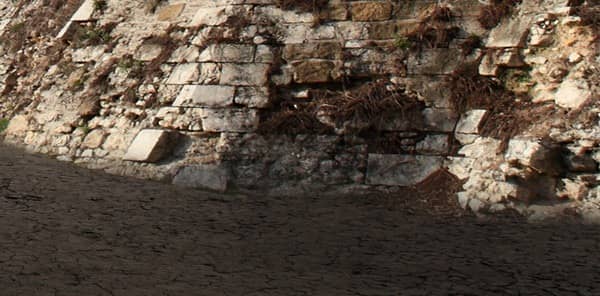
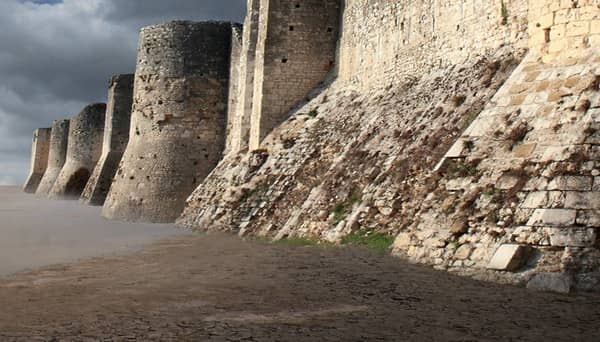
Now, we will enhance the lighting on the “castle wall”, let’s make it a little darker. Create a new layer (Ctrl/Cmd + Shift + N) and name this new layer “darken wall”. Make sure that this layer is above the “castle wall” layer. Right click on this layer and choose Create Clipping Mask from the contextual menu that pops up.
Activate the Brush tool (B) and input the following:
- Brush size: 1100px
- Hardness: 0%
- Opacity: 15%
- Flow: 100%
- #: 000000
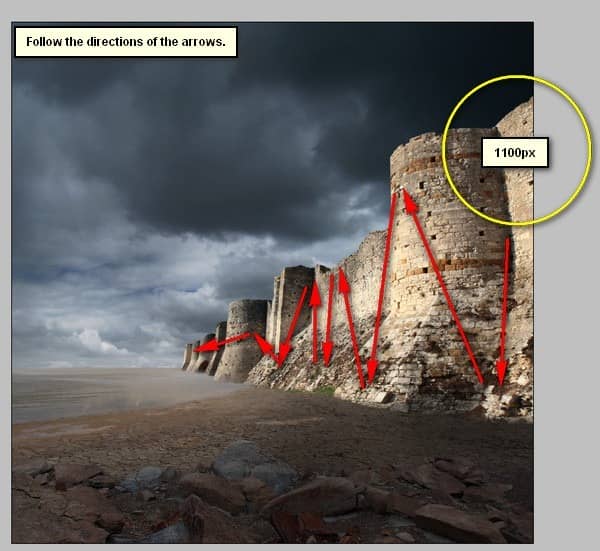
The result of that should be similar to this:
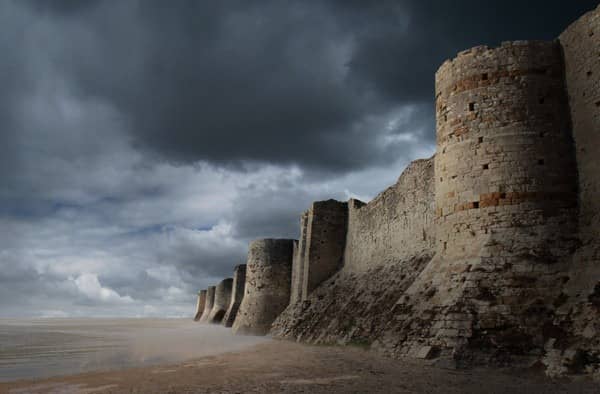
Step 5: Create the Mysterious Light
Now, let’s add the mysterious light that came out from the mouth of the gate. Let’s start by creating a new layer (Ctrl/Cmd + Shift + N) and name this layer to “Light”. Make sure that you create this layer above the “darken wall” layer. Activate the Brush tool (B) and input the following:
- Brush size: 1400px
- Hardness: 0%
- Opacity: 25%
- Flow: 100%
- #: ffffff
Now that it is set, let us create the light:
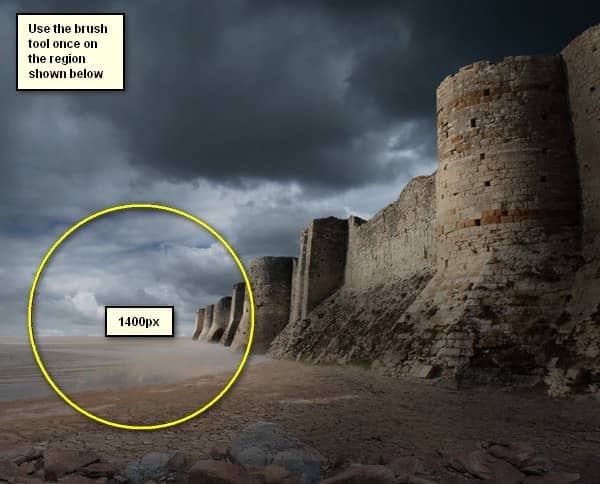
The result:
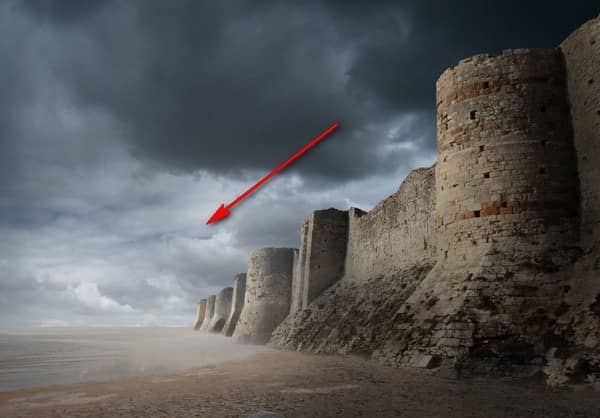
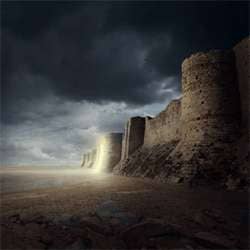
Next, let’s create the light from the mouth of the gate. Start by creating a new layer (Ctrl/Cmd + Shift + N) above the “light” layer; name this new layer to “light from within 1”.

One comment on “Create a Gigantic Fortress with a Mysterious Glow in Photoshop”
very nice tutorial, explained very well! thanks a alot :)