Learn how to create this mysterious image of a gigantic castle in a stormy background. In addition to combining stock photos together, you’ll learn how to create a stormy background and lighting effects.
Preview of Final
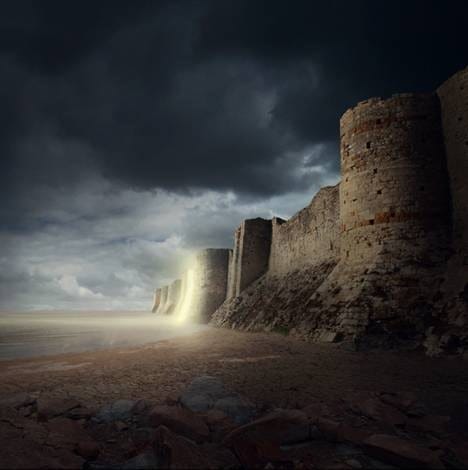
Download the PSD
Castle Ruins.zip | 139.84 MB
Download from Website
Gigantic Fortress with a Mysterious Glow Photoshop Tutorial
Tutorial Resources
- Background 26 – Albastock
- Stock_Field – digital-amphetamine
- into the desert – night fate stock
- Petrified Forest National Park 2 – dynamix
- Battlements – OeilDeNuit
Step 1: Create a Photoshop Image File
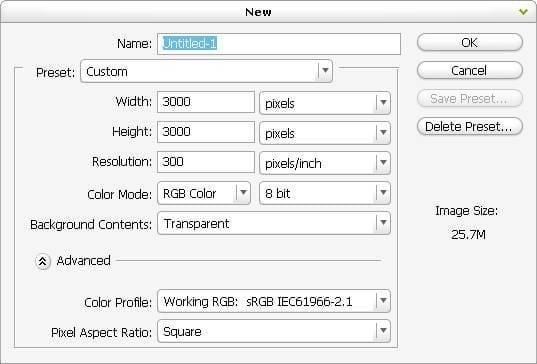
Let’s start by creating a new image file, go to the Menu bar and click File > New, and then input the following values on their respective fields:
- Width: 3000px
- Height: 3000px
- Resolution: 300pixels/inch
- Color Mode: RGB Color; 8 bit
- Background Contents: Transparent
Step 2: Create the Sky
In this step, we will be creating the sky of our image. To start, open “Background 26” by Albastock. Once open, activate the Rectangular Marquee tool (by pressing M on your keyboard) and create a selection area around the sky. See images below:

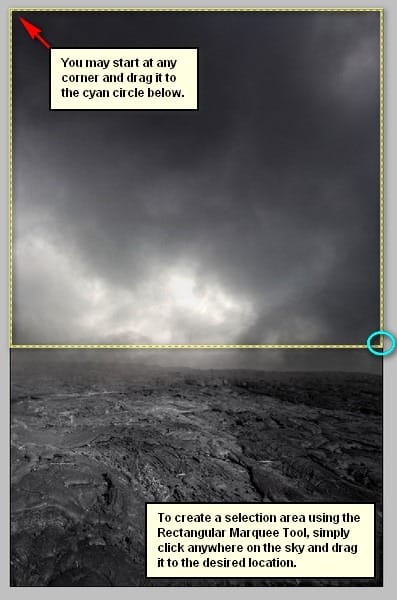
Now that you’ve made a selection area around the sky of the stock image, activate the Move tool (V) then left-click on the image and drag it all the way to our canvas.
Position it as shown below:
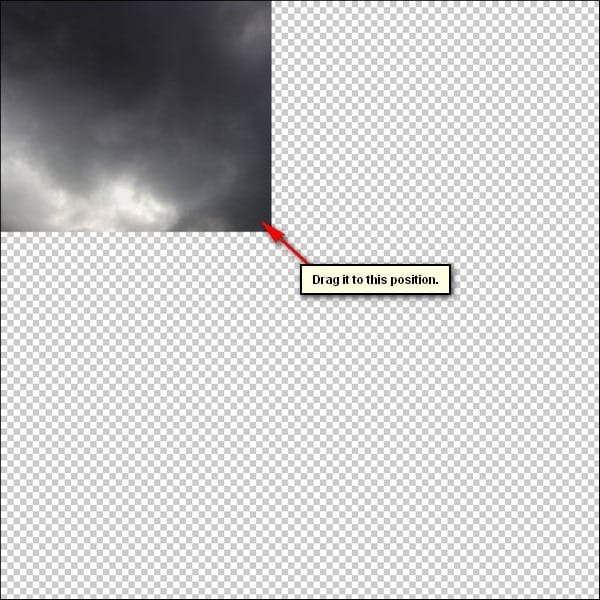
Next, double-click on the words “Layer 1” and rename this layer to “Sky 1”.
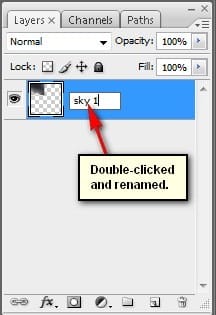
Now, we will resize the image to make it a part of the sky in our image; to do that, activate the Transform tool (Ctrl/Cmd + T).
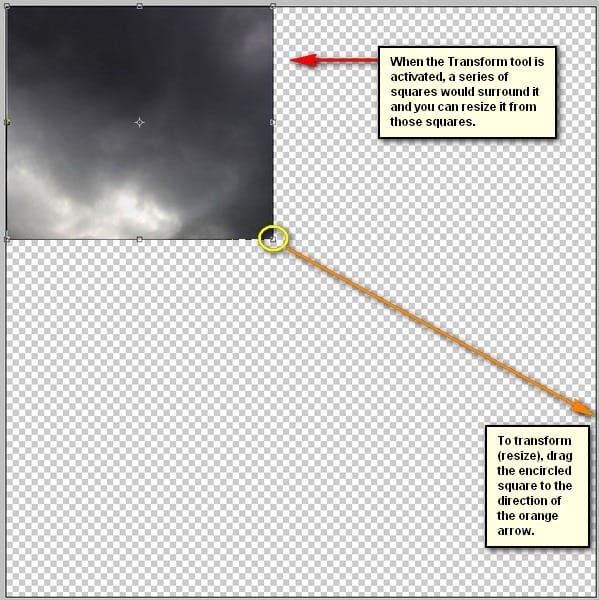
The result of that should be similar to this:
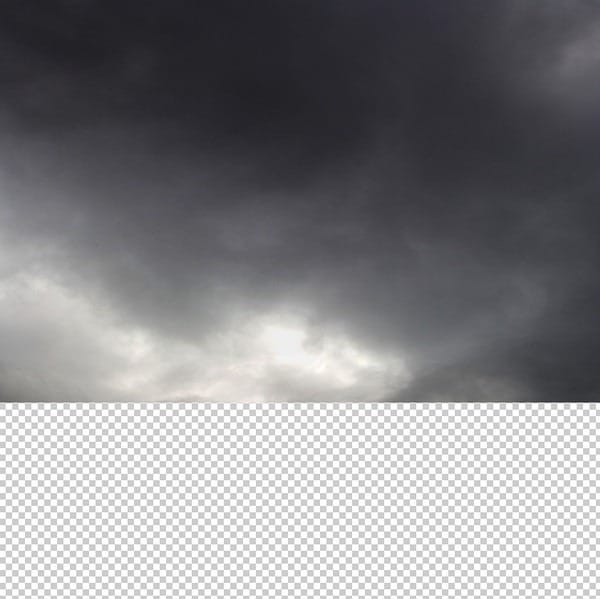
We’ve made the first part of the sky, now we will make it more dramatic. To do that, we will add the sky from the stock image: “Stock_Field” by digital-amphetamine. Open the said stock image and once it is open, create a selection area around its sky using the Rectangular Marquee Tool (M). See image below:
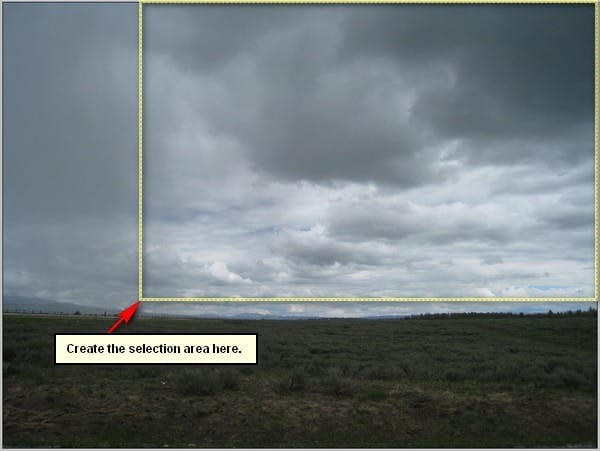
After that, activate the Move tool (V) and drag that selected sky to our canvas. Make sure to put it above the “sky 1” layer; to do that, just left-click and drag this new layer on top of the “sky 1”.
Rename this new layer now to “sky 2”. Next, position “sky 2” as shown on the image below:
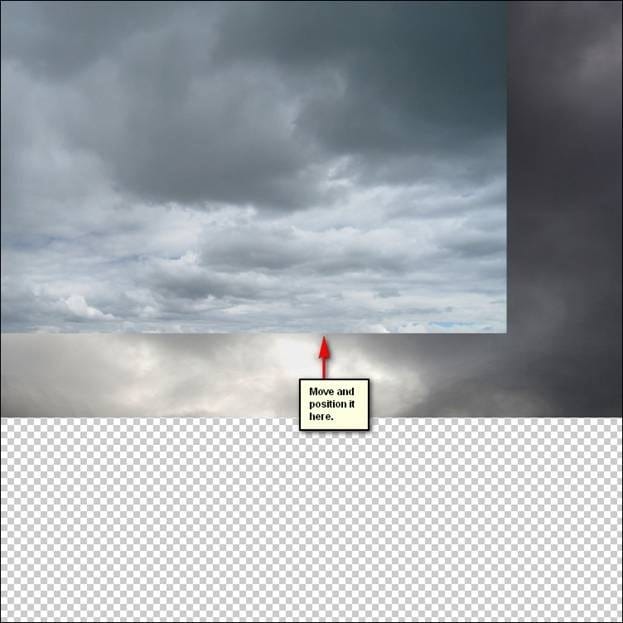
Now, activate the Transform tool (Ctrl/Cmd + T) and resize “sky 2” as shown below:
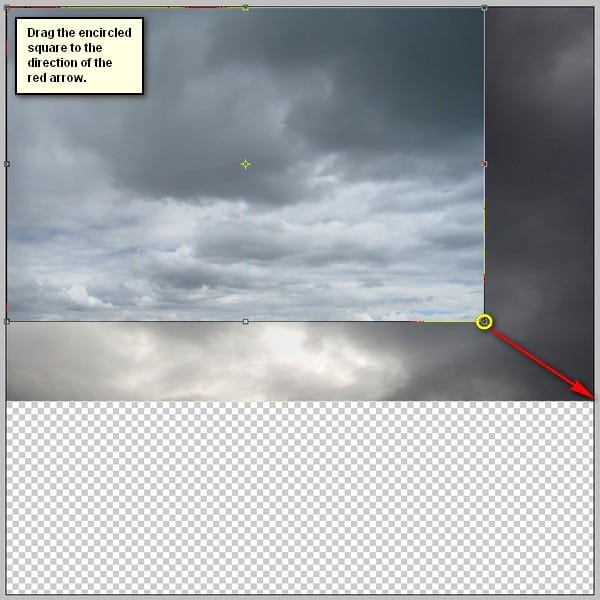
The result:
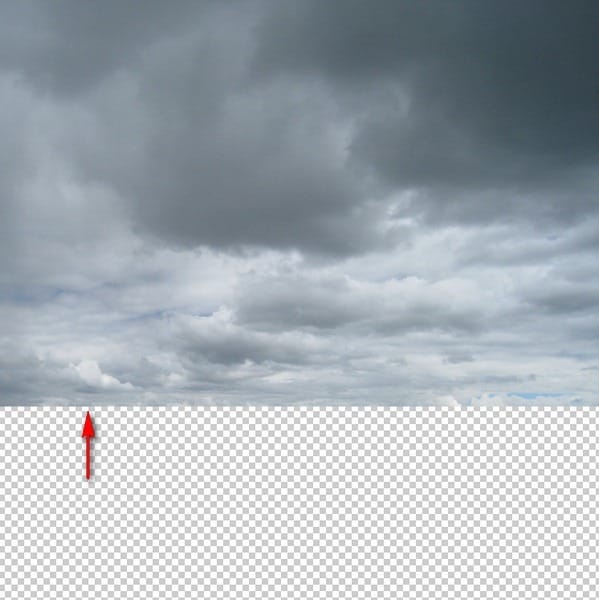
In order to make these two skies blend, we’ll need to duplicate “sky 2” by pressing Ctrl/Cmd + J and then change “sky 2”‘s blending mode to “Multiply”. To do that, simply do the following as shown on the images below:
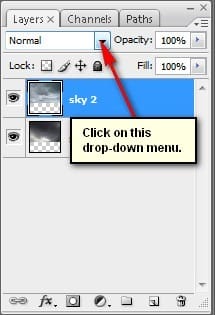
Click on “Multiply”, once the contextual menu opens:
One response to “Create a Gigantic Fortress with a Mysterious Glow in Photoshop”
-
very nice tutorial, explained very well! thanks a alot :)


Leave a Reply