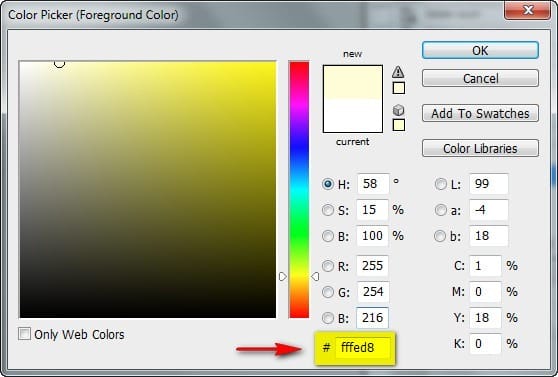
- Activate the Brush tool (B) and input the following:
- Brush size: 50px
- Hardness: 0%
- Opacity: 100%
- Flow: 100%
- #: fffed8
Now, let us begin painting:
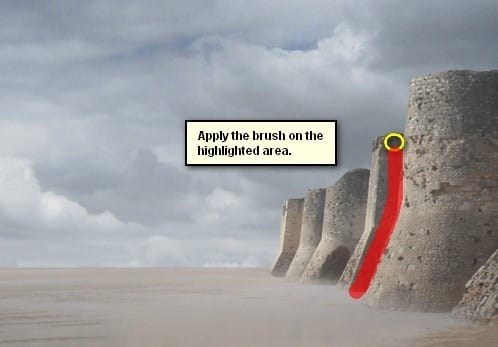
The result of that should be similar to this:

Next, create another layer (Ctrl/Cmd + Shift + N) and name it “light from within 2”. Put this above the “light from within 1” layer. Activate the Brush tool (B) and input the following:
- Brush size: 175px
- Hardness: 0%
- Opacity: 50%
- Flow: 100%
- #: fffed8
Now, let’s paint:
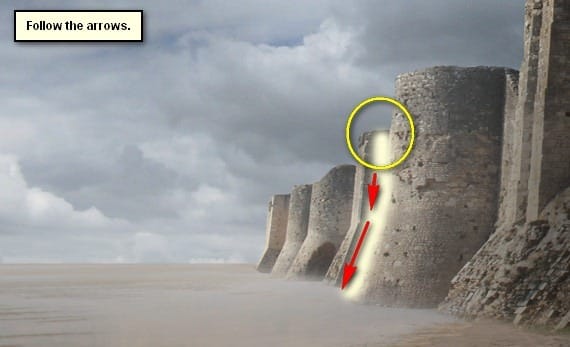
The result of that should be similar to this:
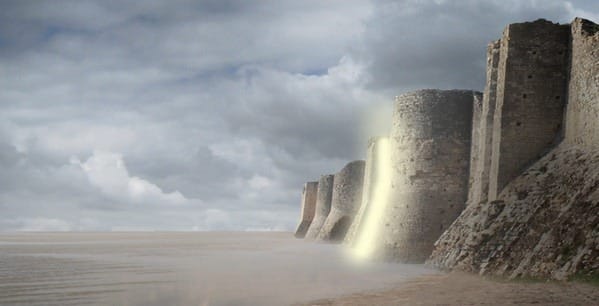
Next, create another layer once again (Ctrl/Cmd + Shift + N) and name it “light from within 3”. Activate the Brush tool (B) once again and input the following:
- Brush size: 80px
- Hardness: 0%
- Opacity: 25%
- Flow: 100%
- #: fffed8

The result:

Next, we will create another “light from within”. Create a new layer (Ctrl/Cmd + Shift + N) and name it “light from within 4”. Activate the Brush tool (B) and input the following:
- Brush size: 80px
- Hardness: 0%
- Opacity: 25%
- Flow: 100%
- #: fffed8
Now, let’s paint:
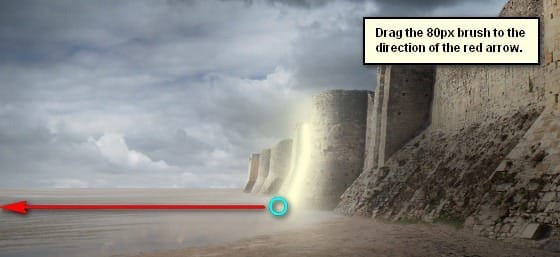
The result of that should be similar to this:
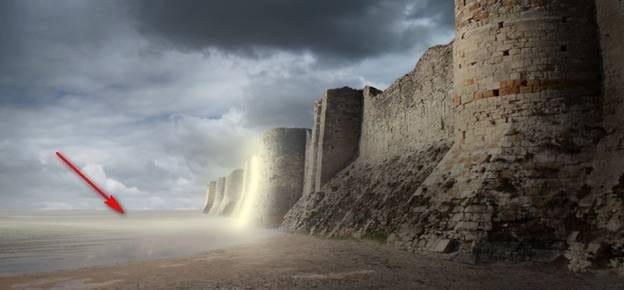
Finally, let’s create the last one. Create a new layer again (Ctrl/Cmd + Shift + ) and name it “light from within 5”. Activate the Brush tool (B) and input the following:
- Brush size: 80px
- Hardness: 0%
- Opacity: 25%
- Flow: 100%
- #: ffffff
Let’s paint:

The result:
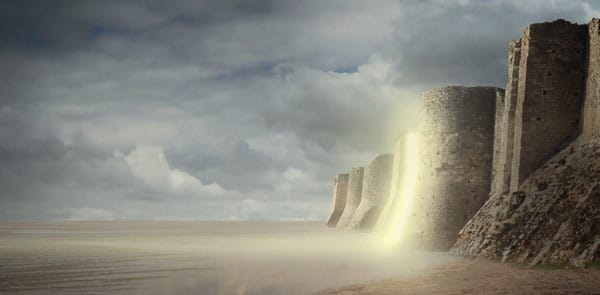
Now, let’s darken the whole castle wall and ground. To do that, let’s create a layer (Ctrl/Cmd + Shift + N) above all the layers and groups and name it “Darken image”. Once the layer is created, activate the Brush tool (B) and input the following:
- Brush size: 1600px
- Hardness: 0%
- Opacity: 15%
- Flow: 100%
- #: 000000
Let’s paint now as shown on the image below:
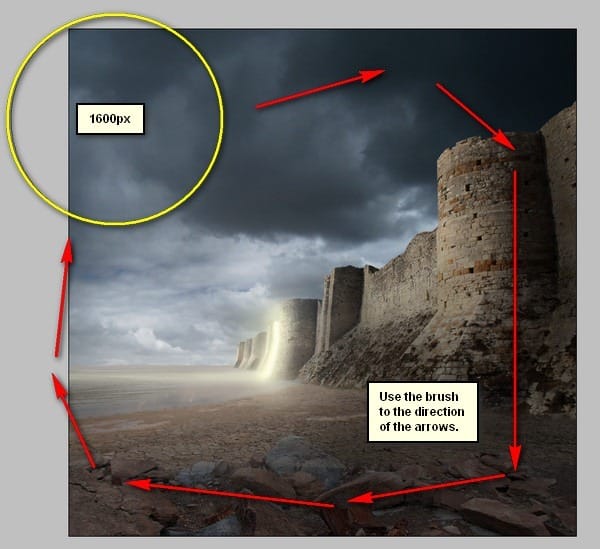
The result:
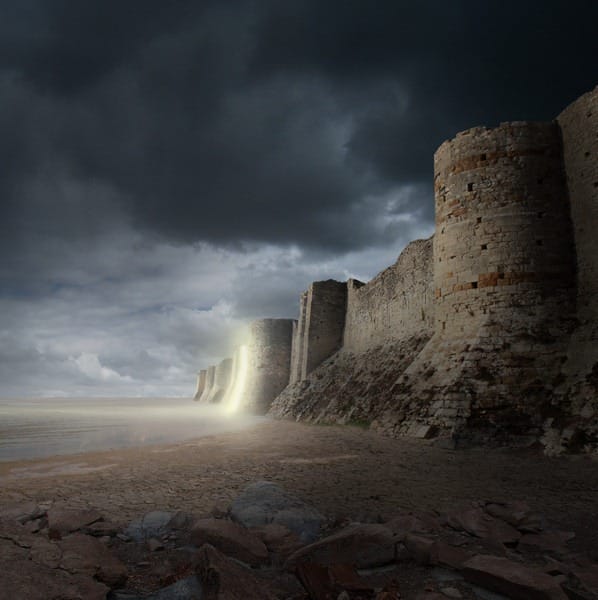
Now that we’re done with the mysterious light, select all the layers from Step 4 – Step 5 and group these (Ctrl/Cmd + G). Name it to “WALL”.
Step 6: Create the Vignette
In this step, we will learn how to create a vignette which will help enhance the focus on our subject. To start, go to the Menu bar and click on File > New and use the same settings we used to create our canvas. (Refer to Step 1). Take note, the background contents should be white. Once it has been created, go to Filter > Distort > Lens Correction. Find the tab Vignette and use these settings:
- Vignette amount: -100
- Midpoint: +50

Now that that’s done drag the vignette to our canvas using the Move tool (V) and put it on top of all the layers that we’ve created, and then set the following:
- Blending mode: Multiply
- Opacity to 40%
To set the blending mode, simply click on the drop-down menu beside the word “Normal” on the top part of the Layer window. The Opacity is located just beside that drop-down menu as well. See image below:
One response to “Create a Gigantic Fortress with a Mysterious Glow in Photoshop”
-
very nice tutorial, explained very well! thanks a alot :)


Leave a Reply