

The unblended Vignette will look like this:

Once the blending mode is set to “Multiply” it would look like this:
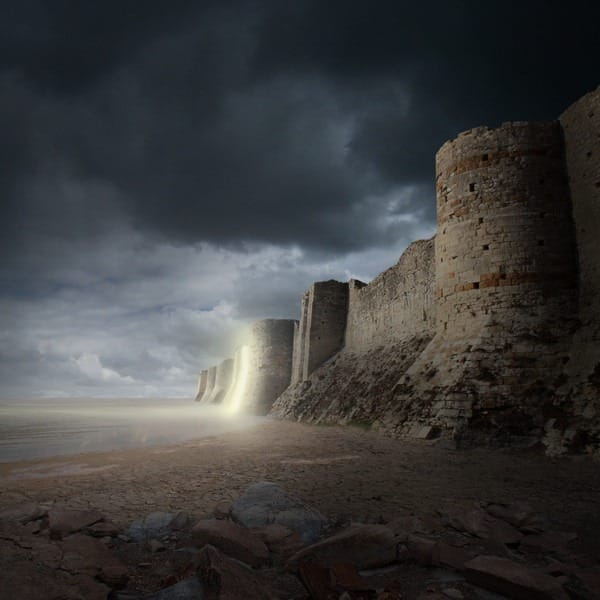
Step 7: Enhance the Image’s Color and Contrast
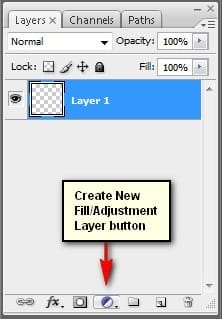
Now, we will be enhancing the image’s overall color, contrast and lightness. To start, let’s create a Solid Color adjustment layer to enhance the color of the image. From the Layer window, click on the “Create New Fill/Adjustment layer button”.
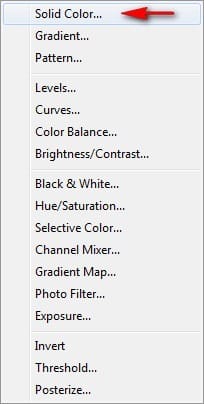
Once the contextual menu opens, click on Solid Color:
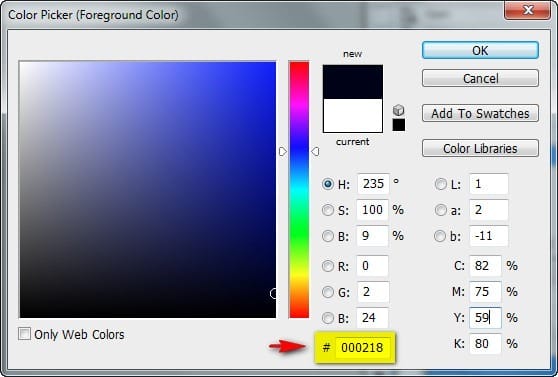
Now, clicking on the Solid Color option will open the Color Picker box. Now, input the following on the #: space.
- #: 000218
Now, your screen will be filled with this dark blue tinge. To change that, we’ll need to blend it in. Change the Blending mode and Opacity of this layer to the following:
- Blending mode: Exclusion
- Opacity: 40%

Next, create another Solid Color adjustment layer through the “Create New Fill/Adjustment layer button”. This time, input the following:
- #: edbb36
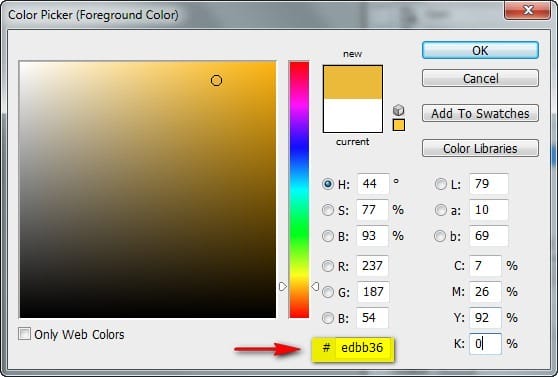
Once you’re done, change the Blending mode, Opacity and Fill to the following:
- Blending mode: Soft Light
- Opacity: 20%
- Fill: 40%

Now, let’s create a Gradient Map adjustment layer through the “Create New Fill/Adjustment layer button”.
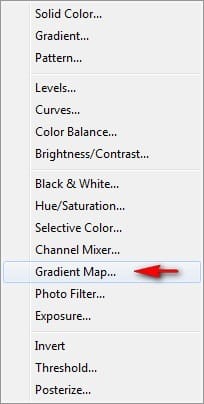
Now, when the Gradient Map box opens, do the following as shown on the images below:
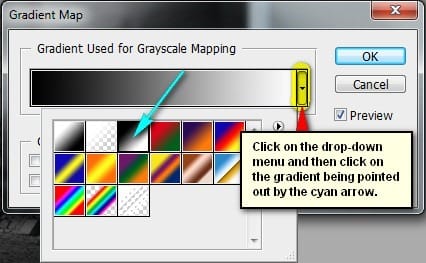
You’ll notice that your image is now Black and White, so let’s change the Blending mode and Opacity to the following:
- Blending mode: Luminosity
- Opacity: 60%

Next, let’s enhance the Hue/Saturation of the whole image.
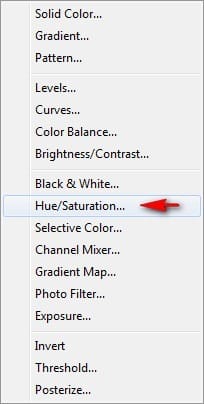
Once it opens, input the following:
- Edit: Master
- Hue: 0
- Saturation: 15
- Lightness: 0
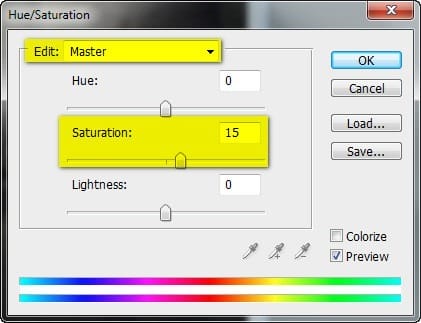
Finally, let’s enhance the Brightness/Contrast of the whole image, so let’s create a Brightness/Contrast adjustment through the “Create New Fill/Adjustment layer button”.
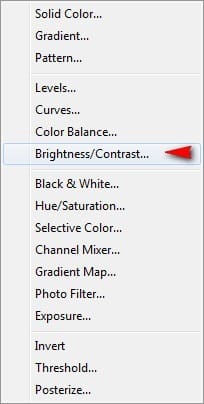
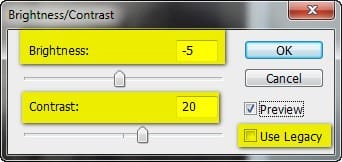
Input the following when the box opens:
- Brightness: -5
- Contrast: 20
- Use Legacy: Uncheck
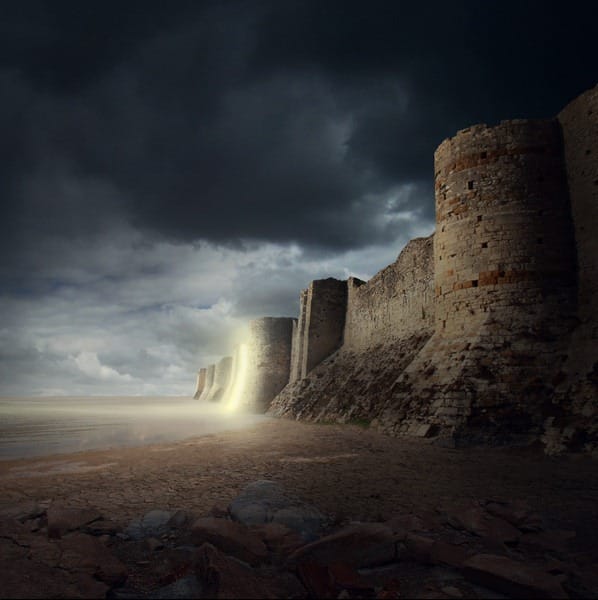
The final result should appear like this:
Download the PSD
Castle Ruins.zip | 139.84 MB
Download from Website
Authors Comment
One response to “Create a Gigantic Fortress with a Mysterious Glow in Photoshop”
-
very nice tutorial, explained very well! thanks a alot :)


 Thank you for visiting this page and following my tutorial, I hope that this tutorial was able to help you. If you want to see some of my art works, feel free to check my website:
Leave a Reply