Download Lightroom presets and LUTs, absolutely free. Use the presets to add creativity and style to your photos.


The unblended Vignette will look like this:
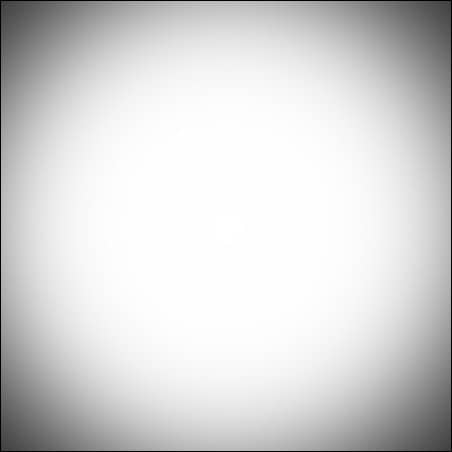
Once the blending mode is set to "Multiply" it would look like this:
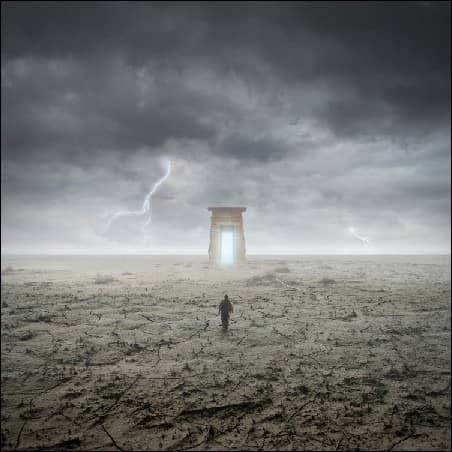
Step 9: Enhance the look and feel of the image
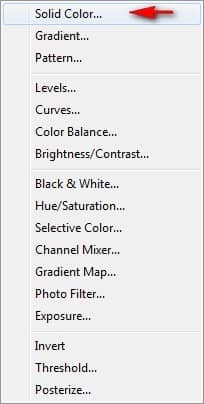
Now let's enhance the colors and overall feel of our image. Let's start by creating a Solid Color adjustment layer. To do that, simply click on the button shown on the image below:
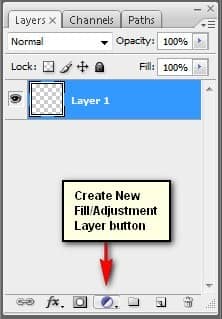
When it opens, click on the following:
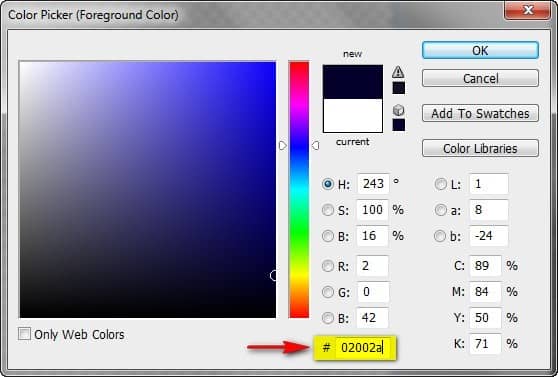
Once you've clicked on Solid Color, the Color Picker menu would open. When it opens, input the following color:
- #: 02002a
When you're done, you would see that your whole canvas is filled with a dark blue color. We would need to change that, so set the Blending Mode and Opacity to the following:
- Blending Mode: Exclusion
- Opacity: 50%

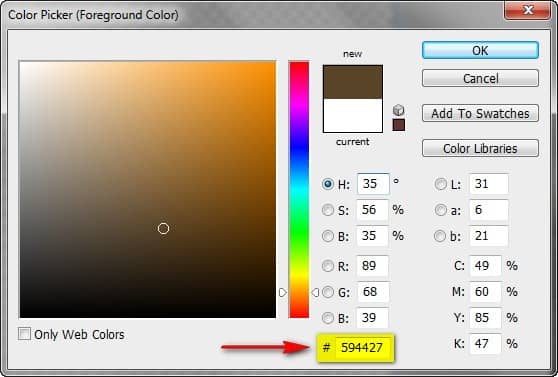
Next, create another Solid Color adjustment layer (still from the Create New Fill/Adjustment Layer button). When the Color Picker opens, input the following color code:
- #: 594427
Next, set the Blending mode and Opacity to the following:
- Blending Mode: Soft Light
- Opacity: 50%
Next, let's create a Color Balance adjustment layer from the Create New Fill/Adjustment Layer button.
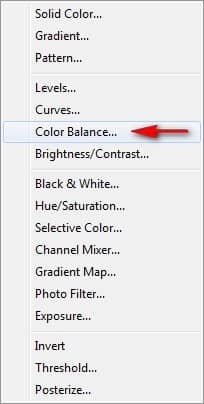
When the Color Balance box opens, input the following:
- Color Levels: -26, 0, -9
- Tone Balance: Midtones
- Preserve Luminosity: Check
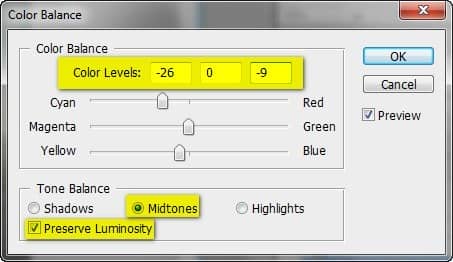
Next, create another Color Balance adjustment layer and now input the following:
- Color Levels: -8, -13, -7
- Tone Balance: Shadows
- Preserve Luminosity: Check
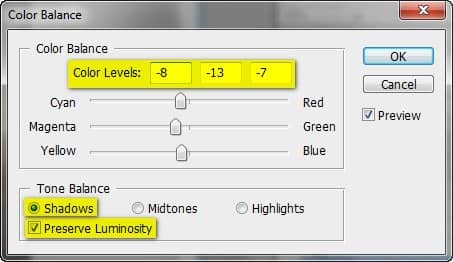
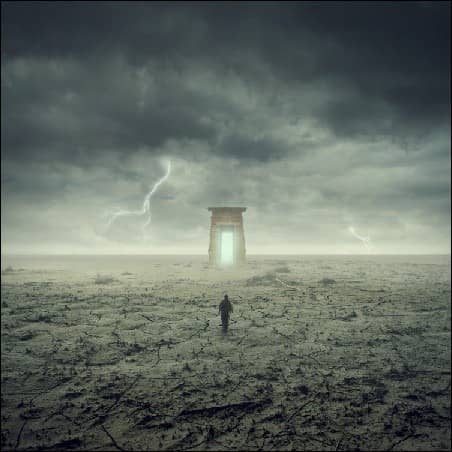
The result now should be something like this:
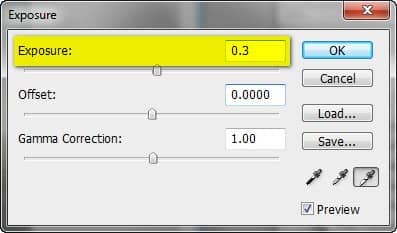
Next, let's create an Exposure adjustment layer (Create New Fill/Adjustment Layer button).
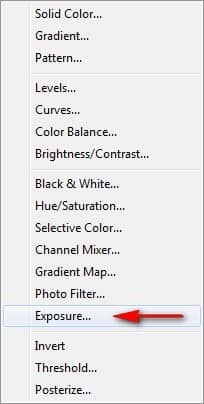
Once it opens, input the following:
- Exposure: 0.3
- Offset: 0.0000
- Gamma Correction: 1.00
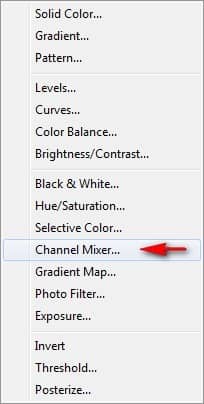
On our final retouching technique, let's give it a slightly desaturated look, through giving it an infrared feel. Let's start by creating a Channel Mixer adjustment layer through the Create New Fill/Adjustment Layer button.
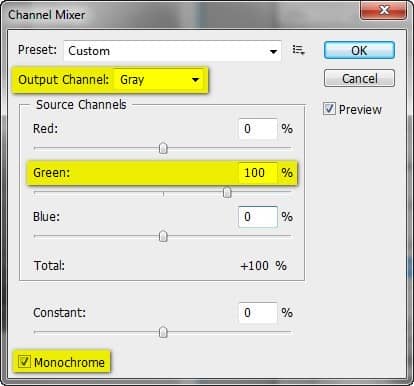
When it opens, input the following:
- Output Channel: Gray
- Red: 0%
- Green: +100%
- Blue: 0%
- Constant: 0%
- Monochrome: Check
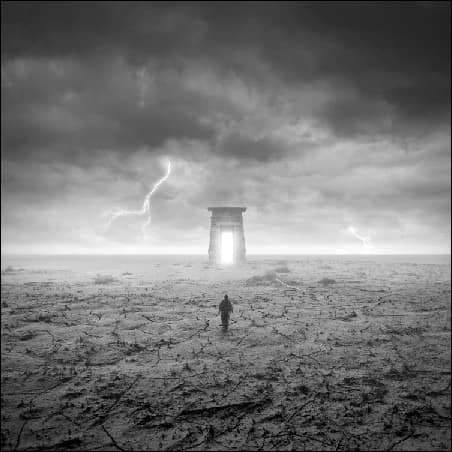
The result of that would be a Black and White infrared photo:
But we would want our image to be in color, so change the Opacity of the Channel Mixer layer to the following:
- Opacity: 30%

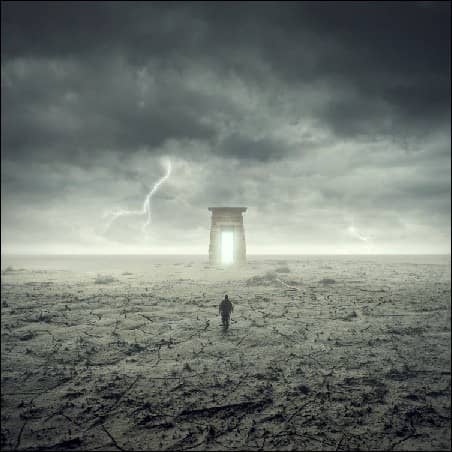
The result should be similar to this:
Step 10: Final retouches
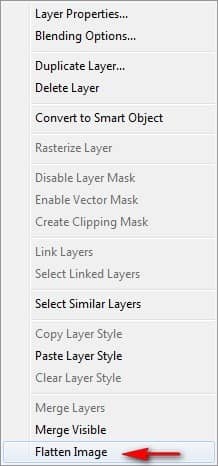
Now on this last step, we would be flattening our image. To do that, simply right click on any layer and then click on "Flatten image".
Now that it has been flattened, let's add a little Lighting effect to our image to give the impact/focus on the center of our image. To do that, click on the flattened layer and go to Filter > Render > Lighting Effects. Once it opens, input the two following important changes:
