Make skin look perfect in one-click with these AI-powered Photoshop actions.
- Brush size: 150px
- Hardness: 0%
- Opacity: 50%
- Flow: 100%
- #: e7fbff
Let's paint!
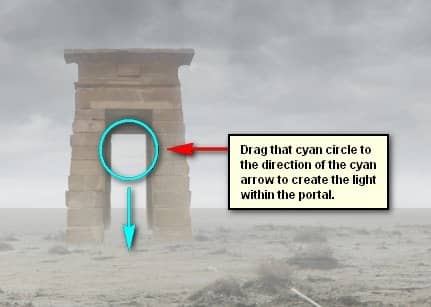

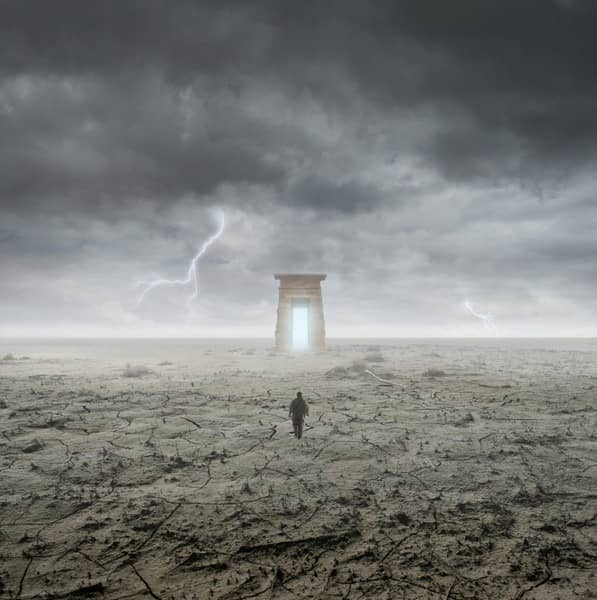
The image should now be looking like this:
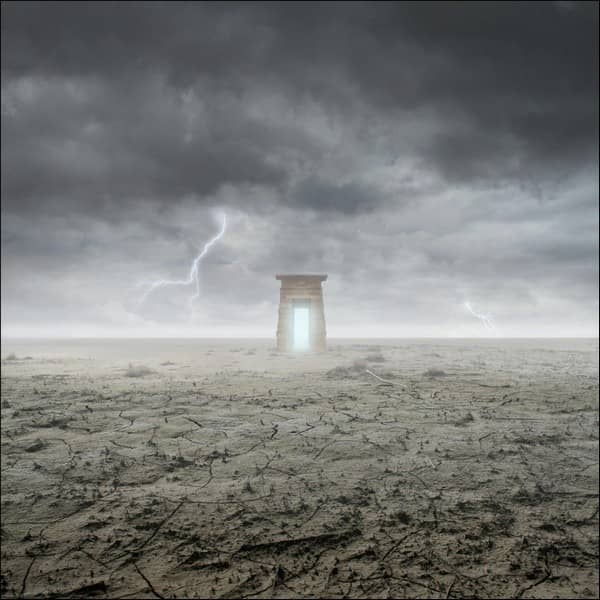
Group these layers and name it "Portal".
Step 7: Create the Man
In this step, we would add the man that is walking towards the portal. To start, open "Walking on Ice 1" by Arctic Stock. Next, activate the Magnetic Lasso tool (L) and use this to create a selection area around the man.

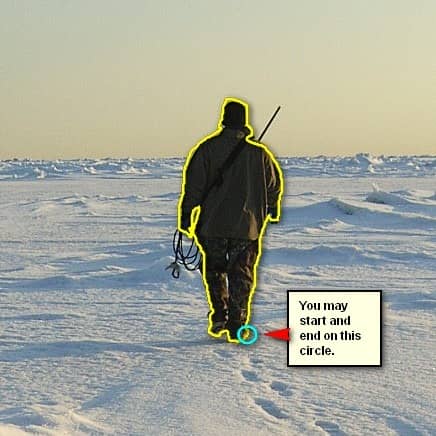
After you've made the selection, move the man to our canvas using the Move tool (V). Once on the canvas, rename it to "man".
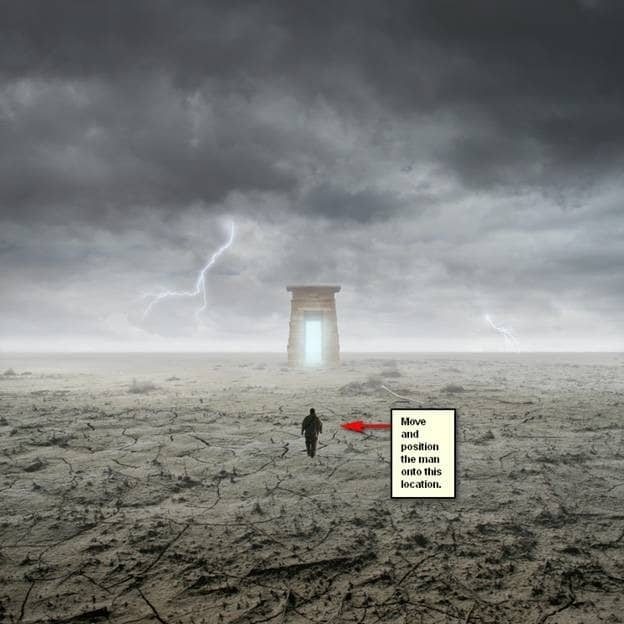
The man is just the right fit for our canvas so we don't have to do any transformations. Now, let's make this man blend in well with the rest of the images. Let's start by editing its Brightness/Contrast by selecting the "man" layer and going to Brightness/Contrast in the Image > Adjustments > Brightness/Contrast tab. When it opens, input the following:
- Brightness: +39
- Contrast: -10
- Use Legacy
The result should be as follows:
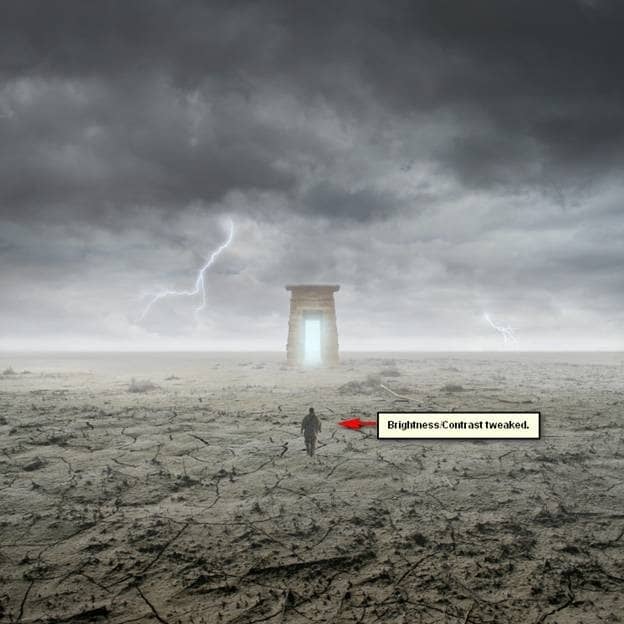
Now let's darken the man's back to create contrast, to do that, we are going to use the Burn tool (O).
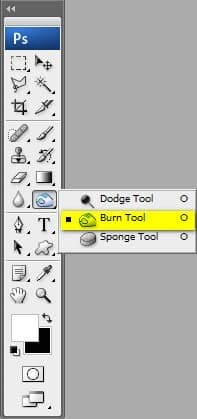
Once open, input the following values for the Burn tool (O):
- Brush size: 30px
- Hardness: 0%
- Range: Midtones
- Exposure: 15%
- Zoom at 300%
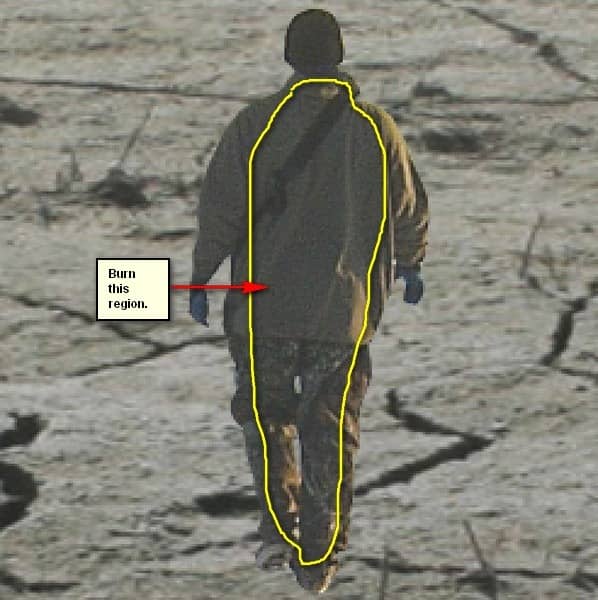
Burn the region shown below:
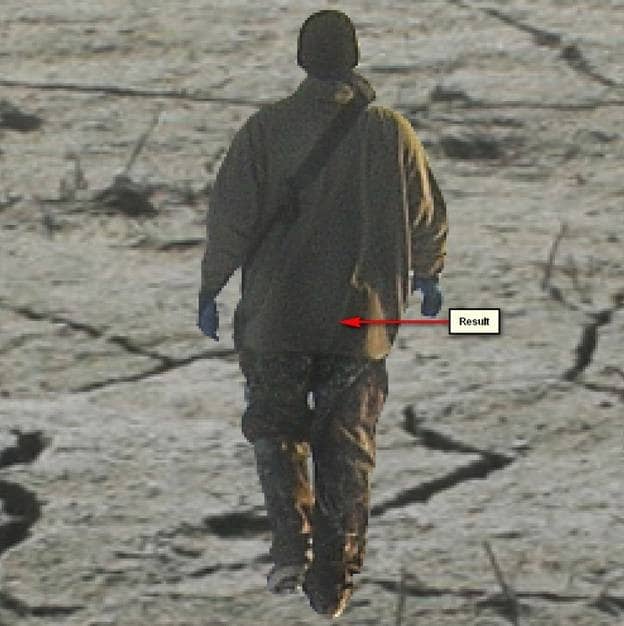
The result:
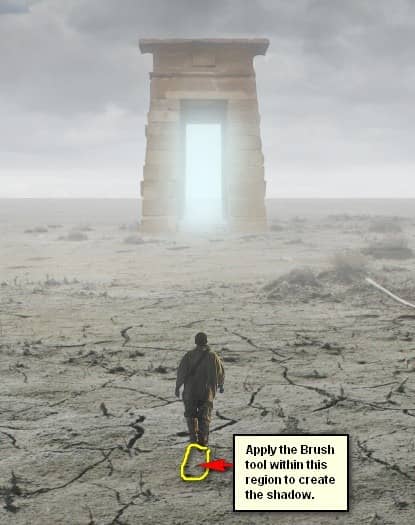
Now, let's create a shadow for the man. Create a new layer (Ctrl/Cmd + Shift + N) and name it "shadow". Make sure to put this layer below the "man". Activate the Brush tool (B) and input the following:
- Brush size: 80px
- Hardness: 0%
- Opacity: 15%
- Flow: 100%
- #: 000000
- Zoom level: 50%
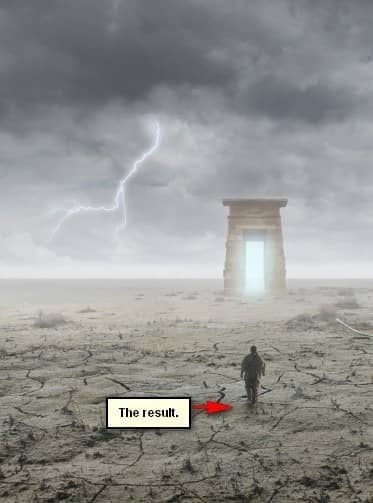
Group these layers now and rename it to "man".
Step 8: Create a Vignette
In this step, we will learn how to create a vignette which will help enhance the focus on our subject. To start, go to the Menu bar and click on File > New and use the same settings we used to create our canvas. (Refer to Step 1). Take note, the background contents should be white. Once it has been created, go to Filter > Distort > Lens Correction. Find the tab Vignette and use these settings:
- Vignette amount: -100
- Midpoint: +50
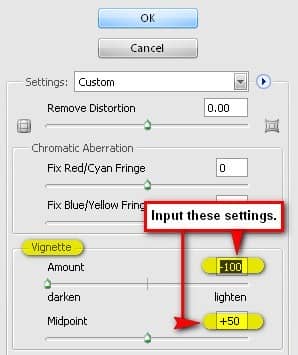
Now that that's done drag the vignette to our canvas using the Move tool (V) and put it on top of all the layers that we've created, and then set the following:
- Blending mode: Multiply
- Opacity to 40%
To set the blending mode, simply click on the drop-down menu beside the word "Normal" on the top part of the Layer window. The Opacity is located just beside that drop-down menu as well. See image below:


