
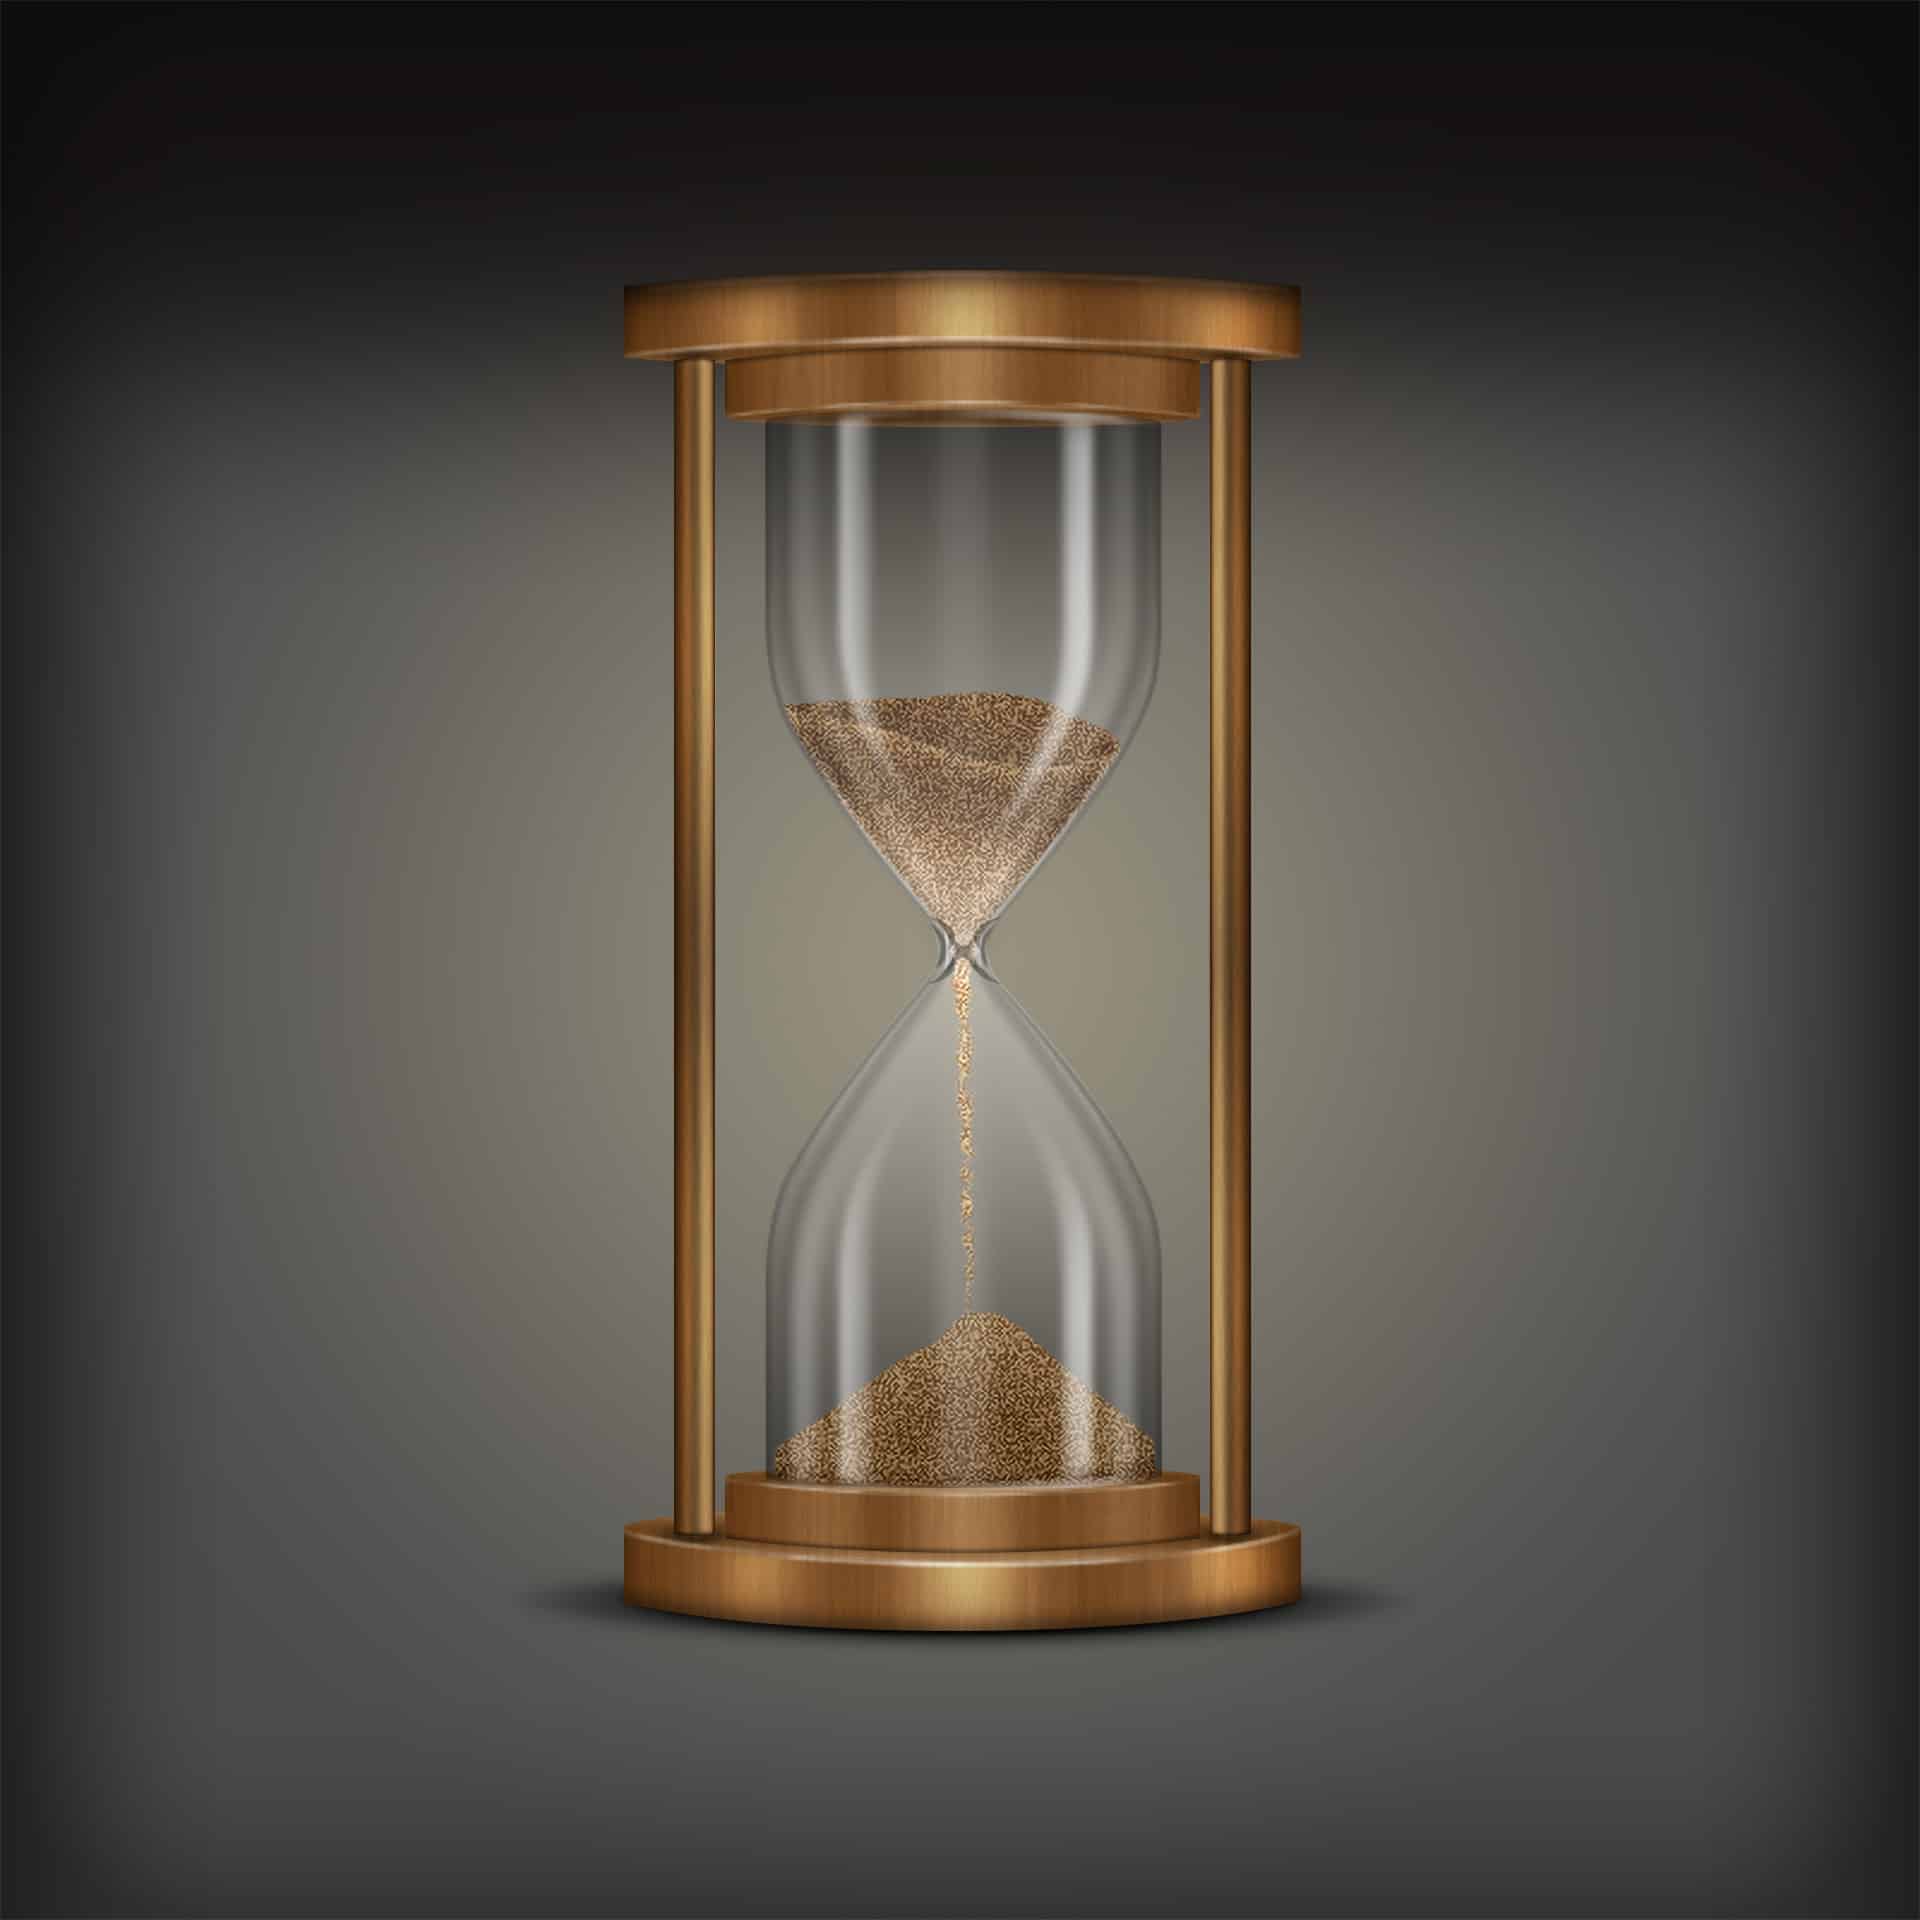

Learn how to create a realistic hourglass with Photoshop only. In this tutorial, you’ll learn how to create your own hourglass, add realistic shadows and lighting, then complete it with custom sand and wood texture. Throughout the tutorial, you’ll learn techniques that will help you create more realistic artworks in Photoshop.
What you’ll be creating
Hourglasses are common elements in print and web design. You will find them everywhere in various forms. They used as a symbol of time or passing of time. To create this image of an hourglass, we’ll start by creating shapes, then edit them to the hourglass shape. Next, we’ll add shadows and lighting to create the glossy surface of glass and wood. Finally, we’ll finish it up with a custom-made sand with Noise filter and use the Fibers filter to create the wood texture for the base and stands. You’ll need Photoshop CS3 or newer to follow this tutorial.

Step 1
Open a new file () in Adobe Photoshop with the following settings. Save the file as “Hourglass.psd”. During work remember to frequently use (Ctrl/Cmd + S) to save and update the file.

Step 2
We need the Info Panel to create the hourglass shape precisely. Go to to turn it on. In the Info Panel click on the “+” sign besides the X and Y coordinates and select Pixels as your unit. Then select the Rectangle Tool from the Toolbox and change the Foreground color to . Go to the Option Bar above and select “Path” if it is not already selected. Then drag a 164 x 235 pixel rectangle like the below screen shot. Rename the layer to “Glass upper”.

Step 3
Take the Path Selection Tool and drag a selection around the rectangle to select it. Four selected Anchor Points are now visible like black solid squares. Select Pen Tooland add eight Anchor Points on the selected path of the rectangle by clicking on it. In the image below red dots indicate where you have to click to insert anchor points. Next we will edit the points to change the rectangle shape into the upper portion of the hourglass.


