Download Lightroom presets and LUTs, absolutely free. Use the presets to add creativity and style to your photos.
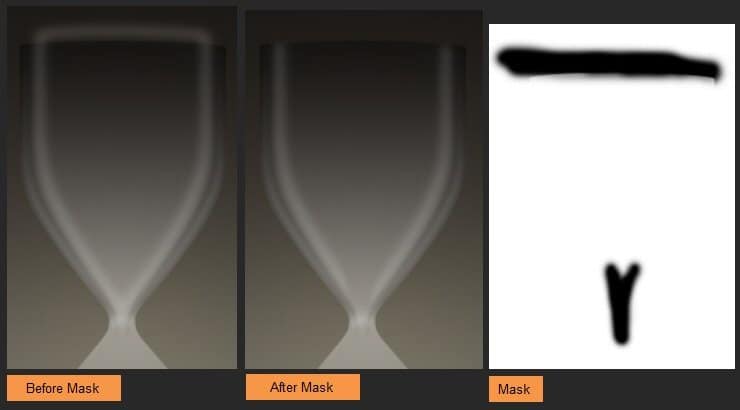
Step 22
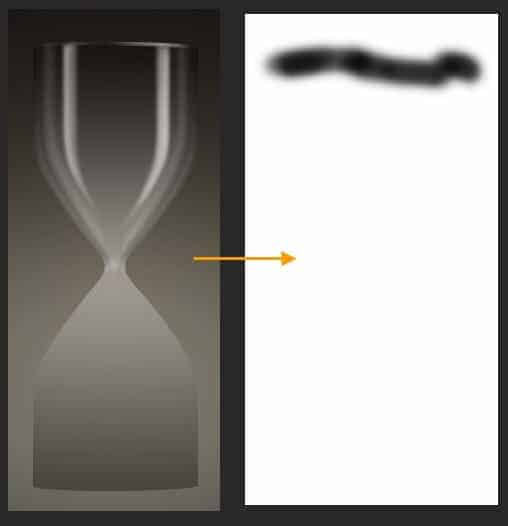
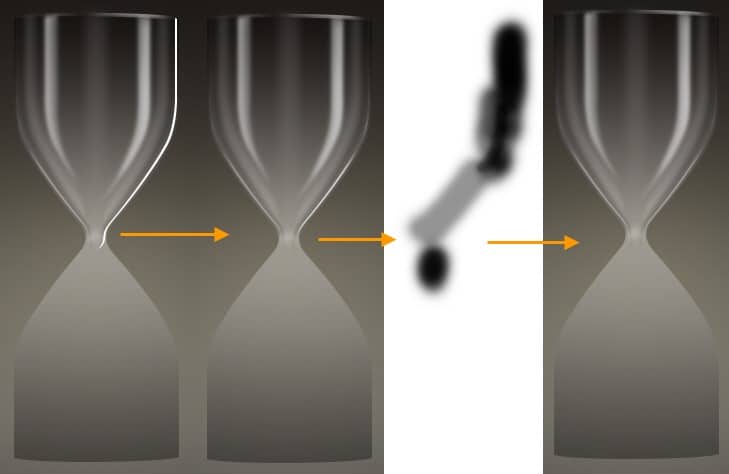
Select Pen Tool and create a white color shape like the image below on top of the "Glass highlight upr sides" layer. Rename this layer to "Glass highlight upr left" then Rt-click on it and select Rasterize. Gaussian Blur it and add a Layer Mask. Paint within the mask with soft black brush with 50% opacity to blend the right side. Then change the opacity of the layer to 70%.
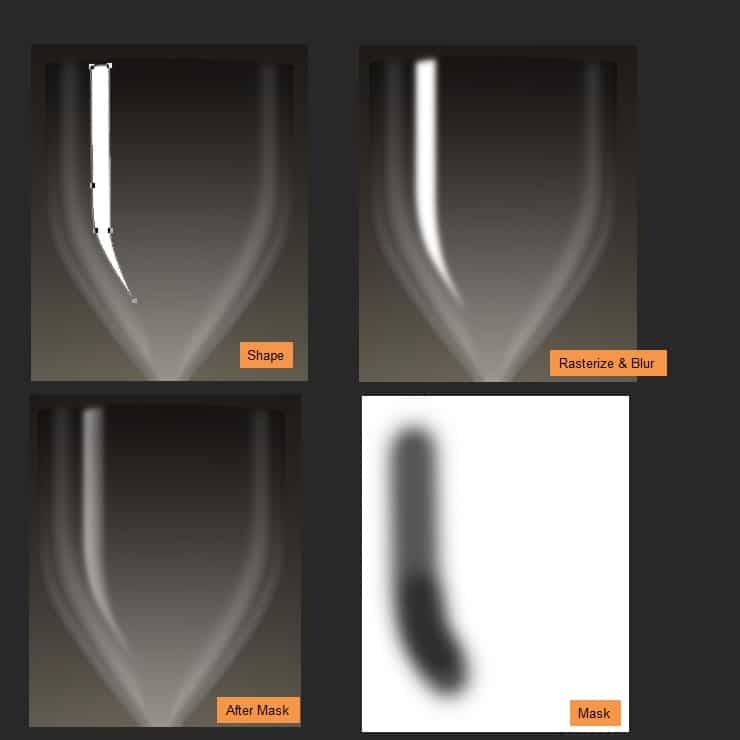
Step 23
Similarly create the "Glass highlight upr right". Check the image below for the process. Also change the opacity of the layer to 70%.
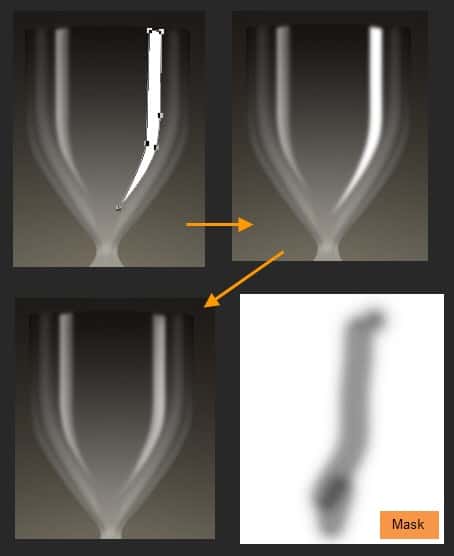
Step 24
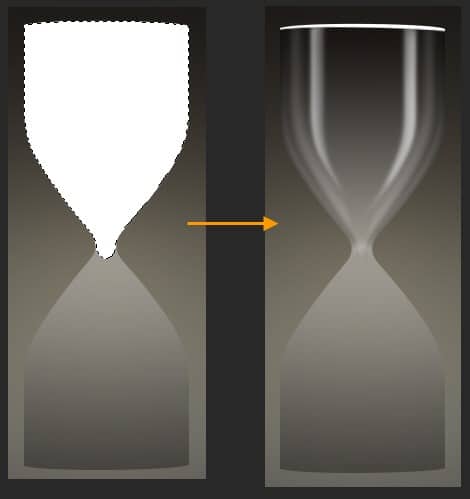
CTRL-click on "Glass upper" layer to select. Create a new layer named "Glass upr right edge up" on top of "Glass highlight upr right" layer. Fill the selection with White color. Keep a small portion on top and delete the rest like the image below.
Step 25
Add a layer mask like the image below. The highlight will be more visible to the right side than the left side. Change the layer opacity to 70%.
Step 26
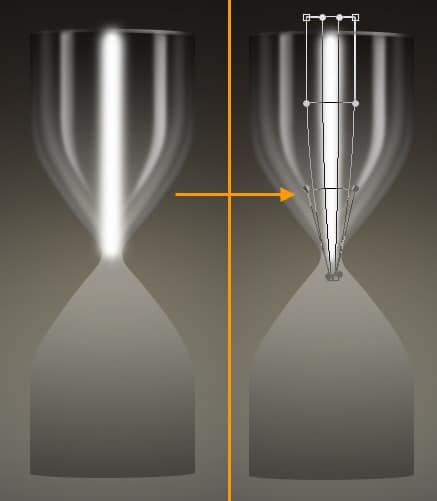
Create a new layer named "Glass upr highlight mid" on top of the previous. Take a 30 pixel soft brush with White color. Then draw a straight line the image below. Then Edit > Transform > Warp. Drag the bottom handles of the bounding box inside to taper the lower portion.
Step 27
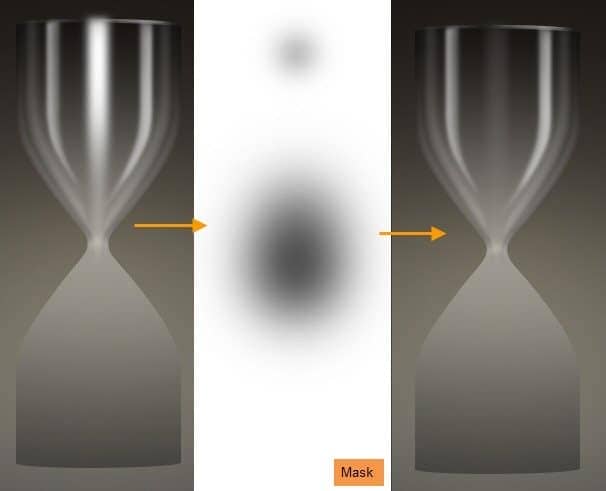
Add a Layer Mask to this layer to mask the lower and upper portion to blend. Change the opacity of this layer to 10%.
Step 28
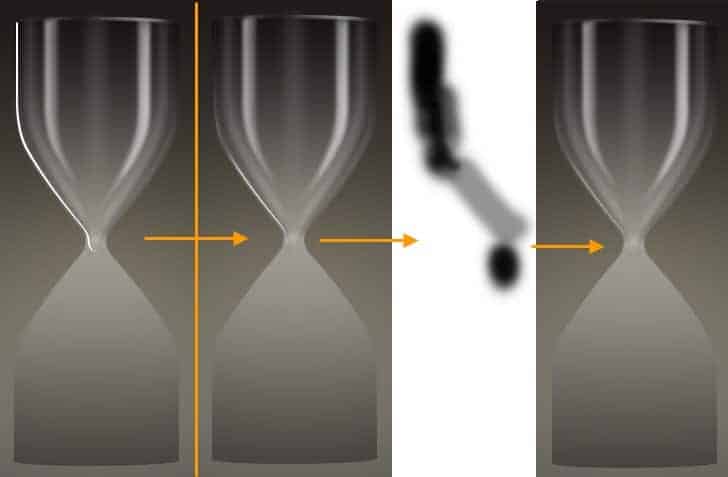
Follow same process like the "Glass upr right edge up" and create new layer named "Glass upr edge highlight left" with a white color shape like below. Then mask it to hide the some portion. Then change the layer opacity to 50%.
Step 29
Similarly create "Glass upr left edge up" layer.
Step 30
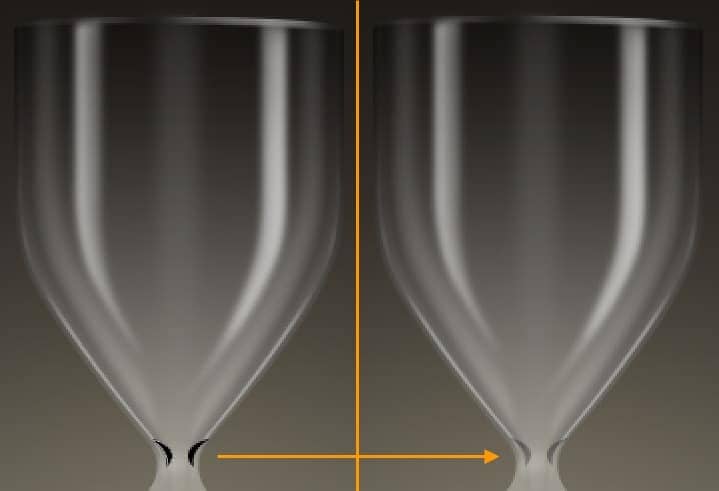
Take the Pen Tool and create two black color shape like below. Then change the opacity of this two layers to 30%. Names of these two shape layers will be "Glass joint shadow upr right" and "Glass joint shadow upr left".
Step 31
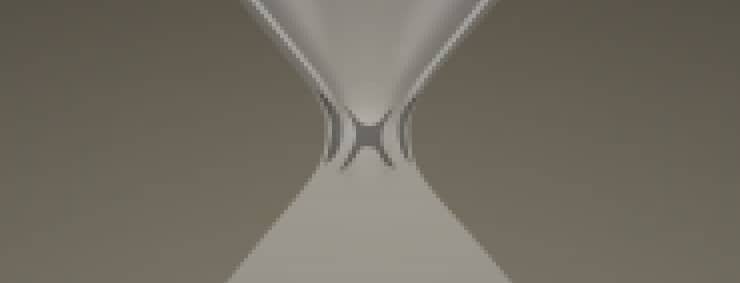
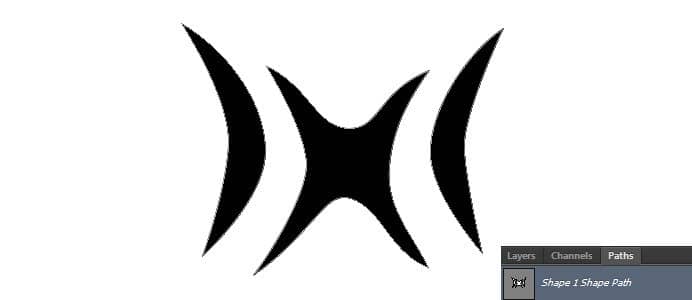
Next we will create three small shapes in the neck area of the hourglass upper. But they should be the first three layers of the the group "Glass upr highlights + shadows". You can create these three layers on top of the last layer (i.e. "Glass joint shadow upr left") and later drag them down. So with the Pen Tool create a black color shape like below image. Name of this new shape layer will be "Glass joint mid shadow" and opacity 40%.
This is a combine shape layer, where we will create three separate shapes within a single shape layer. First we will create a shape like the image below. Shape layer is selected, go to Window > Paths to open the Path Panel. Make sure in the Path Panel path is selected. Then in the Option Bar above click on the Path operations button and select Combine Shapes.
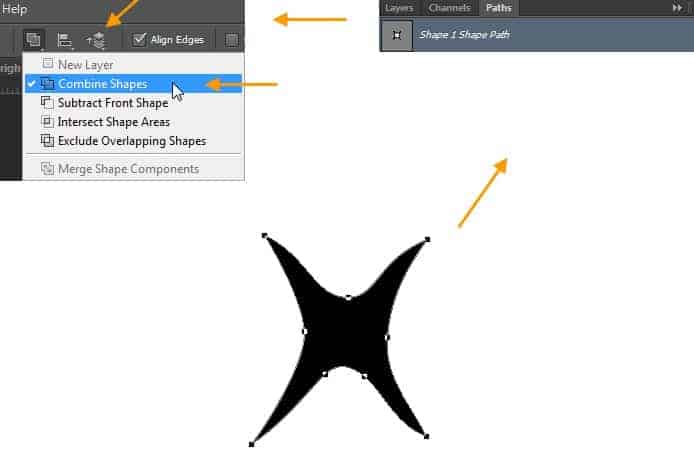
Then create another shape within the same shape layer. This way you can combine multiple shapes. After completing the shape layer Rasterize it and then apply some low radius (2-3 px) Gaussian Blur. Change the layer opacity to 40%.
Step 32
Similarly create the white shape like the below image.

But no need to Gaussian Blur it. Just change the layer opacity to 50%.
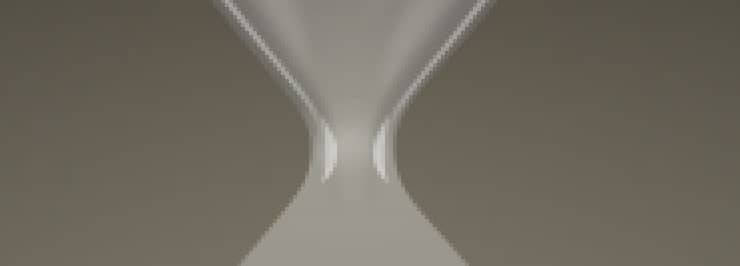
Hourglass upper neck area with all the shapes. So upper portion of the hourglass is complete now.

Step 33
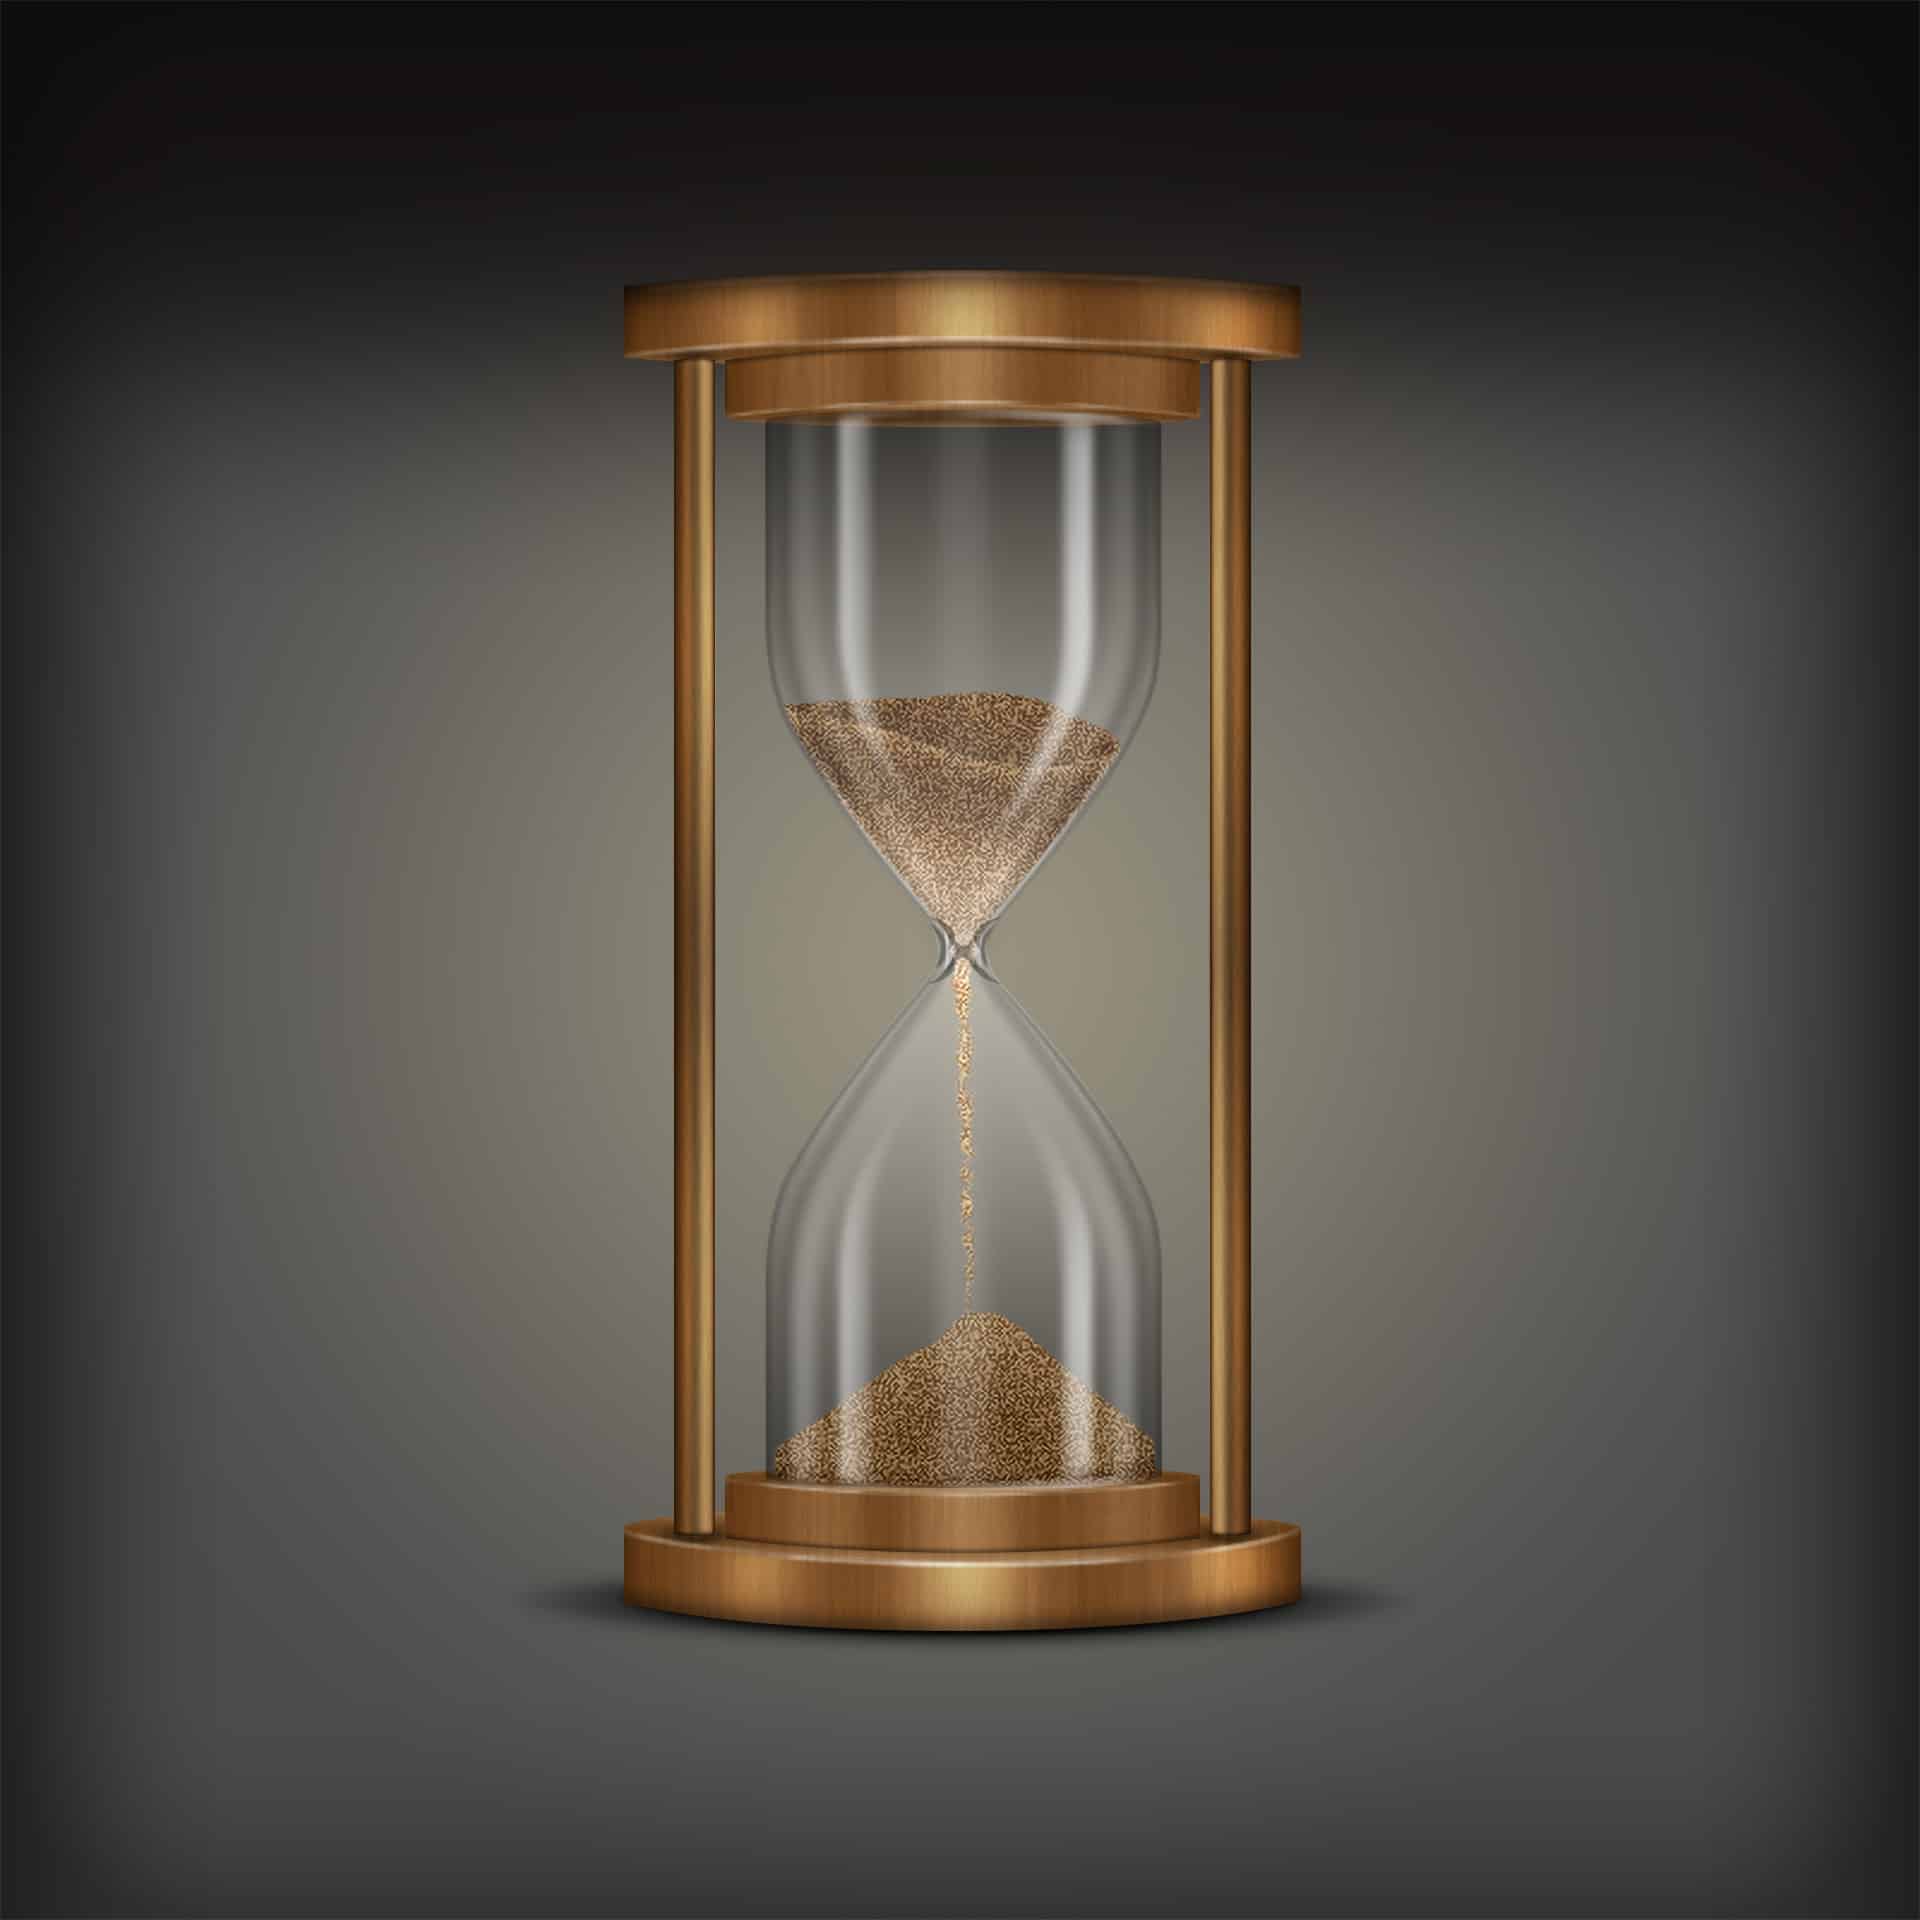
RT-click on the group "Glass upr highlights + shadows" and select Duplicate Group. Rename duplicate group to "Glass lwr highlights + shadows" then drag down below the "Glass upr highlights + shadows" group. Then flip this new group from Edit > Transform > Flip Vertical. Position this new group on top the lower portion of the hourglass.

20 comments on “Create an Hourglass in Photoshop”
Awesome. Thanks for sharing
This is terrible.
i agree
Thank You so much for giving such details. I created my hour glass for my upcoming DVD. best wishes to you. I will like to explore more and purchase soon.
Interesting :p :)
Am unable to download the file.
I am stuck with step 11.when i make that new layer ''glass upper shadow edge 1'' ,i can't fill it with black,but i don't know why . Can anybody help me with that?
wow.. Fantastic steps.. I really like it. keep up :-)
Awesome... Thanks for sharing..
your welcome Hetor
Amazing, from scratch. Great work!
cool
fantastic
https://www.facebook.com/Tpsproductioncanada
here the same: link doesnt work
Problems with website
Unable to load with this link.
yes! there is also same problem in link....
This link doesnt work for me, anyone else having the same trouble?
The Link Is Not Working For Me