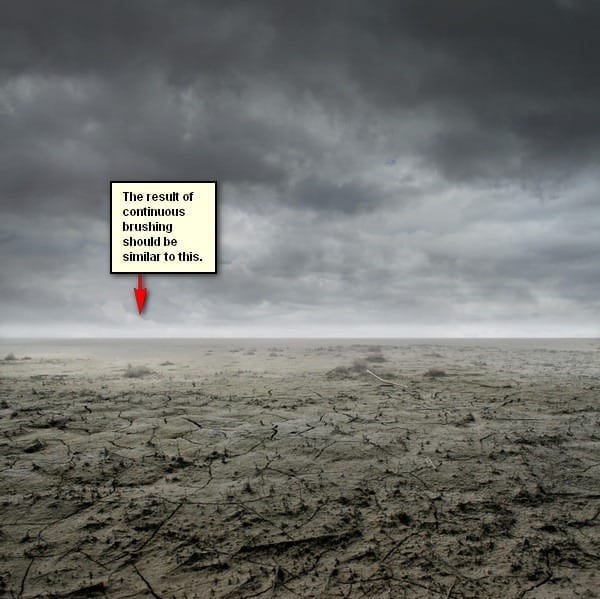
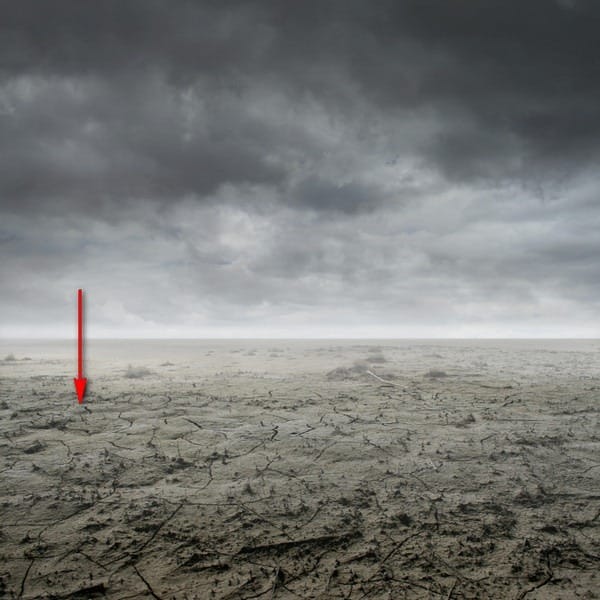
Next, create another layer (Ctrl/Cmd + Shift + N) and name it: “Light 2”. Activate the Brush tool (B) and input the following:
- Brush size: 700px
- Hardness: 0%
- Opacity: 25%
- Flow: 100%
- #: ffffff
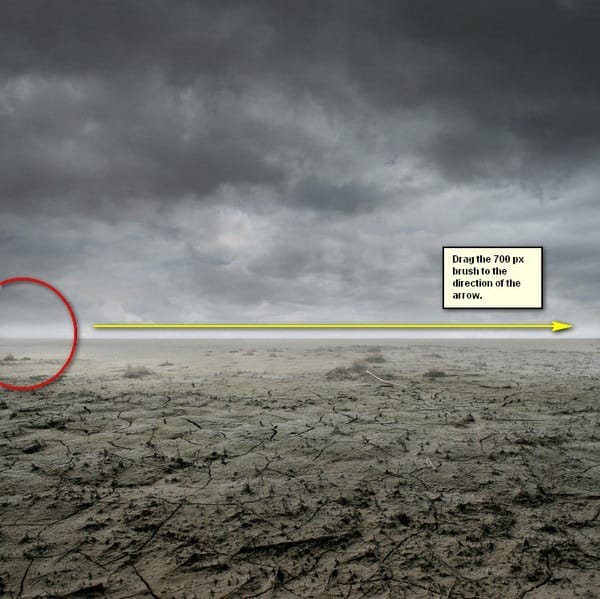
Drag it once, since the Opacity is higher. The result should be similar to this:
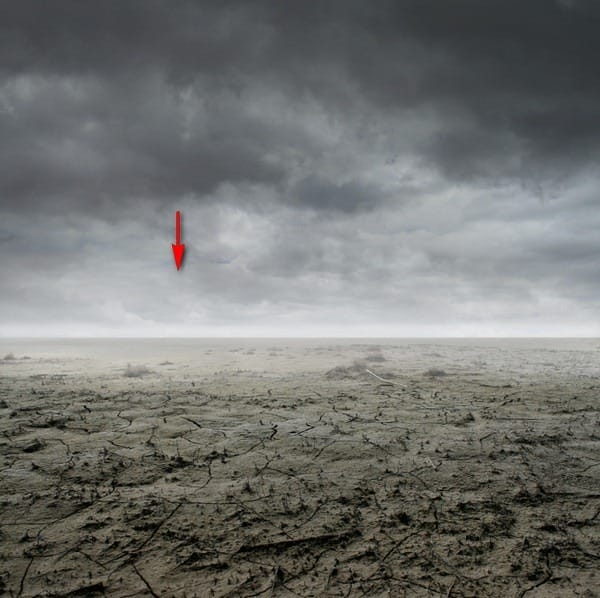
Create another layer (Ctrl/Cmd + Shift + N) and name it “Light 3”. Have the Brush tool (B) ready and then input the following:
- Brush size: 1000px
- Hardness: 0%
- Opacity: 15%
- Flow: 100%
- #: ffffff
Then, get set to paint:
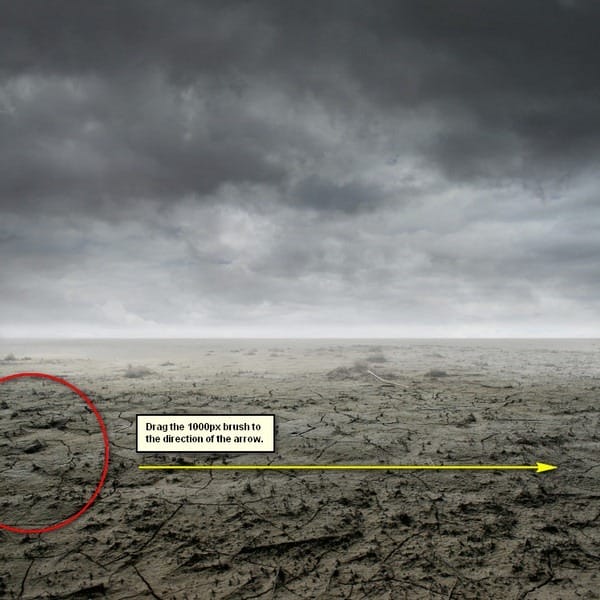
The result of that should be similar to this:
Finally, create another layer (Ctrl/Cmd + Shift + N) and then name it “Light 4”. Activate the Brush tool (B) and input the following:
- Brush size: 500px
- Hardness: 0%
- Opacity: 15%
- Flow: 100%
- #: ffffff
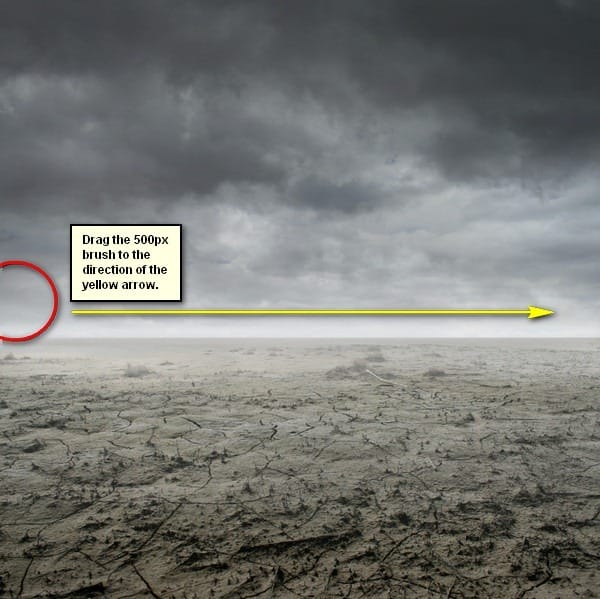
The result:
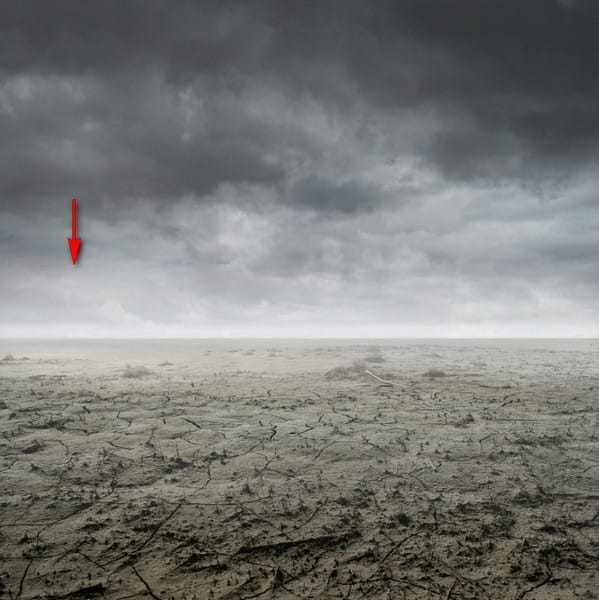
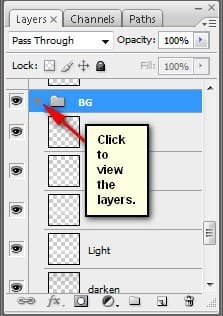
Now, that we’re done, click on all these layers from the “desert” to the “sky” to the light and dark layers then press Ctrl/Cmd + G to group these layers to avoid confusion on later steps. Rename this group to “Background”. Note: Renaming a group is similar to renaming a layer. You would also notice that the layers have been hidden from view, to view them again just left click on the arrow beside the Group’s name. See below:
Step 5: Create Lightning
In this step, we will add lightning bolts from the sky to make our image more epic. To start, create a new layer (Ctrl/Cmd + Shift + N) and name it “Lightning 1”. Now, activate the Brush tool (B) and open the brush set: “Lightning Bolt Brushes V1” by GhostFight3r. To load them, simply, right click on our canvas through any layer and then click on the drop-down button as shown below:
![image024[1] image024[1]](https://cdn.photoshoptutorials.ws/e699bae127b0_3C9E/image0241.jpg?strip=all&lossy=1&webp=82&avif=82&w=1920&ssl=1)
This will prompt the contextual menu to pop up and once you see that, just click on Load Brushes.
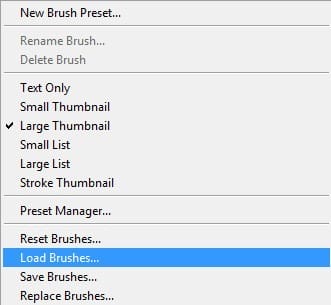
You will now be prompted to this directory: Adobe Photoshop > Presets > Brushes so make sure that you have put the brushes within this folder. Now locate the brush set and click OK. Right click on the canvas again using your Brush tool (B) and now you’ll notice that you have lightning brushes. Now, let’s choose a brush:
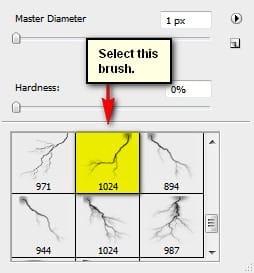
With that brush selected, input the following brush settings for it:
- Brush size: 600px
- Hardness: Default
- Opacity: 100%
- Flow: 100%
- #: dff9ff
This is the brush color we would be using:
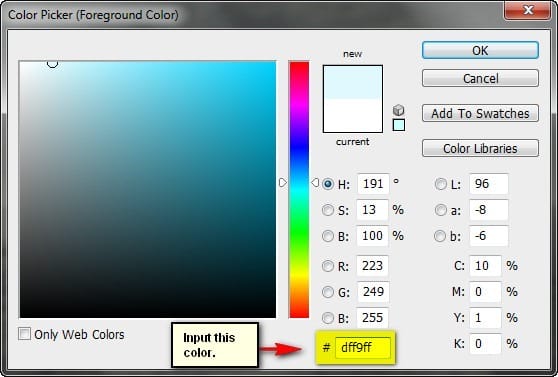
Now, let’s paint in the first lightning bolt!
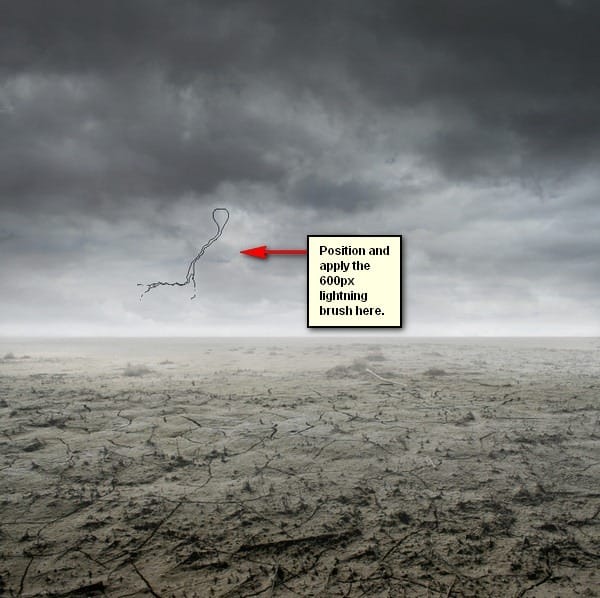
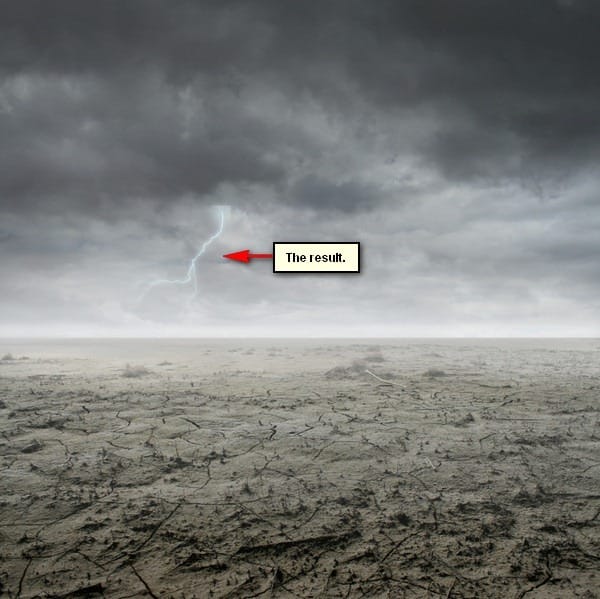
Notice the blocky part on the top part of the lightning?
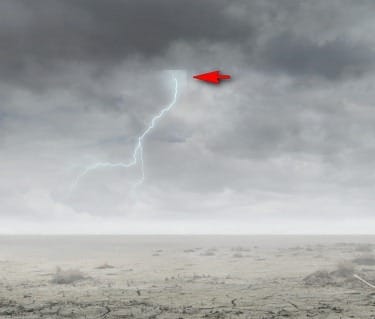
We would need to fix that and to do that, activate the Eraser tool (E) and input the following settings for it:


Leave a Reply