Download Lightroom presets and LUTs, absolutely free. Use the presets to add creativity and style to your photos.
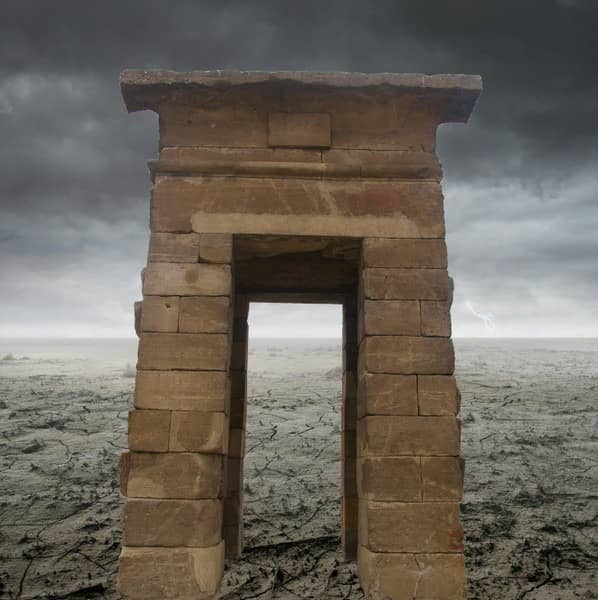
Now we would need to reduce the size of this portal to the size that we need. So activate the Transform tool (Ctrl/Cmd + T) and then scale the "portal" as shown on the images below:
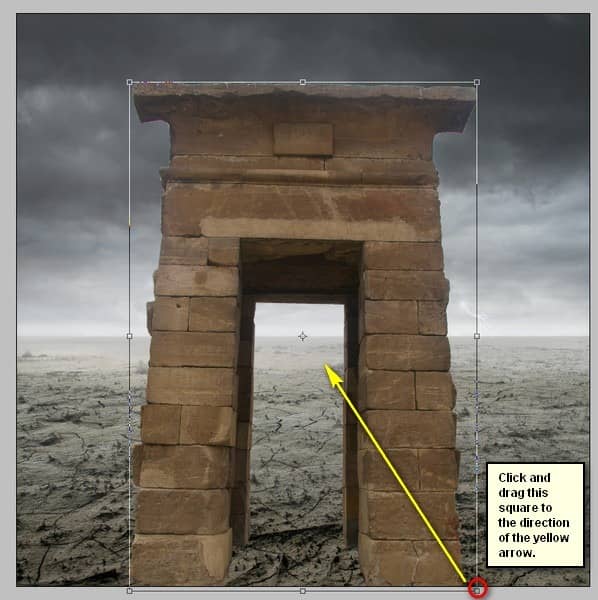
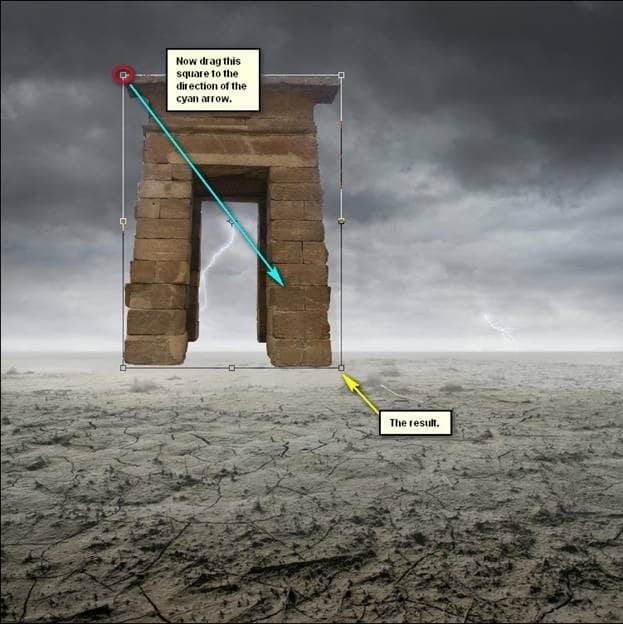
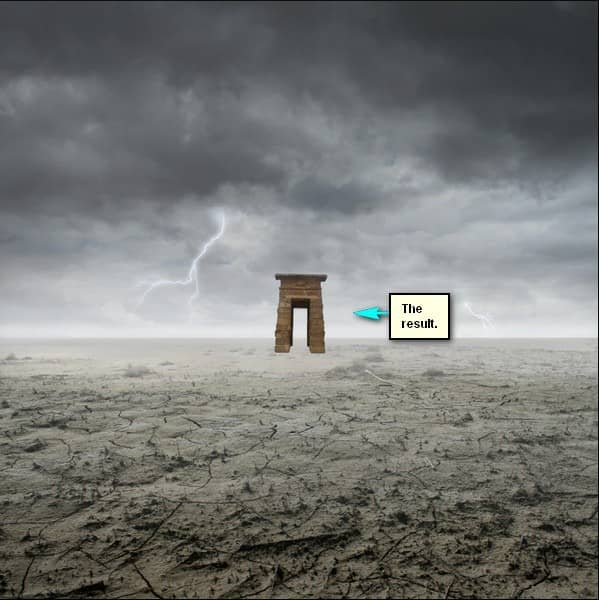
Now, activate the Transform tool (Ctrl/Cmd + T) once again and right click on the canvas to bring out the Transform tool's contextual menu.
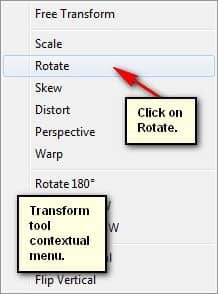
Once you've done that, the only transformation you could do is to rotate the image.
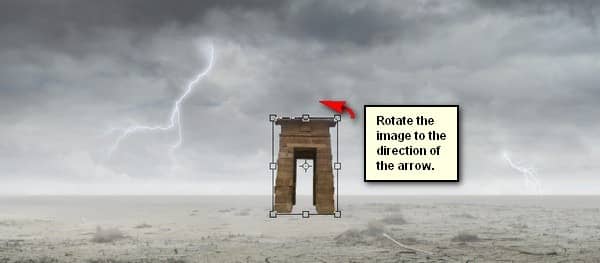
The result should be similar to this:
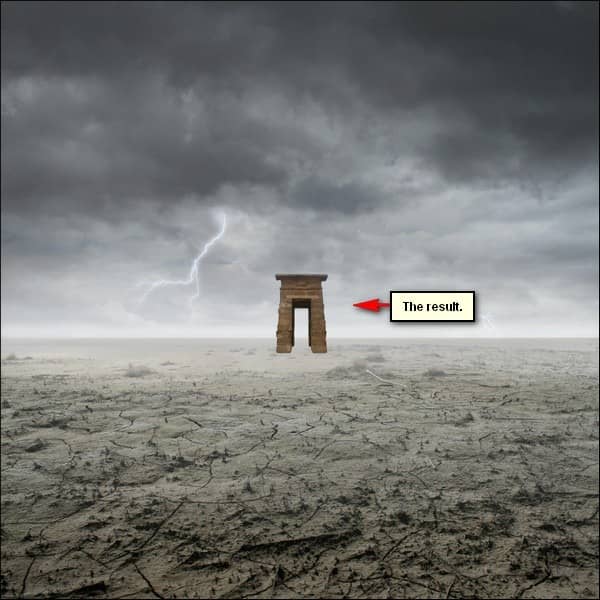
Now that that's done, let's now tweak this "portal" to blend in with the rest of the images. First, let's tweak its Brightness/Contrast. Start by clicking on the "portal" layer and go to Image > Adjustments > Brightness/Contrast.
Use the following settings:
- Brightness: +35
- Contrast: -35
- Use Legacy
The result should be similar to this:
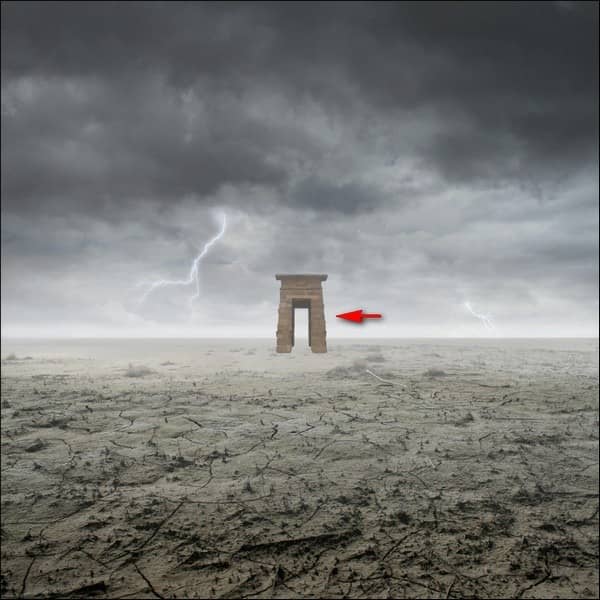
Next, activate the Eraser tool (E). We're going to make the "portal" blend in with the sand. Input the following for the Eraser tool (E):
- Brush size: 45px
- Hardness: 0%
- Opacity: 100%
- Flow: 100%
Make sure that you've zoomed in to the image to at least 50% so that you can clearly erase.
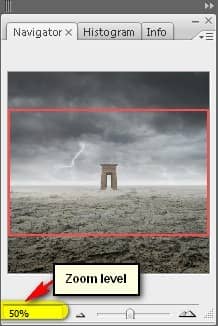
Now, let's erase:
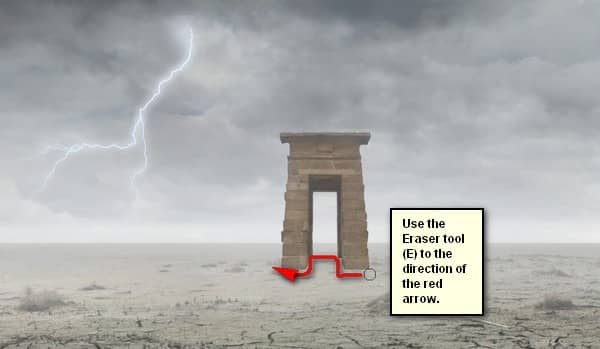
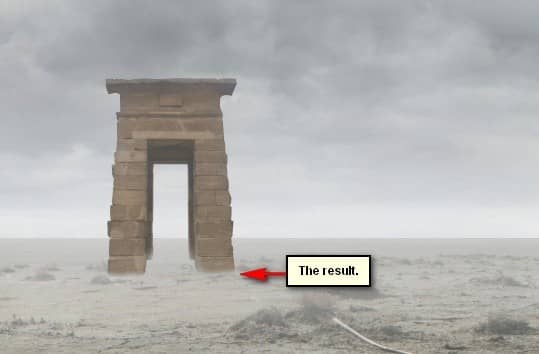
Next, let's lighten up the "portal" to make it blend more with the rest of the images. First, create a new layer (Ctrl/Cmd + Shift + N) and name it "Lighten". Make sure that this layer is above our "Portal" layer. We would need to apply this only on our "portal" layer only and to that, we would need a clipping mask. So, right click on "Lighten" and then click on "Create Clipping Mask".
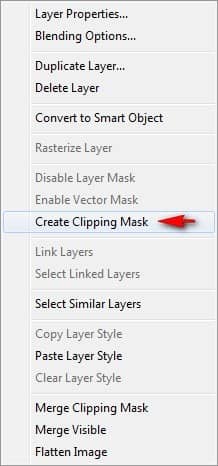
After that, you'd notice that the "Lighten" layer has an arrow pointing down at "Portal". Now, activate the Brush tool (B) and input the following settings:
- Brush size: 70px
- Hardness: 0%
- Opacity: 15%
- Flow: 100%
- #: ffffff
Zoom level: 50%
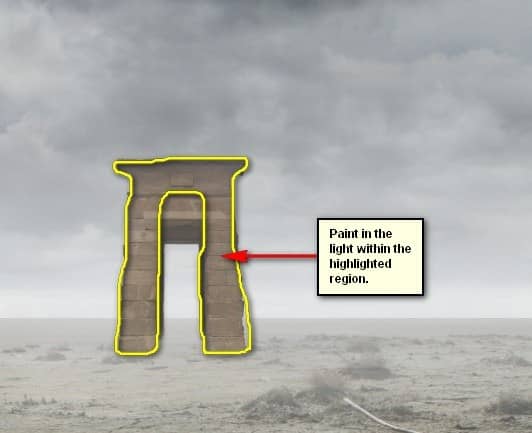
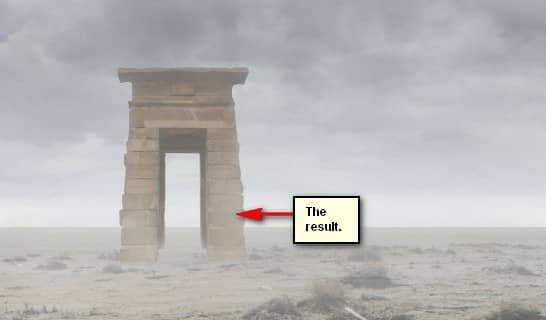
The result:
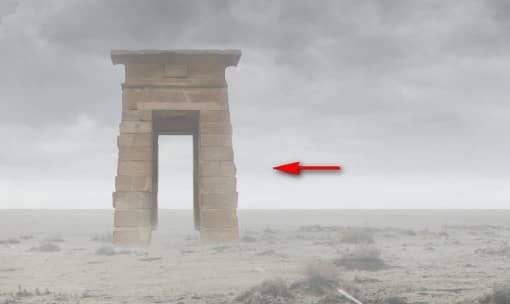
Next, let's create another layer (Ctrl/Cmd + Shift + N) and this time name it "Lighten 2". Make sure that this layer is above "Lighten" and be sure to create a clipping mask for this new layer as well. Now, activate the Brush tool (B) and input the following:
- Brush size: 250px
- Hardness: 0%
- Opacity: 15%
- Flow: 100%
- #: ffffff
- Zoom level: 50%
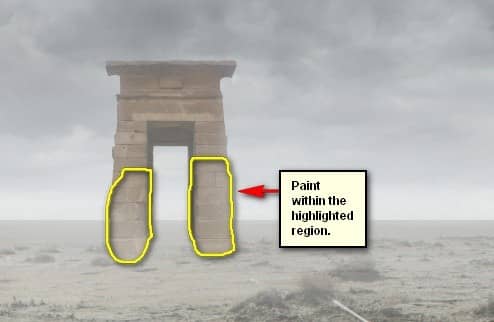
Now, let's create the light in the "Portal" that leads to another dimension. To start, create a new layer (Ctrl/Cmd + Shift + N) and name it "portal light". Put this layer above all the layers for it to create haze around the mouth of the portal. Next, activate the Brush tool (B) and input the following:

