Luminar AI lets you turn your ideas into reality with powerful, intelligent AI. Download the photo editor and see how you can completely transform your photos in a few clicks.
In tutorial we will transform some regular pictures into cool 3D photos and we will integrate them in a veridical scene. If you followed some of my previous tutorials you know that I am a big fan of channel masking techniques so we will use them in this tutorial too.
Preview of Final Results
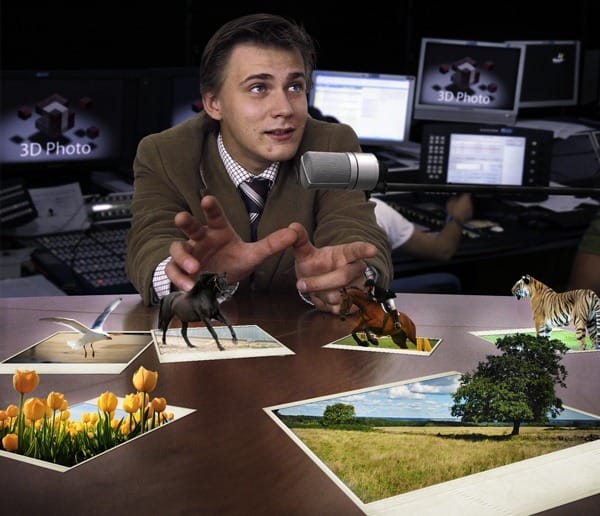
Popup Photo Scene Photoshop Tutorial
Resources
- Office Poznan
- Sky Sport24 PCR
- Cube
- Microphone
- Photo Frame 3
- Show Jumping 1
- Exotic Animal
- Flying Horses 2
- Segals
- Tulips
- Open Landscape 2
Step 1
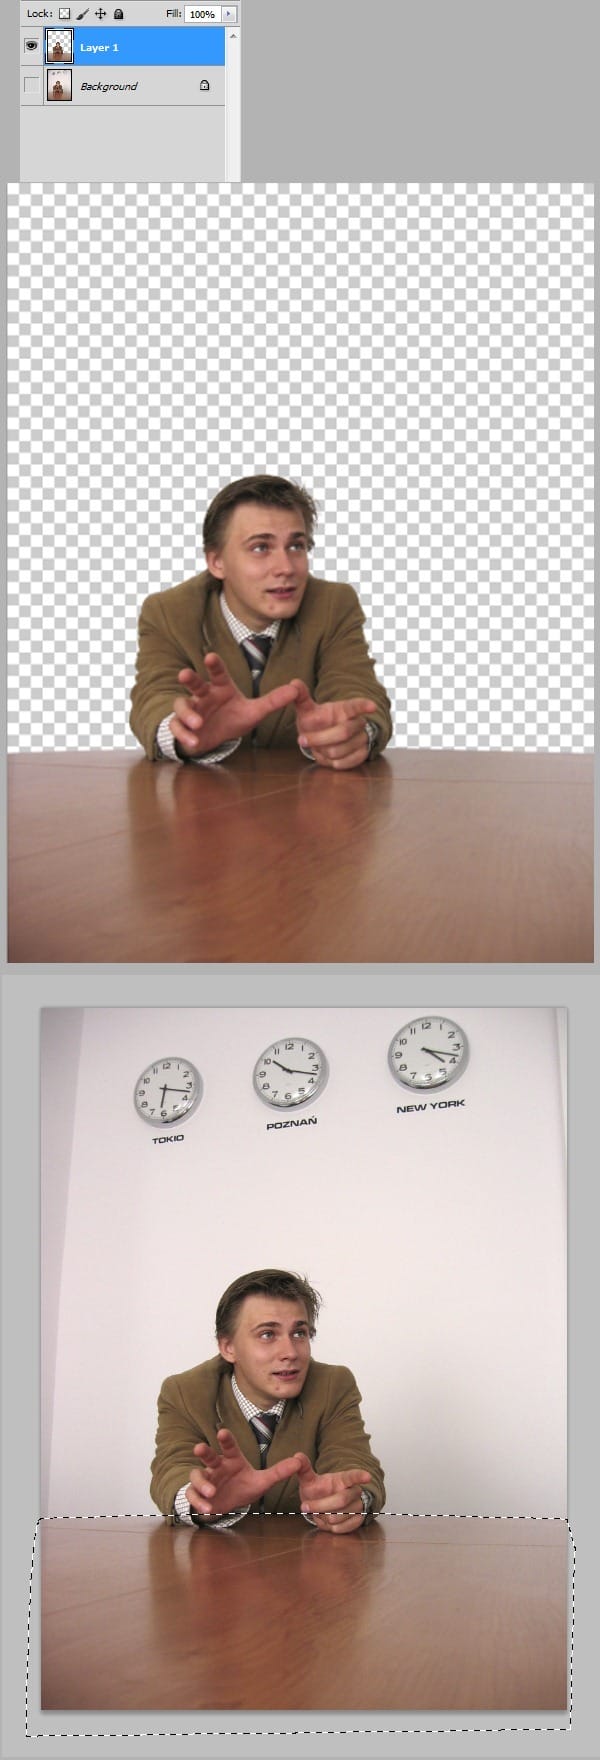
Open file "Office Poznan" in Photoshop. We will remove the background using some channel masking techniques. Choose Image > Calculations > and blend red and blue channel using overlay mode. Now we will raise the contrast between our black character and white background by using a curves adjustment. Choose Image > Adjustments > Curves and use the setting shown below.

Step 2
Choose a soft brush and change it's blend mode to overlay. Now select white as foreground color and paint with white in the areas shown below. Select the inside of our character by using the Pen tool (P) or the Lasso tool and fill the selection with black. Make another selection like shown below then press Ctrl+Shift+I to invert selection and fill it with white. Now press Ctr+I to invert the selection. We will use this alpha channel to select our character.

Step 3
Use the Pen tool(P) to select the table then press Ctrl+Enter to transform path into selection. Now hold Ctrl+Shift and click on the alpha channel to add to selection. Press Ctrl+J to move the selection on a new layer and turn off the visibility of the "Background" layer.

Step 4
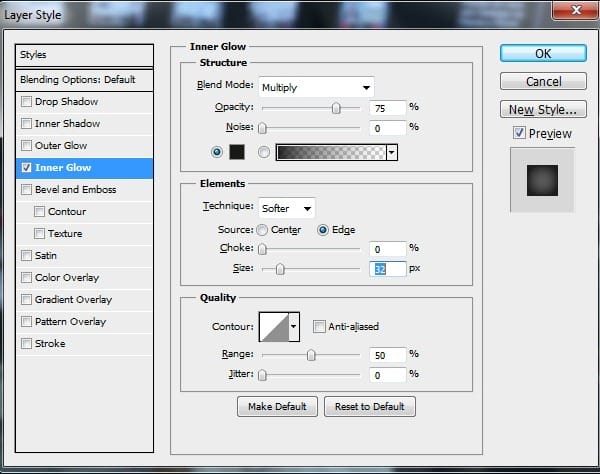
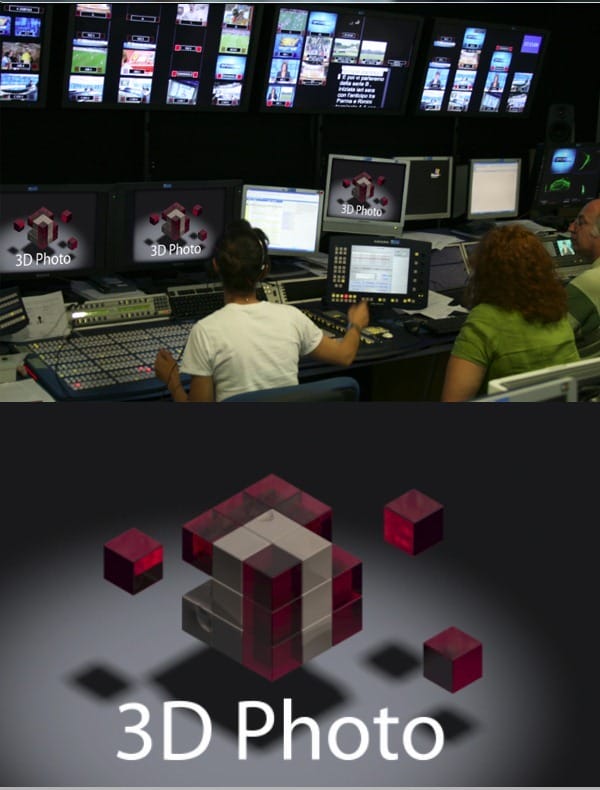
Open file "Cube". Type "3D Photo" using a font of your choice and white color. Choose Layer > Flatten Image then double click the layer to enter advanced blending options and use the settings below. Press Ctrl+A to select all and Ctrl+C to copy.
Step 5
Open file "SkySport24 PCR". Press Ctrl+V three times to paste three copies of "3d Photo" layer. Transform each layer and place it on a monitor like shown below. Use a layer mask to mask out the girl's head. Choose Layer > Flatten Image, press Ctrl+A to select all and Ctrl+C to copy.
Step 6
Go back to "Office Poznan" file and press Ctrl+V to paste. Name this layer "Studio" and move it below our office layer. Free transform it until it looks like shown below. Name the character layer "Office".

Step 7
Ctrl+Click "Office" layer to select opaque pixels then press Ctrl+Alt+R to open Refine Selection window. Use the settings shown below. Add a layer mask to the new layer and using a soft brush with black as foreground color mask away the hair.

Step 8
Ctrl+Click "Office" layer again and press Ctrl+Alt+R to open Refine Selection window and use the settings shown below.

Step 9
Select layers "Office copy" and "Office copy 2" and press Ctrl+E to merge them. Name this new layer "Office" and delete the old "Office" layer.

Step 10
Add a clipped Curves adjustment layer to "Office" layer and use the settings shown below. Add another clipped Curves adjustment layer to "Studio" layer and use the settings shown below. Change its blend mode to color. This step will match the colors between "Office" and "Studio" layer.

Step 11
Select "Studio" layer and choose Filter > Blur > Gaussian Blur. Use 2 px radius. Add a Hue/Saturation adjustment layer to desaturate the image. Crop the image like shown below.

Step 12
Open file "Microphone" and select the microphone using pen tool. Copy the selection and paste it in "Office Poznan" document. Using Free Transform rotate and scale him like shown below.

Step 13
Make a selection of the microphone black handle then press Ctrl+J for times to make to copies. Drag them towards left to make the microphone handler seem longer. Select all the micprohone layers and group them by pressing Ctrl+G. Name this group "Mic".

Step 14
We now want to improve the skin tones and add a realistic magenta reflection to our table. We will do this by using a Selective Color adjustment layer. Select all layers and press Ctrl+G to group them. Name this group "Scene".

Step 15
Press Ctrl+Alt+Shift+N to make a new layer. Choose Filter > Vanishing point and create a plane like shown below. Click the settings button and choose Render Grids to Photoshop then press Ok. This layer will serve as reference only so name it "Reference".

Step 16
Open file "Photo Frame 3". Select the photo frame and move it on a new layer. Now select the black area and delete it. (TIP – Using rectangular marquee tool draw a rectangle. Press Ctrl+Q to enter quick mask mode and press Ctrl+T to transform selection. After you're done press Enter then Q to exit quick selection mode. In order for this trick to work double click the quick mask button from the layer's palette and choose "Selected Areas" instead of "Masked Areas".) Use the ruler tool to make it horizontal. Ctrl+Click this layer to select it then press Ctrl+C to copy. Paste it in our "Office Poznan" document and name it "Frame".

Step 17
Now for the tedious part. Place 6 copies of the frame layer like shown below. To make your job easiear choose 3D > New 3D Postcard From Layer and tweak it until it fits the perspective. After you're done choose 3D > Rasterize.

Step 18
Double-Click "Frame 1" layer to enter advanced blending options and use the settings shown below. Alt-drag the Effects to every frame.

Step 19
To avoid cluttering click on each frame and press Ctrl+G to make a group. Watch the picture below and name your groups like I did so you know were to place your 3D characters.

Step 20
The steps required to create a 3D look are the same for every picture.
First open the picture , let's say the picture of the horse, and make a selection of the horse. Press Ctrl+J to make a new layer from the selection. Right-Click the "Background" layer and choose Layer from Background then press ok. Ctrl+Click both layer to select them then right click on them and choose Link Layers. Choose the Move Tool (V) and drag them in our "Office Poznan" document. Let's say we want to put our horse layer in group 2 ( this Is hypothetical ). Drag and drop both layers in group 2 then position the frame layer between the 2 layers. Think that we're making a sandwich, our 2 layers ( horse selection layer and horse picture layer ) are the bread while the frame layer is the salami. Now select our 2 layers again ( Ctrl+Click) and free transform them so the horse fits nicely our frame. The final step is to add a layer mask to the horse picture layer and mask everything outside the frame.
Resume:
Select and make a new layer, transform background into normal layer, link the 2 layers, drag them to our document, make a sandwich with the frame layer between the 2 layers, select the 2 layers again, free transform them, add a layer mask to the bottom layer and mask everything outside the frame.
These steps sound complicated but are very simple to do. I will not repeat them for every frame, instead I will be referring to step 20. You can also apply this steps to other pictures in order to obtain the 3D effect.
Step 21
Open file "Open Landscape 2. We will use channel to make a selection of the tree. If we do a "channel walk"( take a look at each of the red, green and blue channels ) we notice that the blue channel has the most contrast between tree and sky. Choose Image > Calculations and use the settings shown below. Press Ctrl+M to open curves adjustment window and use the settings shown below. Now using the lasso tool make a selection of the tree then press Ctrl+Shift+I to invert the selection. Fill the selection with white. Use a white brush tool to carefully remove the 2 black spots. Press Ctrl+I to invert ( remember that in a channel mask white reveals, black conceals) and Ctrl+Click the alpha channel to load the selection. Go to the RGB composite view by pressing Ctrl+2 then press Ctrl+J to make a new layer from the selection.

Step 22
Use the instructions from Step 20. Place the layers in "Group 1". Free transform until it looks in the image below then mask everyting outside the frame in the bottom layer.

Step 23
Open file "Tulips". If we do a channel walk we notice that the blue channel has the most contrast . Choose Image >Calculations and use the settings shown below. Then press Ctrl+M to open curves adjustment window and use the settings shown below. Brush with black inside the tulips and with white outside them. Press Ctrl+Shift+I to invert then Ctrl+Click the alpha channel to load the selection. Press Ctrl+2 to return to RGB composite view then press Ctrl+J to make a new layer from selection.

Step 24
Use the instructions from Step 20. Place the layers in "Group 2". Free transform like shown below then mask everything outside the frame in the bottom layer. Go to the upper layer ( the tulips selection layer ) and using the eraser tool or Quick mask remove the bottom parts of the tulips so they are visible only in the superior part of the frame.

Step 25
Open file "Exotic Animal –Tiger".".Make a selection of the tiger using the Pen tool or your favorite selection tool and make a new layer from the selection. Use the instructions from step 20. Place the layers in "Group 3". Free transform the layers until they look like shown below. Use the eraser tool or Quick mask to remove the bottom parts of the tiger selection layer.
If your selections are not perfect you can always use the Refine Edge command to feather or remove color fringe.

Step 26
Open file "Show Jumping 1". Make a selection of the horse and the jockey using Pen Tool or any other selection tool and make a new layer from selection. Use the instructions from step 20. Place the layers in "Group 4" and free transform them until they look like in the image below and mask everything outside the frame in the bottom layer.

Step 27
Open file "Flying Horses 2". Make a selection of the horse using your favourite selection tool then make a new layer from the selection. Use the instructions from step 20. Place the layers in "Group 5" and free transform the layers until they look like shown below. In the bottom layer mask everything outside the frame.

Step 28
Open file "Segals". Make a selection of the seagull then make a new layer from the selection. Use the instructions from step 20. Free transform the layers until they look like shown below then mask everything outside the frame in the bottom layer.

Step 29
In the next steps we will adjustment layers to make our image "snap". Each adjustment layer will be applied selectively by using layer masks. I will show you the layer mask for each adjustment layer and remember that black conceals the effect while white reveals. Gray colors only partially reveal the effect.
This is not exact science but rather a trial and error process. You think to yourself " What this image needs now? It is a bit bland and has some washed colors so I want to increase the contrast of the midtones. Let's do that by adding a Black&White adjustment layer set to Overlay blend mode. Hmm, is to strong. Let's change the blend mode to Soft Light and lower the opacity. Better now. " and so on. Remember that all the adjustment layers and blend modes and masks are merely tools, servants of your imagination. The tools you use and the way you use them are unimportant in comparison with the results achieved. Focus on what you want to achieve and worry less about the techniques used by others or the complexity of the various tools.
Step 30
Let's increase the contrast of the midtones by using a Black&White adjustment layer. Use the settings shown below. We want to leave our 3D pictures intact so mask them away.

Step 31
We notice that the background it is too saturated so we will use a Hue/Saturation adjustment layer to desaturate it. We also want to increase the saturation of our 3D pictures and of our character skin so we will use a Vibrance adjustment layer.

Step 32
Let's darken the scene a little. We will use two adjustment layers, one set to normal and one set to multiply blend mode. You will notice that I masked away the 3D pictures and the characters face so they will not be affected by the darkening .

Step 33
Now we will lighten the pictures and also the space around them. Add a curves adjustment layer and fill the mask with black. Using a white soft brush mask over the 3D pictures and the face in the layer mask. Because we are using a white brush on a black background we are revealing the effects of the curves adjustment layer only in the white and gray areas. Remember that black conceals and white reveals.

Step 34
As a final step I added a Curves Adjustment layer with blend mode set to soft light to darken up a bit the horses and the tree. Now you can turn off the visibility of the "Reference" layer.

Final Results
![image002[1] image002[1]](https://cdn.photoshoptutorials.ws/./images/stories/b8f7a1f7d6b8_10F8C/image0021.jpg?strip=all&lossy=1&quality=70&webp=70&avif=70&w=1920&ssl=1)
One comment on “Create a Scene with Popup Photos in Photoshop”
Yeah Poznań blisko mam do niego