Download Lightroom presets and LUTs, absolutely free. Use the presets to add creativity and style to your photos.
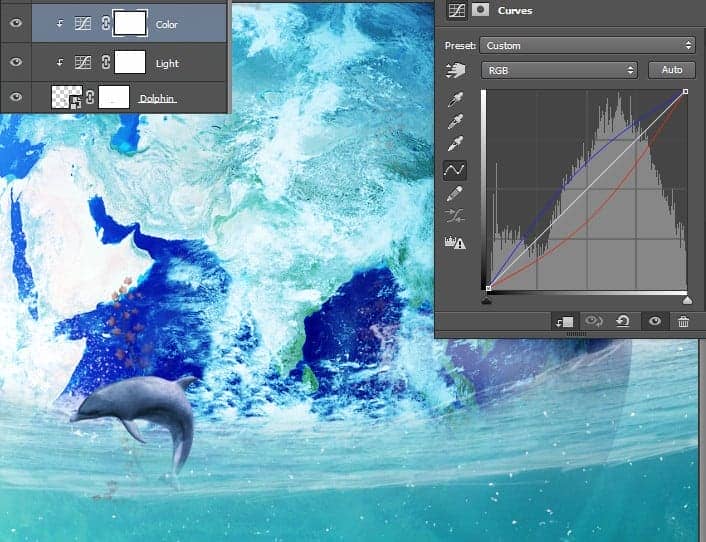
Step 37
Create a new layer and use a splash brush to create some splashes where the dolphin exits the water.
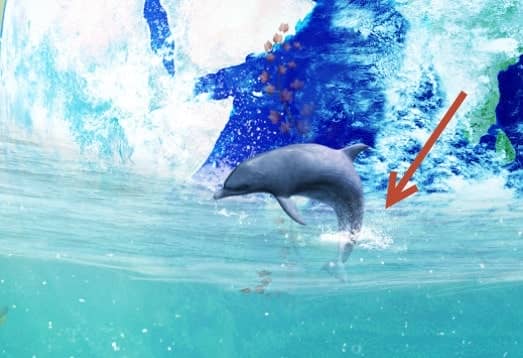
Step 38
Open the image “Dove”. Select the dove and copy paste in our scene. Place the dove on the left of our scene. Import the FX brush and create some white sparkles in the trail of the dove as it is flying.
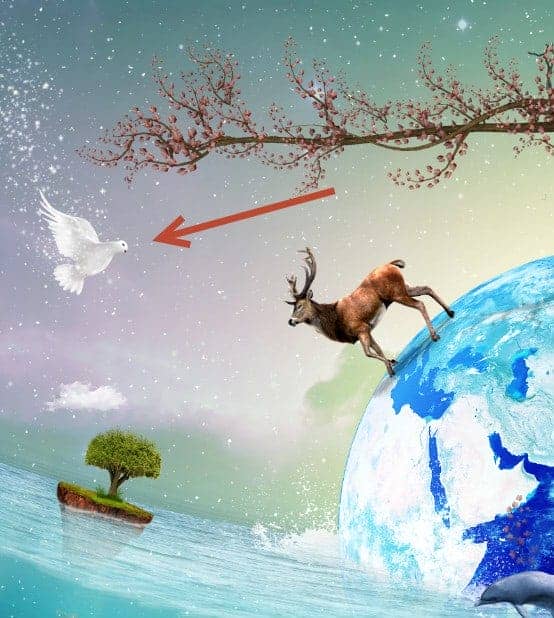
Step 39
Open the file “Special Effect”. Extract the effects somewhere on your computer. Choose one you like and open it in Photoshop. Select all and copy paste in our scene. Change the blending mode to Screen and place this effect near the dove.
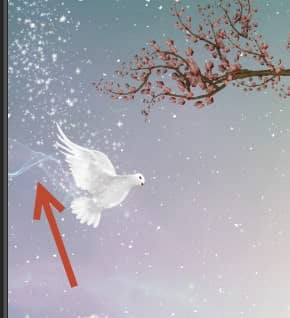
Step 40
Create a new layer and change the blending mode to Color Dodge. Choose the standard round soft brush and lower the opacity to 20%. Paint over the areas indicated below to increase the focus and the contrast of the scene.

Step 41
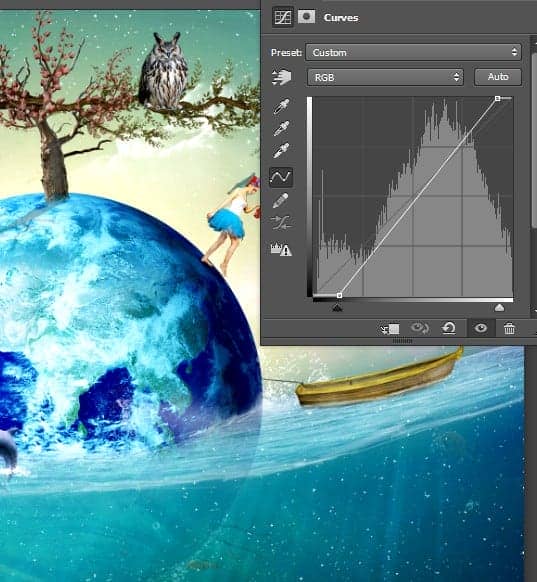
Create a Curves Adjustment Layer and use the settings shown below to increase the overall contrast of the scene.
Step 42
Open the image “Bokeh”. Select all and copy paste in our scene. Change the blending mode to Screen and lower the Fill to 38%. Hide this effect in the underwater portion of the scene by painting in the layer mask with black.

Step 43
Open the image “Flare”. As you can see there are multiply flares in the zip file. Select one you like and open it in Photoshop .Copy paste all in our scene and place it near the dove. Change the blending mode to Screen. Add a layer mask and hide the hard edges by using a black round soft brush in the layer mask.

Step 44
Create a new layer from all the visible layers (Ctrl + Shift + Alt + E) and change the blending mode to Soft Light. Apply a 20px Gaussian Blur (Filter > Blur > Gaussian Blur). As you can see we achieve a very dreamy effect.

Step 45
Create a new layer from all the visible layers again but this time apply a sharpen effect (Filter > Unsharp Mask with 60% Amount, 1pixels Radius and 0 Threshold.

Step 46
Finally add a Gradient Map Adjustment Layer (Layer > New Adjustment Layer > Gradient Map) with the settings shown below. Change the blending mode to Soft Light.

Final Results

Download the PSD
[vc_column width="1/1" el_position="first last"] [vc_cta_button title="Download" href="https://downloads.photoshoptutorials.ws/Planet Earth.zip" color="btn" size="btn-large" icon="none" target="_self" position="cta_align_right" call_text="Planet Earth.zip | 156 MB" width="1/1" el_position="first last"] [/vc_column]
Tutorial by Johan Sandu


4 comments on “How to Create a Compassionate Planet Earth Artwork in Photoshop”
So nice!
Now anything can turn into a tutorial on this site?
Where are the great artists?
owwww gosh !!! this is so awesome work :O
Matagal na ko ng pinag-aaralan ang Photoshop, till now di ko pa rin kaya, kahit mag edit lang pic.. :( Ang hirap pag-aralang mag-isa.. :( At gusto ko ring matutunan ang Adobe Premiere :( mahirap din..