Download Lightroom presets and LUTs, absolutely free. Use the presets to add creativity and style to your photos.
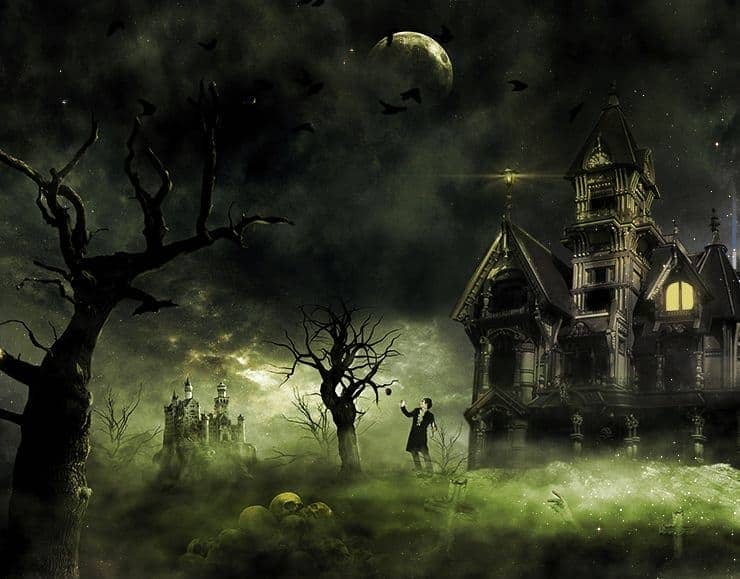
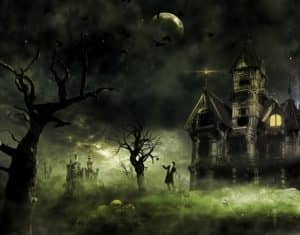
Have you ever wanted to live in a haunted house? I don't! But that won't stop us in creating a eerie photo manipulation with dead trees, ghosts and a haunted house. Fire up Photoshop and let's begin!
What you'll be creating
In this tutorial we will create an eerie photo manipulation. You will need Photoshop CS5 or newer in order to follow this tutorial.
Tutorial Resources
- Sky - freeimages.com
- Moon - wikipedia
- Grass - Lemondjinn
- House - moonglowlily
- Birds BRush - redheadstock
- Fog Brush - elizavetbrushes
- Skulls - elevit-stock
- Cross - letinhastock
- Hand - isostock
- Lamp - moonglowlily
- Dead tree 1 - gd08
- Dead tree 2 - zememz
- Dead tree 3 - gd08
- Castle - skinywitch
- Guy - jagged-eye
- Nebula - freeimages.com
Step 1
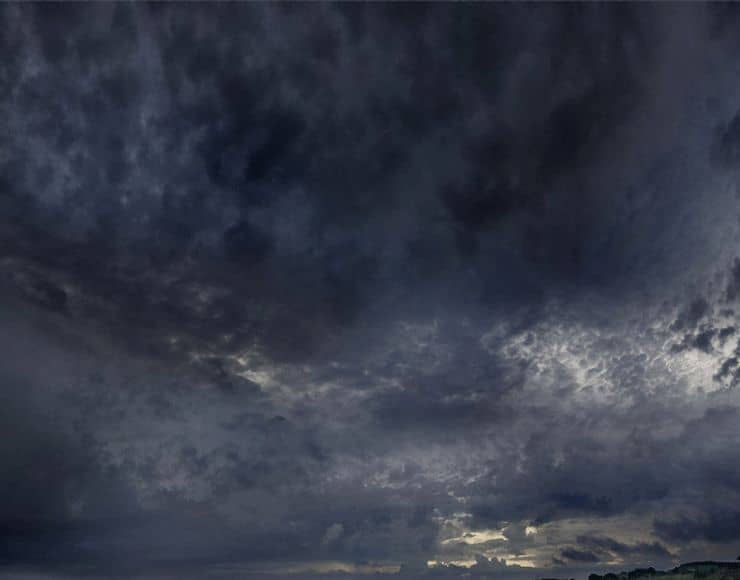
Create a new document 2000x1565. Open the file sky and copy all by pressing Ctrl + A. Copy with Ctrl + C, go back to our document and paste with Ctrl + V. Place the sky as shown below.
Step 2
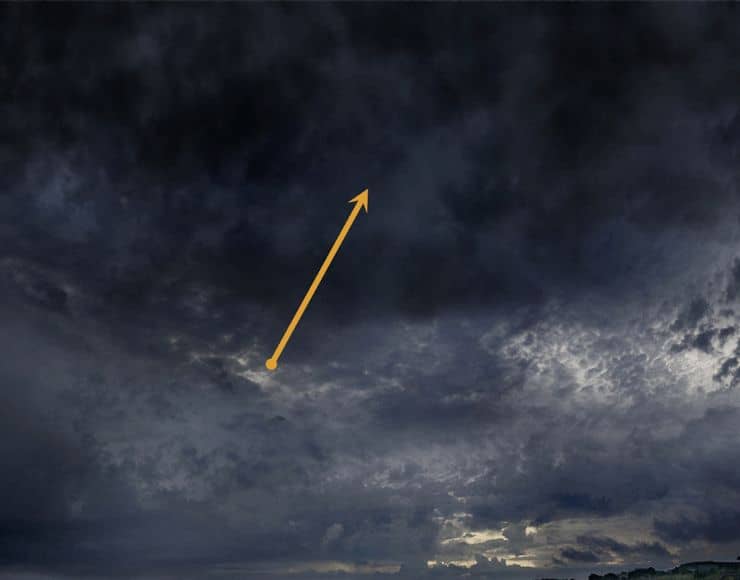
Create a new layer (Ctrl + Shift + Alt + N). Choose a round soft brush and lower the opacity to 40%. Paint with dark over the upper portion of the sky.
Step 3
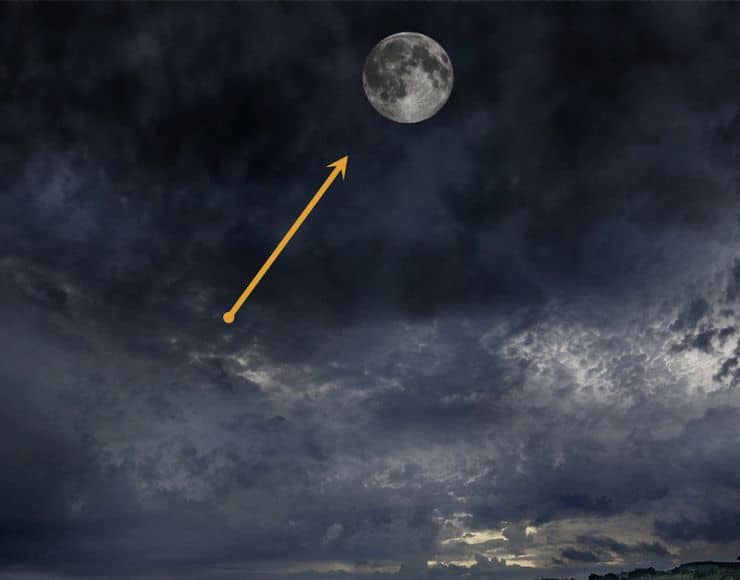
Open the file Moon. With the Elliptical Marquee Tool make a selection of the moon. Copy and paste that selection into our document. Convert the pasted moon into a smart object (right click the layer and from the drop down menu choose Convert To Smart Object). Resize and place the moon as shown below.
From now on you should transform to smart object all objects/layers pasted from other documents, especially if you are going to apply a lot of resizes to them. I will not mention this at every step but if you pasted something from another document the rule is that you convert to smart object.
I should also mention that in order to resize and position a layer you should use Free Transform (Ctrl + T). If you hold Shift while dragging the corner handles you will resize you object proportionally.
Step 4
Add a layer mask to the moon layer (Layer > Layer Mask > Reveal All) or from the bottom of the layer palate menu. With a round soft brush mask the lower left part of the moon so that it blends nicely with the sky.
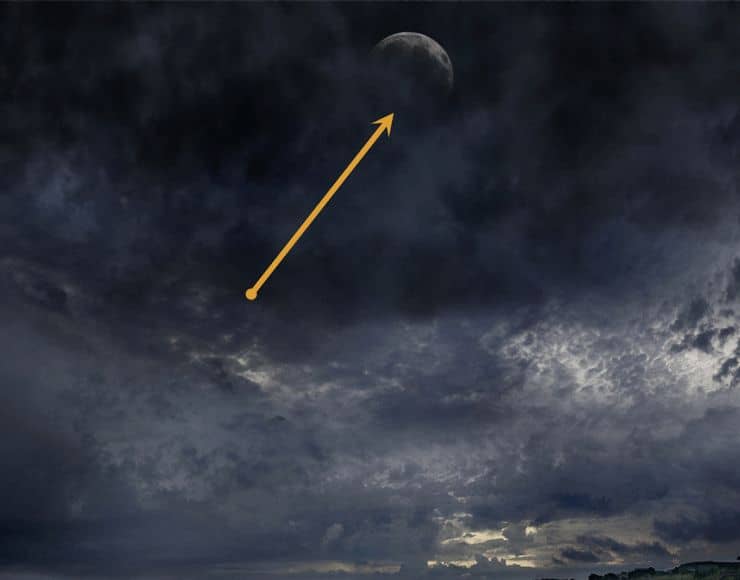
Step 5
Open file Rocks. Select the rocks with the Quick Selection Tool, copy and paste them into our document. Place them as shown below.
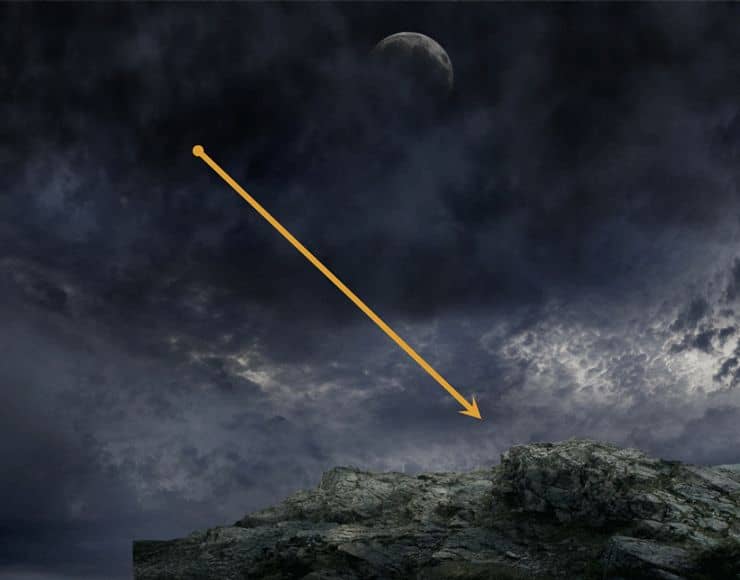
Step 6
Open the file Grass. Place it as shown below.
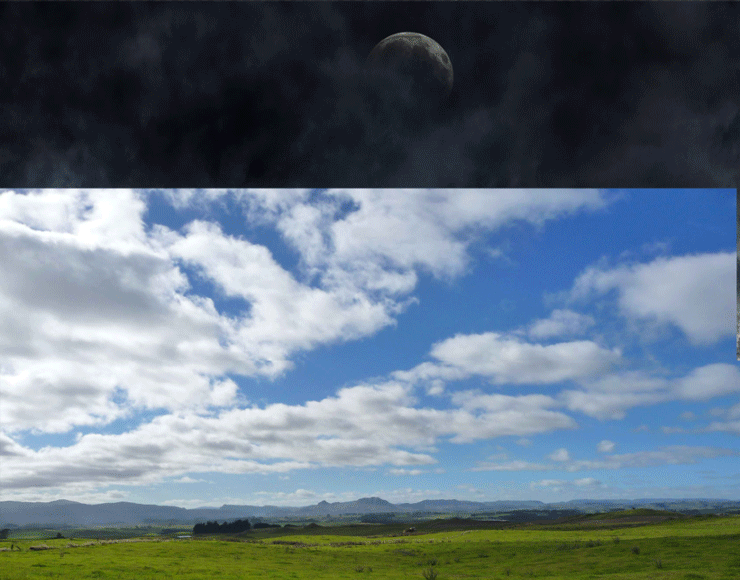
Step 7
Add a layer mask to the grass layer and hide the upper portion of the layer (the sky ). Hint: you can use the Rectangular Marquee Tool to select the area you want hidden and then in the layer mask press Alt + Backspace (but make sure you have the default colors set which you can do by pressing D).
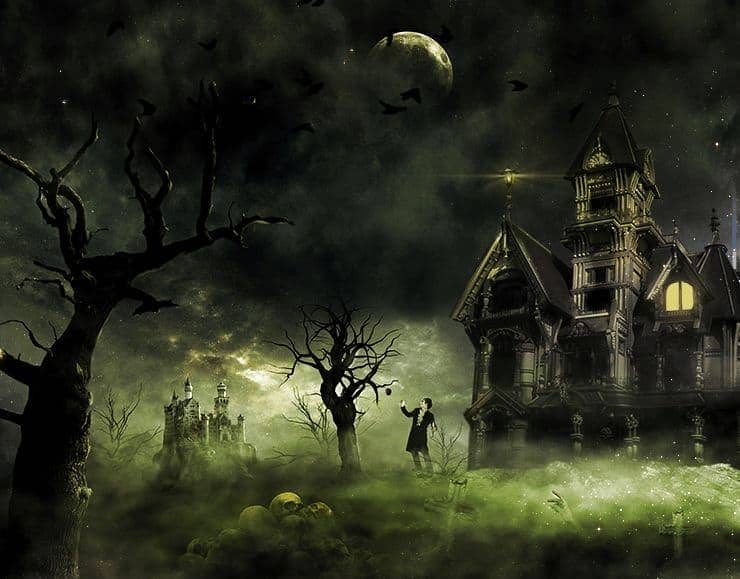
Step 8
Create a new layer and using the Clone Stamp tool clone some of the grass as shown below.

Step 9
Open the file House. Select the house and copy it. Paste it into our document and resize it as I did in the image below. Add a layer mask and mask the lower part of the house so it will sit nicely over the rocks.
Hint: in order to do precise selection you can use the Pen tool and make a path of the area you want selected. After you’re done you press Ctrl + Enter and transform the path into a selection.

Step 10
Create a new Hue/Saturation adjustment layer (Layer > New Adjustment Layer > Hue/Saturation or from the bottom of the layer palate icon) and clip it to the house layer. Drag the saturation slider to -42.
Hint: In order to clip a layer to another Alt-click between the two. This will make the upper layer to show only to the lower layer. You can clip as many layers as you like and they all are going to show only to the bottom most layer.

Step 11
Create a new layer and change the blending mode to Multiply. Clip it to the house layer. With a round soft brush at 50% Opacity paint over the house to darken it. Lower the opacity of the layer if the effect is too strong.

Step 12
Create a new layer and change the blending mode to Overlay. With a white soft round brush paint over the house like I did below.

Step 13
On a new layer set to Overlay Opacity paint again with white over the watch and some of the roof.

Step 14
Create a new layer and with the chalk brush paint with yellow (#ffd968) over the window.

Step 15
Create a new layer and with the same yellow color but a round soft brush at 10% Opacity paint some glow around the window.
Hint: When you are finished with a specific portion of the document you are working on (like we are finished with our house) it is a good idea to select all the layers related to that section/object and group them. Shift –click on each layer to select multiple layers and press Ctrl + G to group them. Give the group a descriptive name (in our case “House”).

Step 16
Import the Birds Brush (double click the .abr file). Create a new layer and create some birds with the birds brush.

Step 17
Import the Smoke Brush and using a combination of white and black paint some smoke on the bottom portion of our document. Use multiple layer if needed.

Step 18
Open the Skulls file. Copy and paste the skulls into our document. Add a layer mask and hide most of the skulls until you achieve an effect as I did below.

Step 19
Open the file Cross. Select the cross, copy and paste it into our scene. Add a layer mask to hide most of the cross (look at how I did in the image below) and place it near the skulls. Duplicate the cross (Ctrl + J) and place the duplicate to the right of the original cross. Rotate and resize it a little.

Step 20
Open the file Hand. Make a selection of the hand with the Quick Selection Tool. Copy and paste the hand into our scene. Resize it and put it between the two crosses. Also add a layer mask and mask the bottom parts of the hand.

Step 21
Create a Hue/Saturation adjustment layer and drag the saturation slider to -77. Clip it to the hand layer. Create a Curves adjustment layer and drag the curve down as shown below. Clip it to the hand layer.

Step 22
Open the file Lamp. Make a selection of the lamp. Copy and paste the lamp into our scene. Position the lamp at the top of the house. Create a Curves adjustment layer with the settings show below and clip it to the lamp.

Step 23
Open the file Dead Tree 1. Copy and paste the tree into our scene (the trees are already precut so a simple Ctrl + A will select them). Add a layer mask and mask the bottom of the tree. Place one tree on the left side of our scene, near the horizon. Duplicate it two times and place the other two trees as shown below.

Step 24
Open the file Dead Tree 2. Copy and paste the tree into our scene. Place it as shown below. Add a layer mask and hide the bottom part of the tree.

Step 25
Create a Curves adjustment layer and drag the curve down. Clip it to the tree.

Step 26
Create a new layer and with a dark red paint a little apple hanging just below the dead tree. You don’t have to be very precise, just a blob of red with a little white for the highlight will do the trick.

Step 27
Open file Dead Tree 3. Copy and paste into our scene. Put it in the left side of our scene. Add a layer mask and with a round brush at 10% opacity paint with black in the layer mask over the tree to make it blend with the environment. I hope you haven’t forgot to convert the tree (and all other objects you pasted since into the scene) to a smart object, like I advised you in step 3!

Step 28
Create a Curves adjustment layer and drag the curves down. Clip it to the tree layer.

Step 29
Create a Hue/Saturation Adjustment layer and drag the saturation slider to -59.
Clip it to the tree layer.

Step 30
Create a new layer and change the blending mode to overlay. Clip this layer to the tree layer. With a round soft brush paint with black mostly over the left part of the tree.

Step 31
Create a new layer and change the blending mode to Multiply. With a round soft brush paint with black over the highlights of the tree to hide them.

Step 32
Create a new layer and change the blending mode to Color Dodge. With a small brush (2px) at 40% Opacity paint with white on the right extremities of the tree to create some subtle highlights.

Step 33
Create a new layer and paint both with black and white using the smoke brush over the left most dead tree in our scene.

Step 34
Open the file Castle. Make a selection of the castle and copy it. Paste the castle into our scene and position it as shown below. Add a layer mask and hide the bottom part of the castle to blend it with the environment.

Step 35
Create a Hue/Saturation adjustment layer and drag the saturation slider to -57.Clip it to the castle. Create a Curves Adjustment layer and drag the curve down to darken. Also clip it to the castle.

Step 36
Open the file Guy. Make a selection of the guy and copy/paste into our scene. Place it as shown below. Add a layer mask and mask the feet a little.

Step 37
Create a Curves adjustment layer and clip it to the guy layer. Drag the curve down.

Step 38
Create a new layer and change the blending mode to Overlay. Clip it to the guy layer. With black and white paint over the guy to create some basic highlight and shadow (paint with dark on the right side and with white on the left side).

Step 39
Create a new layer and change the blending mode to Overlay. Paint with white and black in the areas shown below to emphasize certain elements of the scene.

Step 40
Create a new layer from all the existing layers (Ctrl + Alt + Shift + E). Use the Unsharp Mask filter (Filter > Sharpen > Unsharp Mask) with the settings shown below not to sharpen the layer but to increase the contrast.

Step 41
The effect is a bit to strong for certain portions of our scene. Add a layer mask to the sharpened layer we just created and hide in the layer mask most of the house.

Step 42
Open file Nebula. Select all and copy/paste into our scene. Place the nebula as shown below.

Step 43
Change the blending mode of the nebula to Color Dodge. Add a layer mask and hide the very bright spots.

Step 44
Open file Lens Flare. Select with the rectangular marquee tool the sun situated in the top left. Copy/paste into our scene. Position the sun over the lamp.

Step 45
Change the blending mode of the sun layer to Screen. Add a layer mask and hide all the straight edges.

Step 46
Add a Gradient Map adjustment layer with the settings show below. Change the blending mode to Soft Light and lower the opacity to 36%.

Step 47
Add a Hue/Saturation adjustment layer and drag the saturation slider to -40.

Step 48
Create a new layer. Change the blending mode to Overlay. With a round soft brush at 20% Opacity paint with green (#68a200) over most of our scene but especially over the lower parts where the smoke is.

Final Results
![final-results[1] final-results[1]](https://cdn.photoshoptutorials.ws/wp-content/uploads/2014/10/finalresults1-1.jpg?strip=all&lossy=1&quality=70&webp=70&avif=70&w=1920&ssl=1)
20 comments on “Create This Eerie Haunted House Scene for Halloween”
Where do I find the Rock Image you used? The link to it isn't in your List.
I'd like to know the same thing..
why i cant reach the last step?
I must say you suck. I'm sorry but after downloading all the files you start with: "Create a new document 2000×1565. Open the file sky and copy all by pressing Ctrl + A. Copy with Ctrl + C, go back to our document and paste with Ctrl + V. Place the sky as shown below" Wtf does that even mean? I was ready to follow and try it but yeah... There is one file and you talk about copy all. Copy all with control A, Copy all with Control C? lol..
Go off
a wonderful lesson. I really liked the work of the clouds. And for me it was interesting "to do" tree on the left. Step 47 I would have done finalnym- I like the color scheme Thank you for an interesting lesson It's my pic http://j-p-g.net/if/2015/09/17/0735896001442496453.jpg
OH, THANKS
Seriously I m just fan of yours. Thank you for for being part of us.
hey what happen with the images from step 6 to 11 ??
awesome photo manipulation.
????
i like the hountd house photo
What the hell man, That all was an effect and reposition ?
And it all starts from nothing ? man i think you're a genius ! fcking like it ! but, it's still hard to me, any other ways easier than this but the same results ?
I would not use that house stock photo, nor any image from moonglowlily as she notoriously takes images from Google and calls them stock. She does not have permission to post those photos and by using them you are committing copyright infringement.
How much time I am supposed to spend in Photoshop in order to do a such miracle?
where is smoke brush ?
Try this for rocks http://fc01.deviantart.net/fs71/i/2013/068/1/3/png_rock_by_moonglowlilly-d5xij7u.png
Where is the rocks image dowload?
i cant find the rocks image too, but here is my alternative rocks image. try it out
http://fc00.deviantart.net/fs71/i/2012/310/7/8/rock_png_by_camelfobia-d5k5kea.png
Tiene muchas capas y crea un verdero Arte Subrealista