Make your artwork look like they're from an alternate universe. These Cyberpunk presets work with Photoshop (via the Camera Raw filter) and Lightroom. Download all 788 presets for 90% off.
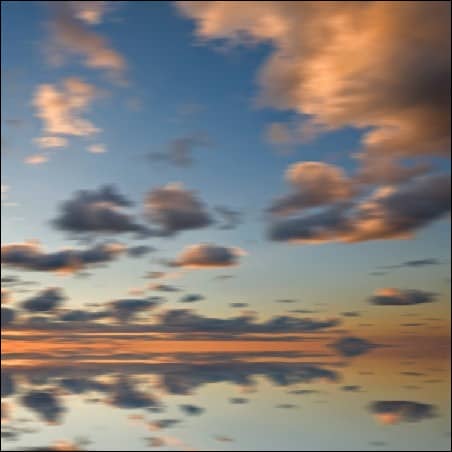
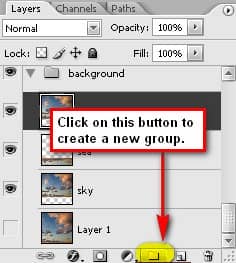
Now we’re finished with the background, so it’s time we group the layers. Click on Layer on the Menu bar and once it opens click on New > Group and change the group’s name to “Background”, you may also click on the Create New Group button from the Layer window.
Step 3 - Insert the Buggy
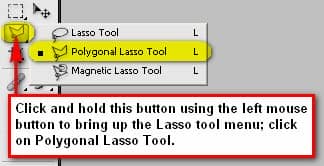
In this step, we will be adding our subject, the Classic Volkswagen Buggy; open the “Old Buggy” stock image from the folder you’ve saved it into and then activate the Polygonal Lasso tool (L) because we would need to remove the Buggy from its background.
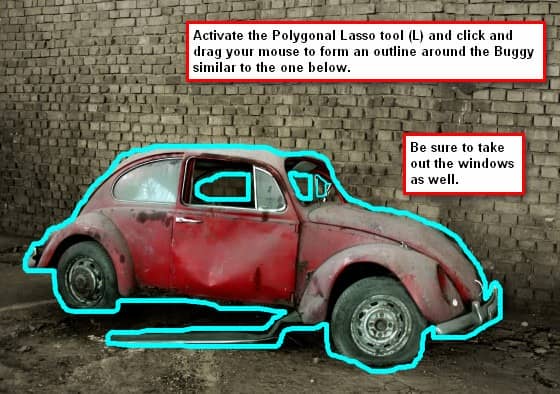
Now after you’ve made the selection, we would need to drag the Buggy from its original image to our canvas. Drag it to our canvas using the Move tool (V) and then rename its layer to “Buggy”. We would need to align it with our background so activate your transform tool (Ctrl/Cmd + T) and pick Rotate from its menu; Rotate the image as seen on the image below:
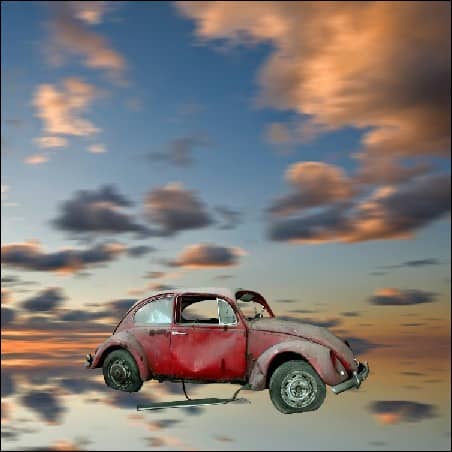
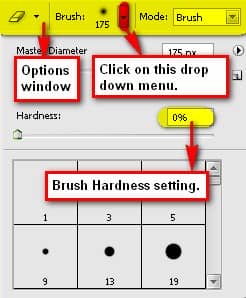
To create the reflection illusion we would need to erase some parts of the “Buggy” layer. Activate your Eraser tool (E) and input these settings:
- Brush size: 175px
- Hardness: 0%
- Opacity: 100%
- Flow: 100%
Note: To activate the hardness option click on the drop-down menu beside the word Brush on the Options window.
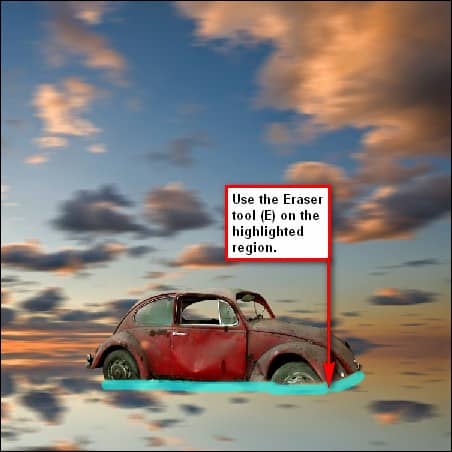
Let’s create the reflection for our Buggy. Click on the “Buggy” layer and press “Ctrl/Cmd + J” to duplicate it. Rename that layer to “buggy reflection”. Now let’s apply the same technique we did on our sky image. Transform the image and click on Flip Vertical from the transform tools’ contextual menu.
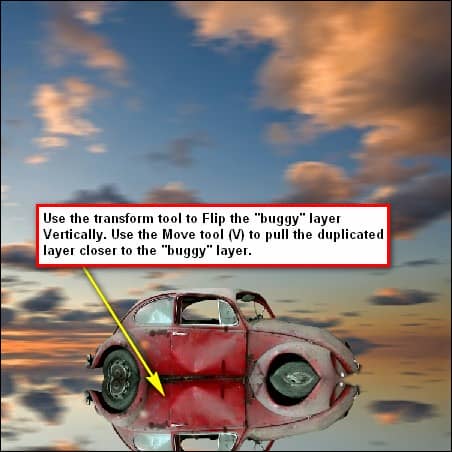
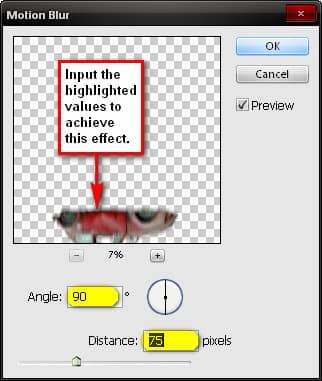
Now let’s make it look more like a real reflection. Left click on the “buggy layer” and go to Filter > Blur > Motion Blur on the Menu bar and input these settings:
- Angle: 90’
- Distance: 75px
To improve the authenticity of the reflection we would need to erase some areas. Activate your Eraser Tool (E) and then input these values:
- Brush size: 400px
- Hardness: 0%
- Opacity: 100%
- Flow: 100%
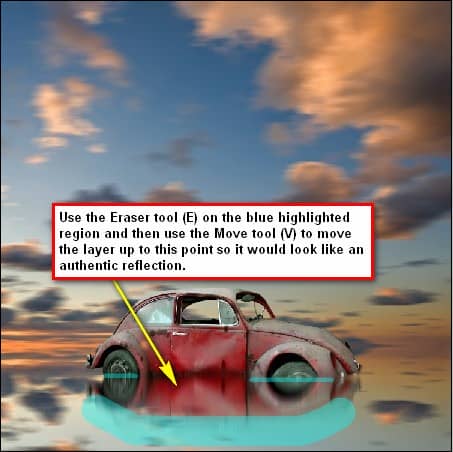
Now let’s group these layers and name that group: “buggy and its shadow”.
Step 4 - Creating the shadows and the light and correcting the colors of the Buggy
In this step we would be using the Burn tool (O) to darken some light parts of the Buggy; we will be using the Brush tool (B) to create light and shadows and use the Clone Stamp tool (S) to retouch some errors in the Buggy and using the Color Balance to adjust the colors of the Buggy.


3 comments on “How to Create A Long Exposure Sunset Image Using Photoshop”
Perfect
Gr8
WoooW !!
This is fantastic not only the image but the processes. Totally awesome. Thanks very much !!!!