Turn any photo into a dot grid artwork with these Photoshop actions. You'll get great results with dots that change size. They get larger in brighter areas and smaller in darker areas. Free download available.
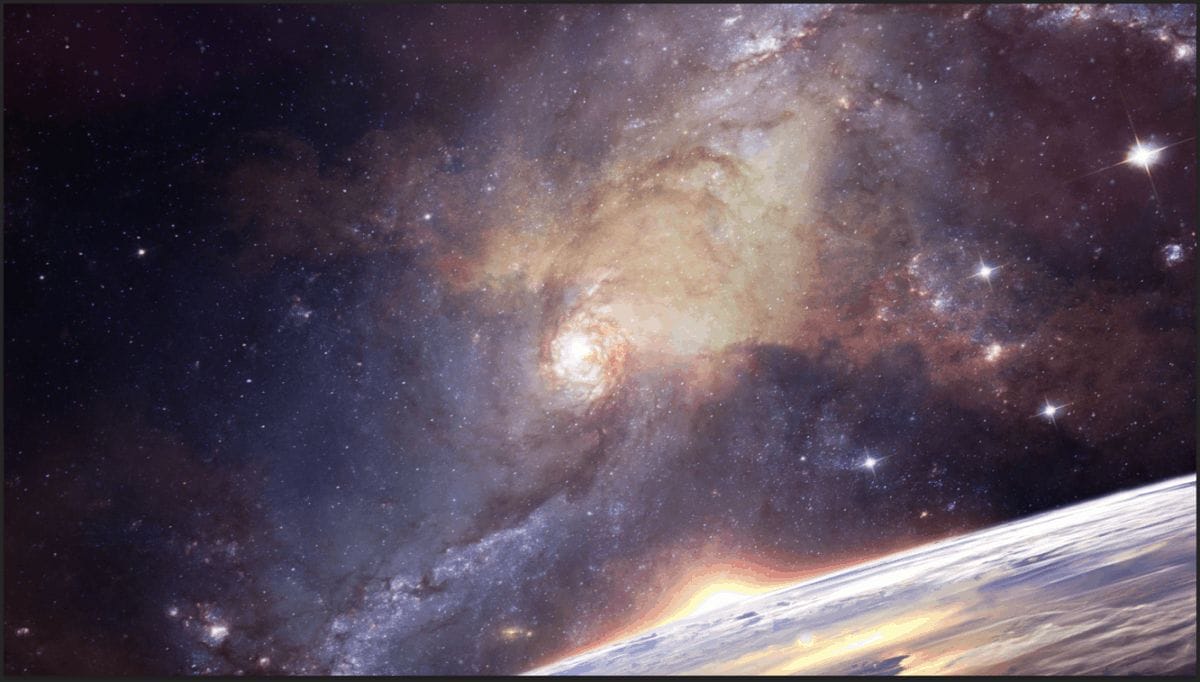
I believe, if there is some sort of higher power, the universe is it. Whenever religious people ask me where the universe came from, I tell them that it has always been here, and was never created. The Big Bang theory is based on the fact that the universe is expanding right now. And if you rewind the tape, the universe appears to be shrinking. If you rewind the tape far enough, eventually the universe must be just one singular point. Or so the theory goes. But what if the universe has not always been expanding? What if it's pulsating, and one pulse takes trillions of years, and right now the universe is inhaling, and before that, trillions of years ago, it was exhaling?” In this Photoshop tutorial, we will learn how to create a galaxy atmosphere. First, we added an Earth and hole, galaxy, stars then blended with some Adjustment Layers. For the last effect wee added a Camera Raw filter.
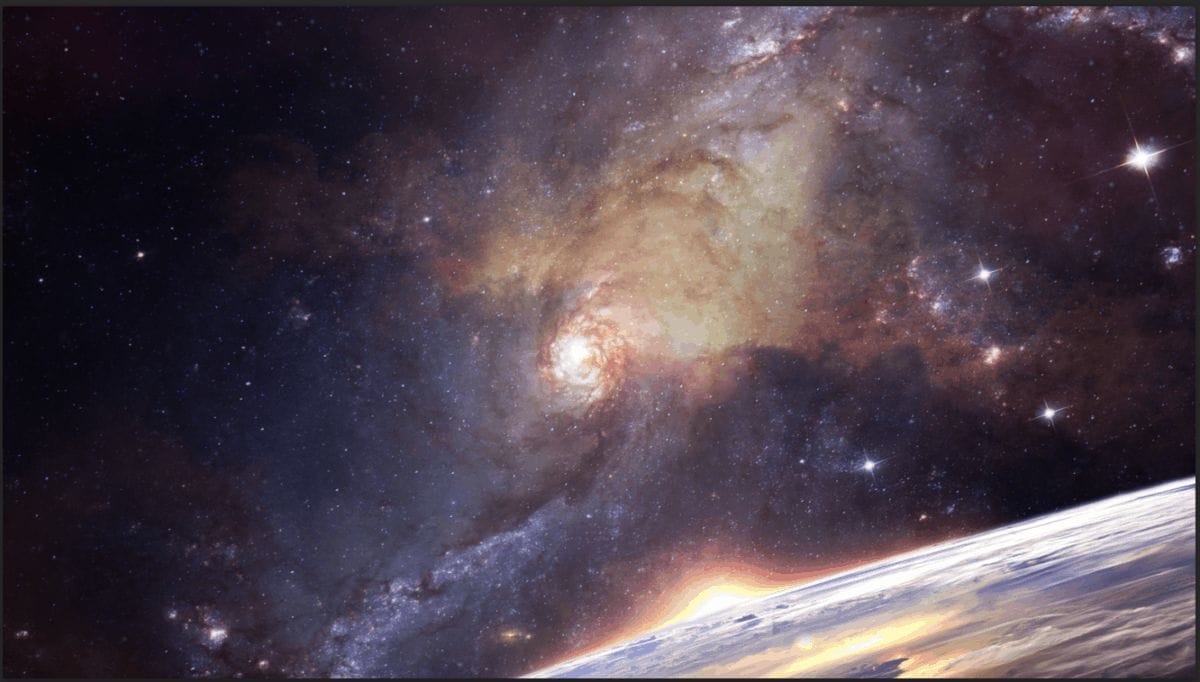
Preview of Final Image

Tutorial Resources
Step 1
Now, let’s start by creating a new image file, go to the Menu bar and click File > New, and then input the following values on their respective fields
- Preset: Custom
- Width: 3080px
- Height: 1734px
- Resolution: 72
- Color Mode: RGB Color 8-bit
- Background Contents: Transparent

Step 2
Now, place Earth photo Go to File > Place and select Earth. Then place it to our work canvas. Then position the image with the transform tool (Ctrl / Cmd + T). Hold Alt + Shift and rasterize like the image below. In Photoshop CC only hold Alt to rasterize all sides together.


Step 3
Add Adjustment Layer "Curves"

Step 4
Add Adjustment Layer "Curves" and press Ctrl/Cmd + I to invert. Then use Brush Tool(B) Soft Round with foreground color white and paint Highlight parts.


Step 5
Now create a new layer and use Brush Tool(B) Soft Round with foreground color white and paint to light to edges on earth. Look at picture below.

Step 6
Next, select Planet and go to File > Open and select Planet photo stock. Use Rectangular Marquee Tool(M). With the Rectangular Marquee tool, drag over the area you want to select. Hold down Shift as you drag to constrain the marquee to(release the mouse button before you release Shift to keep the selection shape constrained). Blend mode change to Color Dodge with Opacity to 88%.


Now create a layer mask and use Brush Tool(B) Soft Round with foreground color black and delete some parts. Look at picture below.


Step 7
Add Adjustment Layer "Hue/Saturation"

Step 8
Add Adjustment Layer "Color Balance"

Step 9
Next, place another photo Go to File > Place and select Galaxy. Then place it to our work canvas. Then position the image with the transform tool (Ctrl / Cmd + T). Hold Alt + Shift and rasterize like the image below. In Photoshop CC only hold Alt to rasterize all sides together.

Now create a layer mask and press Ctrl/Cmd + I to invert. Then use Brush Tool(B) with foreground color white and size set to the size of the central planet with Hardness to 100% and paint.


Blend mode change to Soft Light with Opacity 45%.

Step 10
Now, add Stars Go to File > Place and select Stars then place it to our work canvas. Then position the image with the transform tool (Ctrl / Cmd + T). Hold Alt + Shift and rasterize like the image below. In Photoshop CC only hold Alt to rasterize all sides together. Blend mode change to Color Dodge with Opacity 50%.


Step 11
Next, add Hole Go to File > Place and select Hole then place it to our work canvas. Then position the image with the transform tool (Ctrl / Cmd + T). Hold Alt + Shift and rasterize like the image below. In Photoshop CC only hold Alt to rasterize all sides together. Blend mode change to Color Dodge with Opacity 90%.


Step 12
Add Adjustment Layer "Color Balance"

Step 13
Add Adjustment Layer "Hue/Saturation"

Step 14
Place another photo Go to File > Place and select Milky Way then place it to our work canvas. Then position the image with the transform tool (Ctrl / Cmd + T). Hold Alt + Shift and rasterize like the image below. In Photoshop CC only hold Alt to rasterize all sides together. Blend mode change to Color Dodge.

Create a layer mask and use Brush Tool(B) Soft Round with foreground color black and delete(paint) all around the marked red square.

Step 15
Next, place another photo Go to File > Place and select Planet 2. Then place it to our work canvas. Then position the image with the transform tool (Ctrl / Cmd + T). Hold Alt + Shift and rasterize like the image below. In Photoshop CC only hold Alt to rasterize all sides together. Blend mode change to Color Dodge and use Brush Tool(B) Soft Round with Foreground color black and repeat the same process from previous step.


Step 16
Go to File > Place and Moon. Then place it to our work canvas. Then position the image with the transform tool (Ctrl / Cmd + T). Hold Alt + Shift and rasterize like the image below. In Photoshop CC only hold Alt to rasterize all sides together. Blend mode change to Screen with Opacity 40%.


Step 17
Next, place last photo Go to File > Place and select Planet 3. Then place it to our work canvas. Then position the image with the transform tool (Ctrl / Cmd + T). Hold Alt + Shift and rasterize like the image below. In Photoshop CC only hold Alt to rasterize all sides together. Blend mode change to Soft Light and create a layer mask and press Ctrl/Cmd + I to invert. Then use Brush Tool(B) with foreground color white and size set to the size of the central planet with Hardness to 100% and paint.


Step 18
Now we will create a three layers then create a clipping mask. Next use Brush Tool (B) Soft Round with foreground color red (color code #ed2935) and paint to bottom part of planet. Blend mode change to Soft Light.


For second layer use Brush Tool(B) Soft Round with foreground color darker red #89050d and paint to same place, but blend mode change to Linear Burn with Opacity 32%.

And for last layer use color code #ffaaaf and paint. Blend mode is Lighten with Opacity 15%.


Step 19
Now create a Adjustment Layer "Gradient Map" Blend mode change to Soft Light with Opacity 25%.

Step 20
Add another Adjustment Layer "Gradient Map" with blend mode Hue and Opacity 30%.

Step 21
Add Adjustment Layer "Color Balance" Opacity reduce to 50%.

Step 21
Now, create some lights. Create a new layer then go to Edit > Fill and Contents: 50% Gray and press Ok.

Now use Brush Tool(B) Soft Round with foreground color white and Brush Opacity set to 10-20%. Then start painting. Take a look at the example in the picture below how much you need to paint, where there is the most white color, draw the most. Then change foreground color to black and paint dark parts. Blend mode change to Overlay.

Step 23
Add Adjustment Layer "Exposure"

Step 24
Now create a three layers for central planet and use Brush Tool (B) Soft Round with foreground color soft red with color code #d9929c and paint over the entire planet. Blend mode change to Color Dodge with Opacity 20%.

Next use the same color code #d9929c and on second layer paint to the upper part of the planet. Blend mode is Color Dodge with Opacity 7%.

Last layer for central planet is color code #d8919c Soft Round and paint around the planet. Color Dodge 76%.

Step 25
Now create a two layers for left planet adn use Brush Tool (B) Sofr Round with foreground color Soft Red with color code #d28d97 and paint on planet. Blend mode is Color Dodge with Opacity 25%.

And for last layer also use Brush Tool (B) Soft Round with Foreground color code #d48e99 and paint around the planet. Blend mode change from normal to Color Dodge with Opacity 46%.


Step 26
When we finished all this, now merge all layers to one. Slecet the last layer and hold CTRL/CMD + SHIFT + ALT + E. Now we have a final layer, right click on mouse and select Convert to Smart Object. Then go to Filter > Camera RAW Filter. At its most basic, the Photoshop Camera Raw filter allows you to use the functions of the ACR interface at any time within Photoshop. This allows you to make any adjustments within ACR at any time during your workflow instead of just limiting its usage to the raw processing stage.While it would be possible to import your working file into Lightroom to make the same sets of adjustments, doing this in Photoshop saves you from that cumbersome step. It allows you the use of these tools without any extra effort. Opacity set to 50%.

Step 27
Now in Camera Raw Filter, set the Value: Basic
- Exposure: -0.90
- Contrast: +7
- Highlights: -10
- Shadows: -36
- Whites: +4
- Blacks: -7
- Texture: +15
- Clarity: +15
- Vibrance: +6

Curves
- Highlights: +7
- Lights: +12
- Darks: -7
- Shadows: -6

HSL Adjustments Hue
- Blues: +18
- Purples: -18
- Magentas: -14
Saturation
- Blues: +22
- Purples: +7
- Magentas: -18
Luminance
- Aquas: +1
- Blues: -22
- Purples: +2
- Magentas: -9

Color Grading
- Midtones: H329 S13

Radial Filter
- Exposure: +0.15
- Highlights: +18
- Whites: +10

Radial Filter
- Exposure: +0.35
- Highlights: +17

Radial Filter
- Exposure: +0.35
- Highlights: +17

Radial Filter
- Exposure: +0.35
- Highlights: +17

Radial Filter
- Exposure: +0.35
- Highlights: +17

And finally, everything should look like this.

Final Results

4 comments on “How to create a Galaxy Apocalypse in Photoshop”
I would also like to see a video
so true king
Video is easier to learn from.
In the beginning GOD created the Heaven and the Earth
Genius 1:1
Read the whole chapter