Luminar AI lets you turn your ideas into reality with powerful, intelligent AI. Download the photo editor and see how you can completely transform your photos in a few clicks.
Step 16
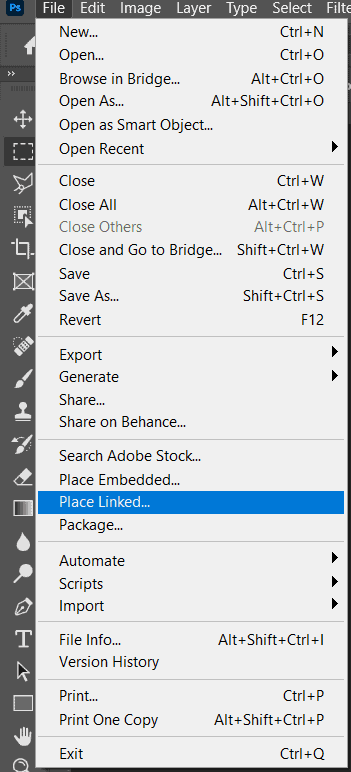
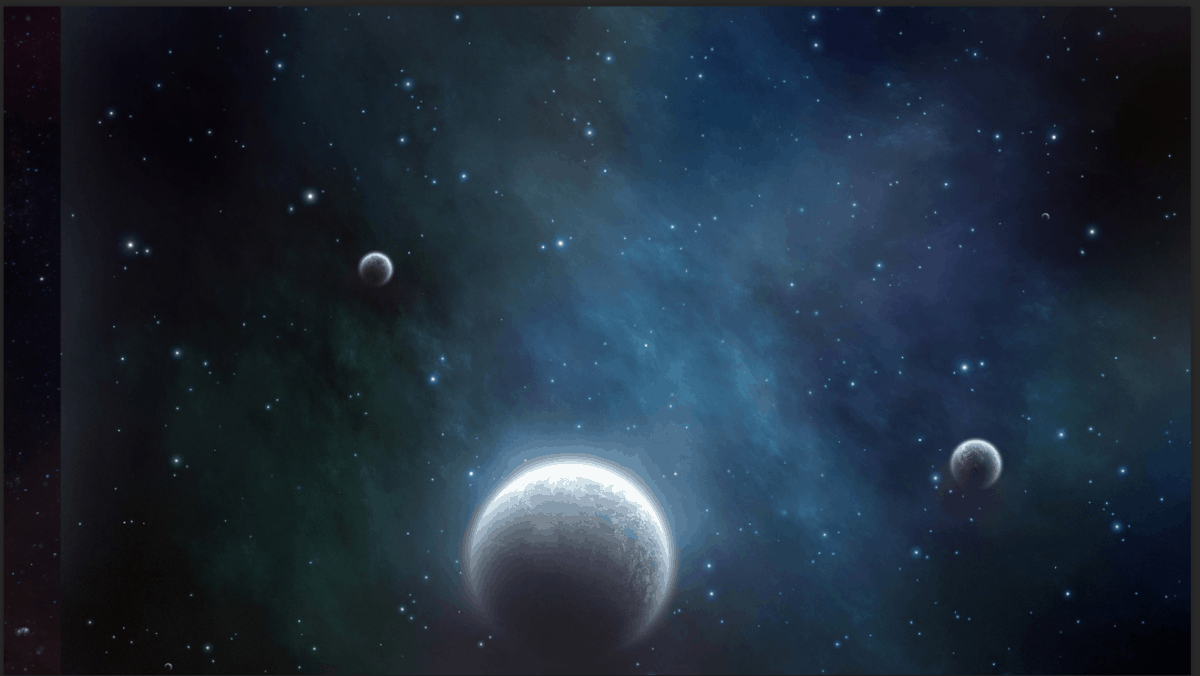
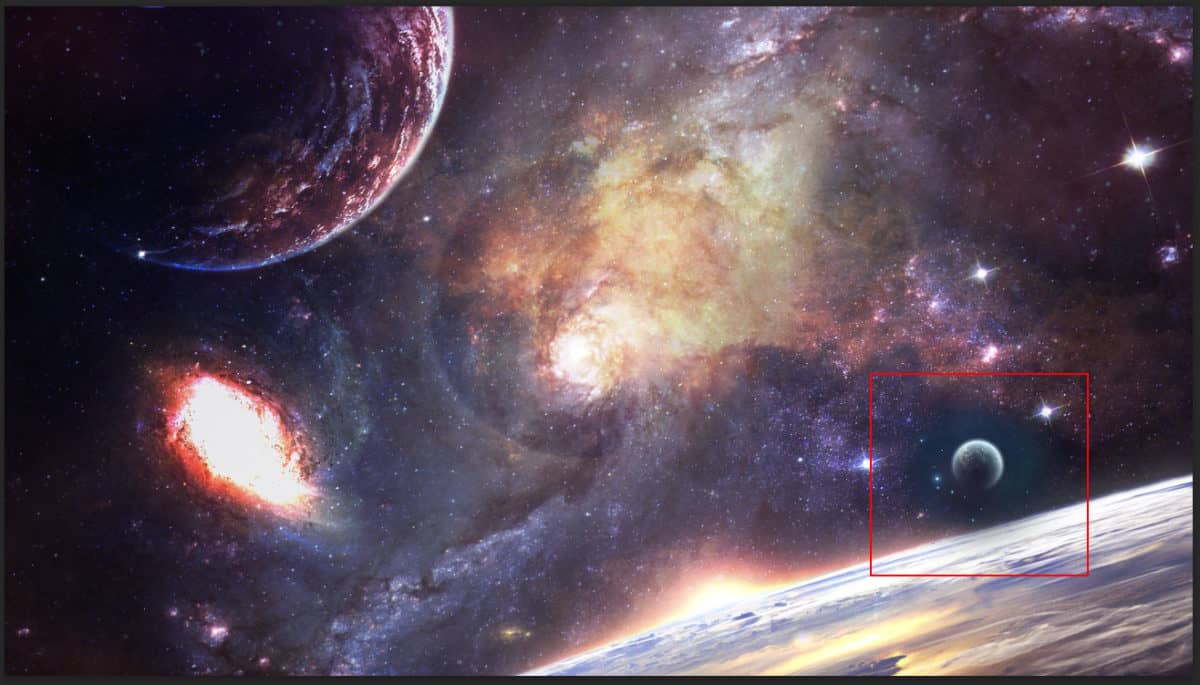
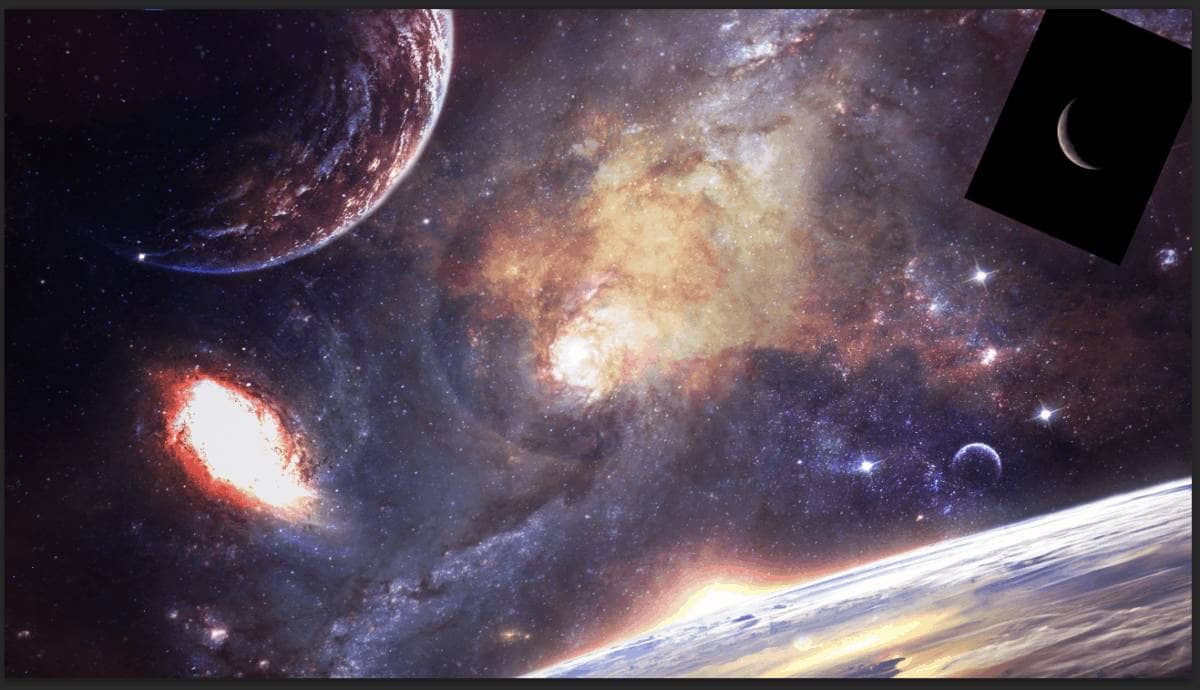
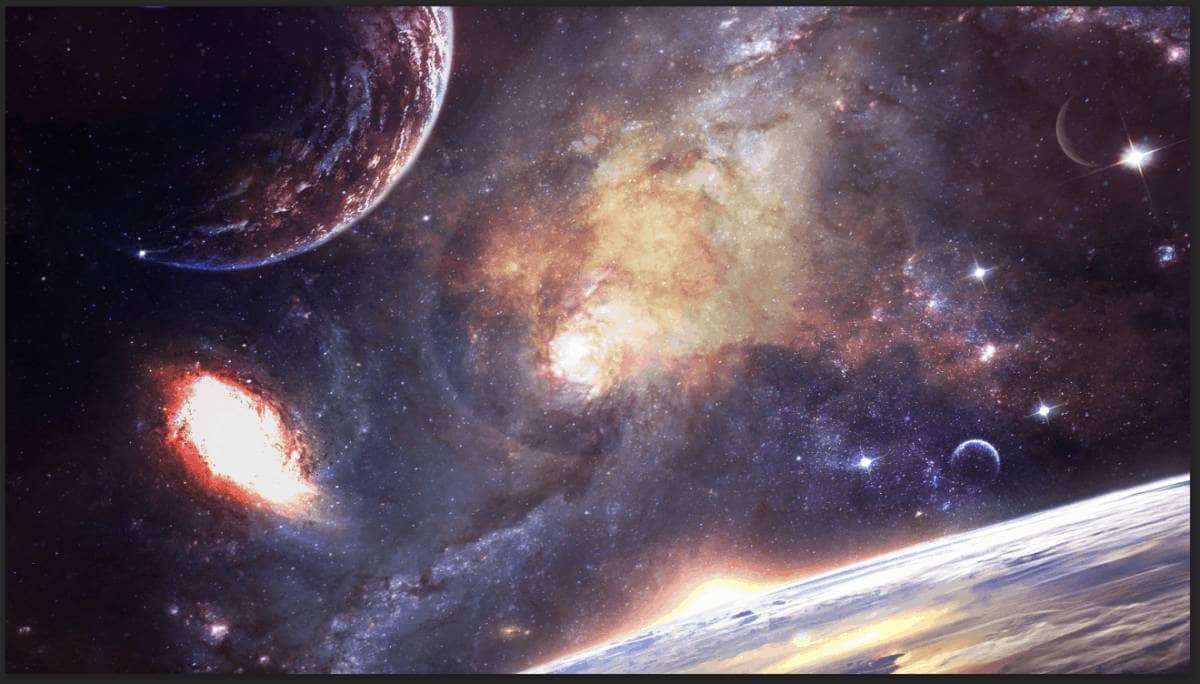
Go to File > Place and Moon. Then place it to our work canvas. Then position the image with the transform tool (Ctrl / Cmd + T). Hold Alt + Shift and rasterize like the image below. In Photoshop CC only hold Alt to rasterize all sides together. Blend mode change to Screen with Opacity 40%.
Step 17
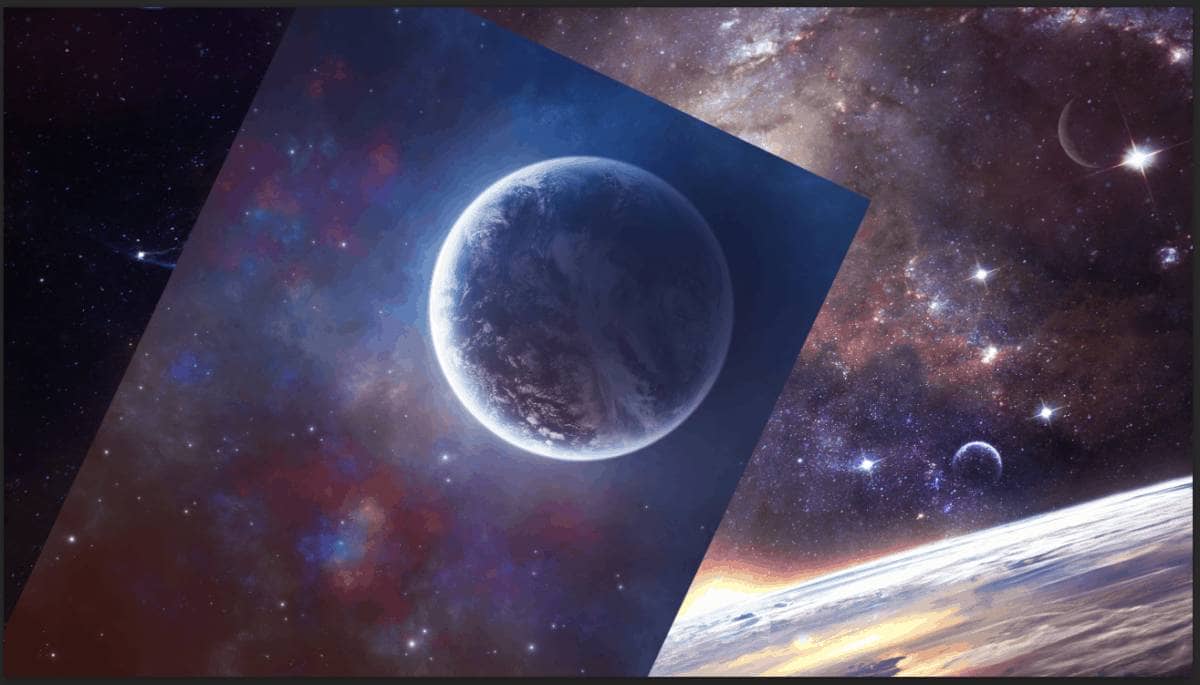
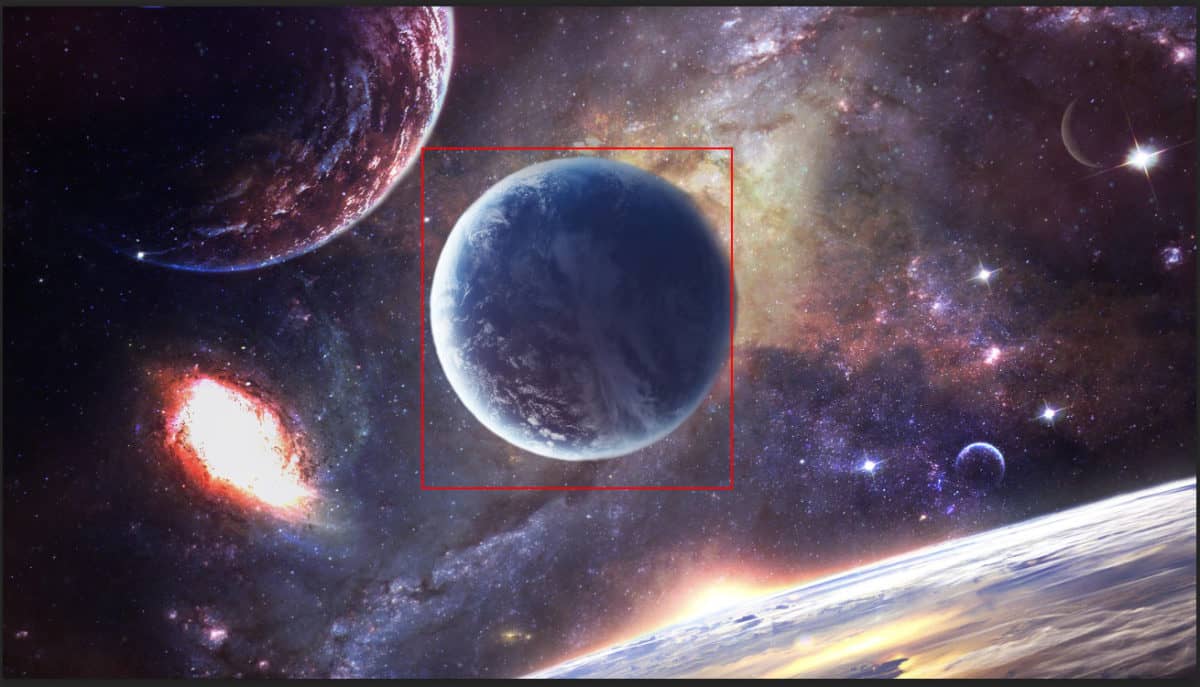
Next, place last photo Go to File > Place and select Planet 3. Then place it to our work canvas. Then position the image with the transform tool (Ctrl / Cmd + T). Hold Alt + Shift and rasterize like the image below. In Photoshop CC only hold Alt to rasterize all sides together. Blend mode change to Soft Light and create a layer mask and press Ctrl/Cmd + I to invert. Then use Brush Tool(B) with foreground color white and size set to the size of the central planet with Hardness to 100% and paint.
Step 18
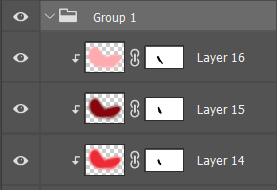
Now we will create a three layers then create a clipping mask. Next use Brush Tool (B) Soft Round with foreground color red (color code #ed2935) and paint to bottom part of planet. Blend mode change to Soft Light.
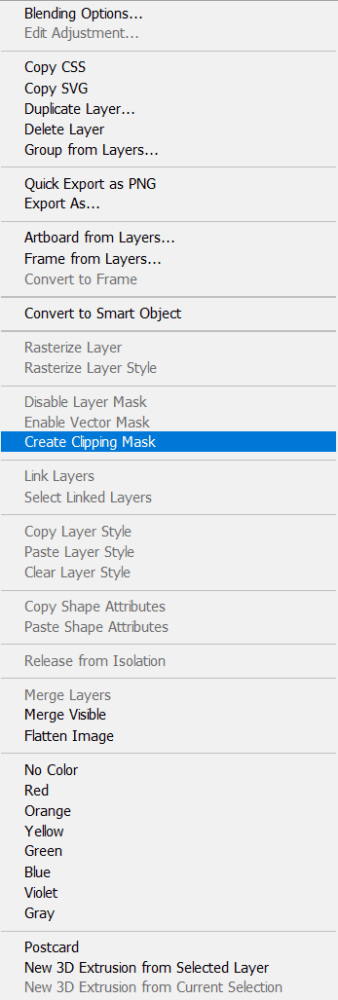
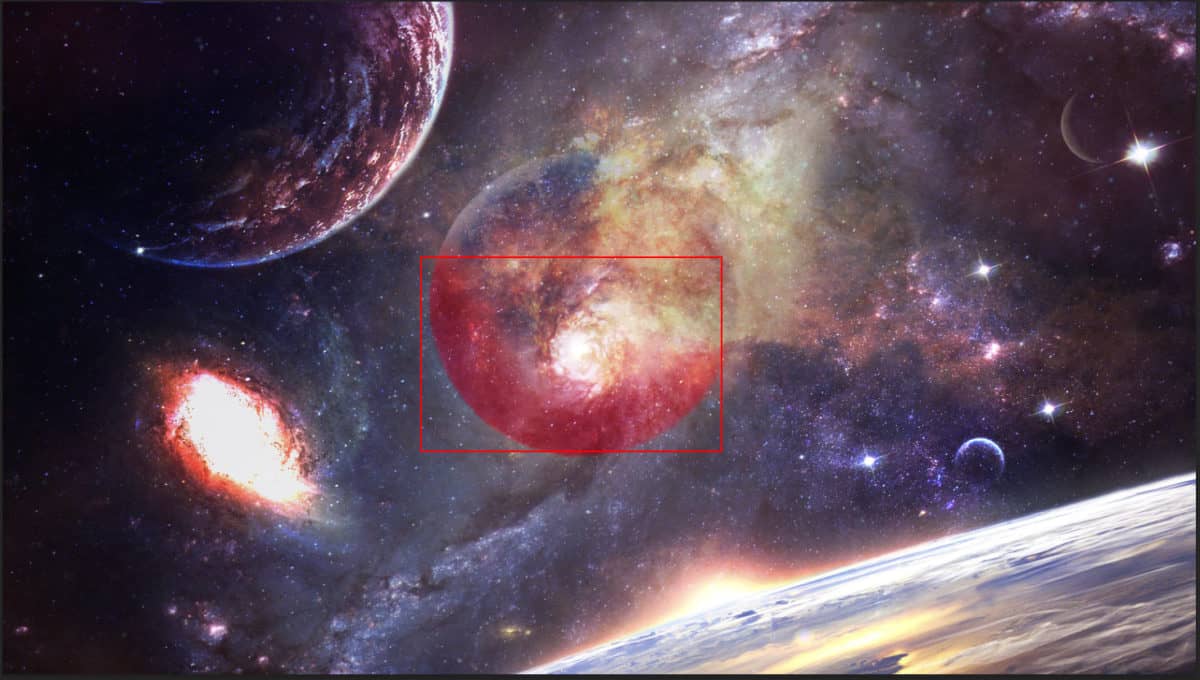
For second layer use Brush Tool(B) Soft Round with foreground color darker red #89050d and paint to same place, but blend mode change to Linear Burn with Opacity 32%.
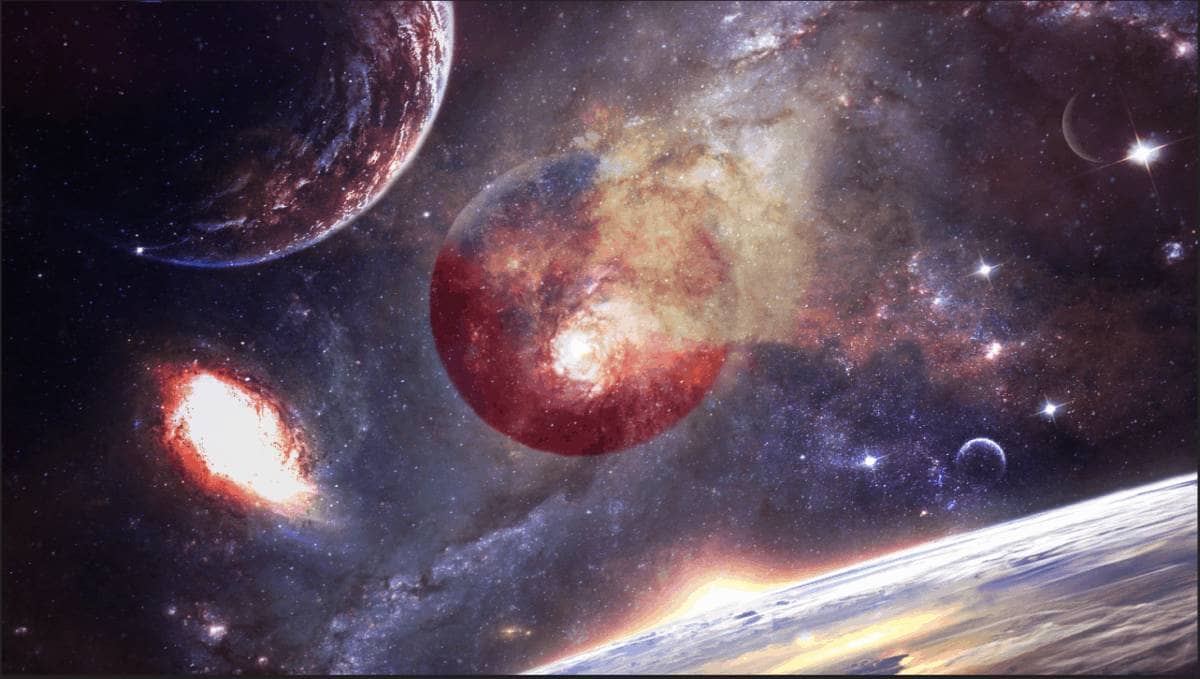
And for last layer use color code #ffaaaf and paint. Blend mode is Lighten with Opacity 15%.
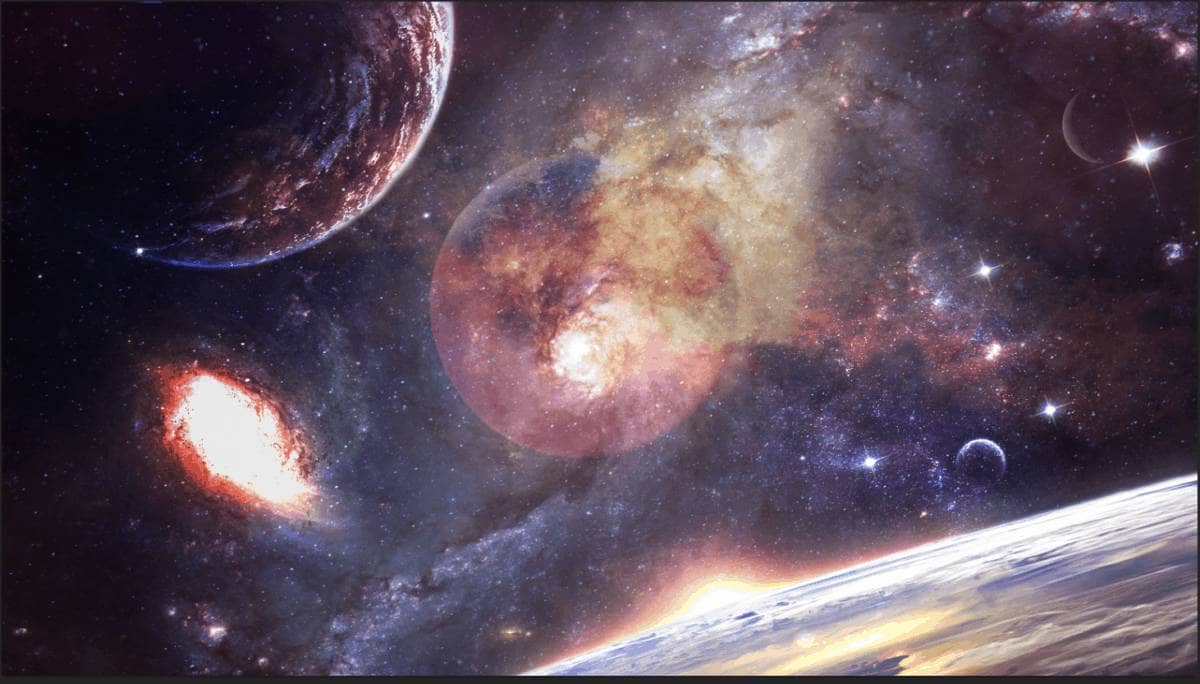
Step 19
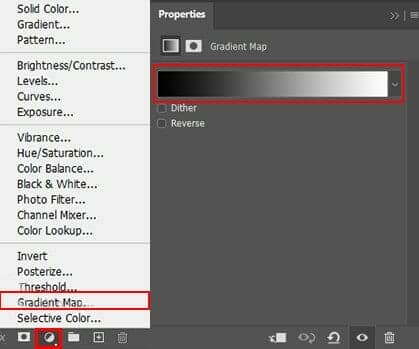
Now create a Adjustment Layer "Gradient Map" Blend mode change to Soft Light with Opacity 25%.
Step 20
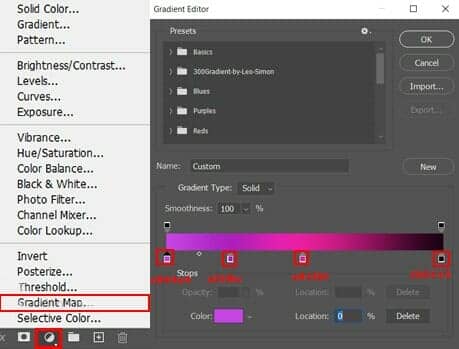
Add another Adjustment Layer "Gradient Map" with blend mode Hue and Opacity 30%.
Step 21
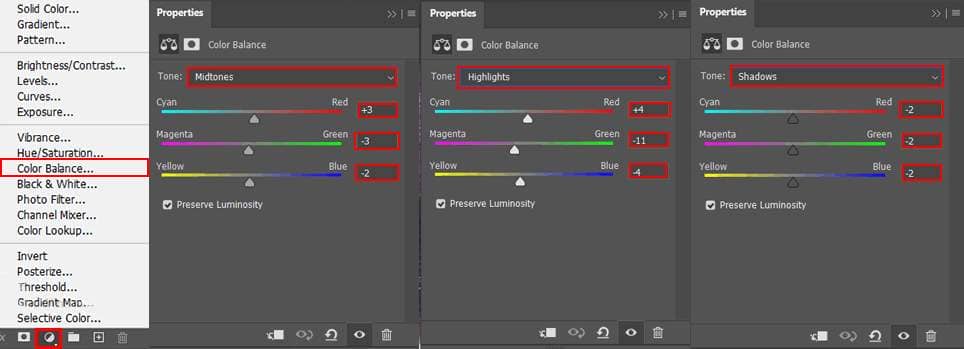
Add Adjustment Layer "Color Balance" Opacity reduce to 50%.
Step 21
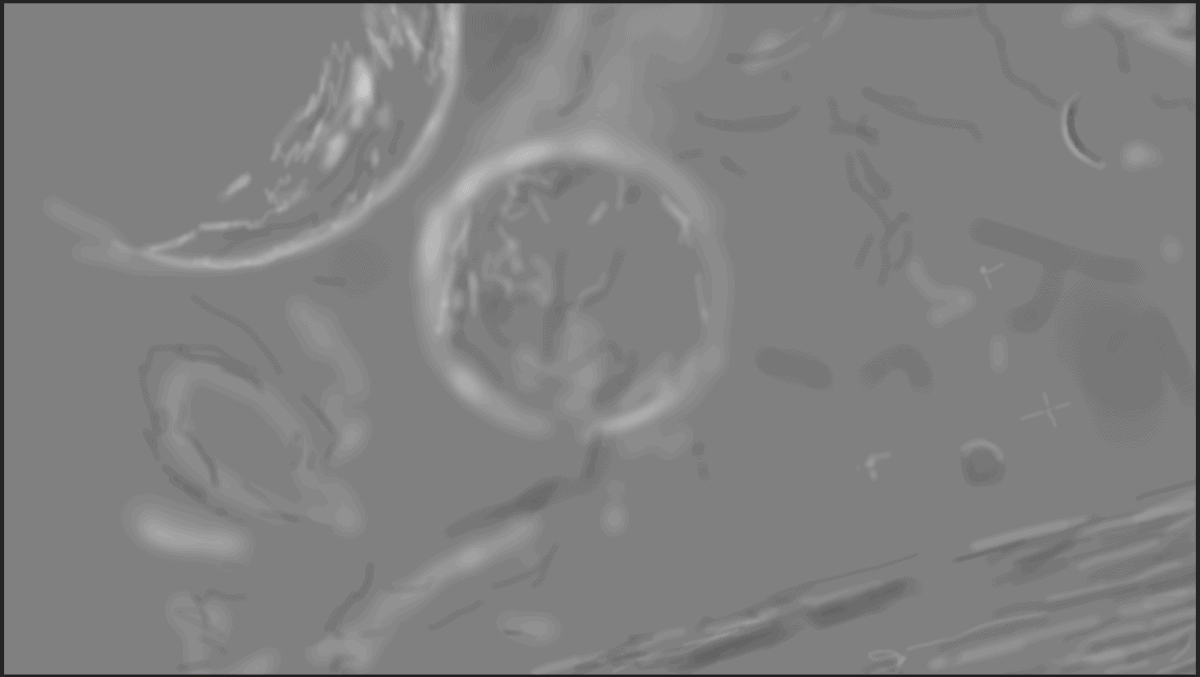
Now, create some lights. Create a new layer then go to Edit > Fill and Contents: 50% Gray and press Ok.

Now use Brush Tool(B) Soft Round with foreground color white and Brush Opacity set to 10-20%. Then start painting. Take a look at the example in the picture below how much you need to paint, where there is the most white color, draw the most. Then change foreground color to black and paint dark parts. Blend mode change to Overlay.
Step 23
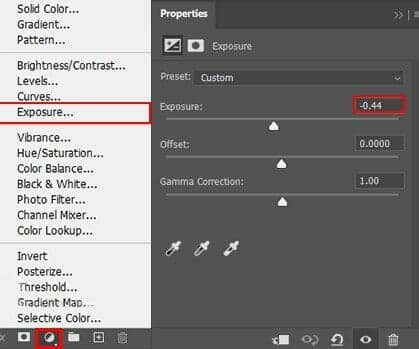
Add Adjustment Layer "Exposure"
Step 24
Now create a three layers for central planet and use Brush Tool (B) Soft Round with foreground color soft red with color code #d9929c and paint over the entire planet. Blend mode change to Color Dodge with Opacity 20%.


4 comments on “How to create a Galaxy Apocalypse in Photoshop”
I would also like to see a video
so true king
Video is easier to learn from.
In the beginning GOD created the Heaven and the Earth
Genius 1:1
Read the whole chapter