Luminar AI lets you turn your ideas into reality with powerful, intelligent AI. Download the photo editor and see how you can completely transform your photos in a few clicks.
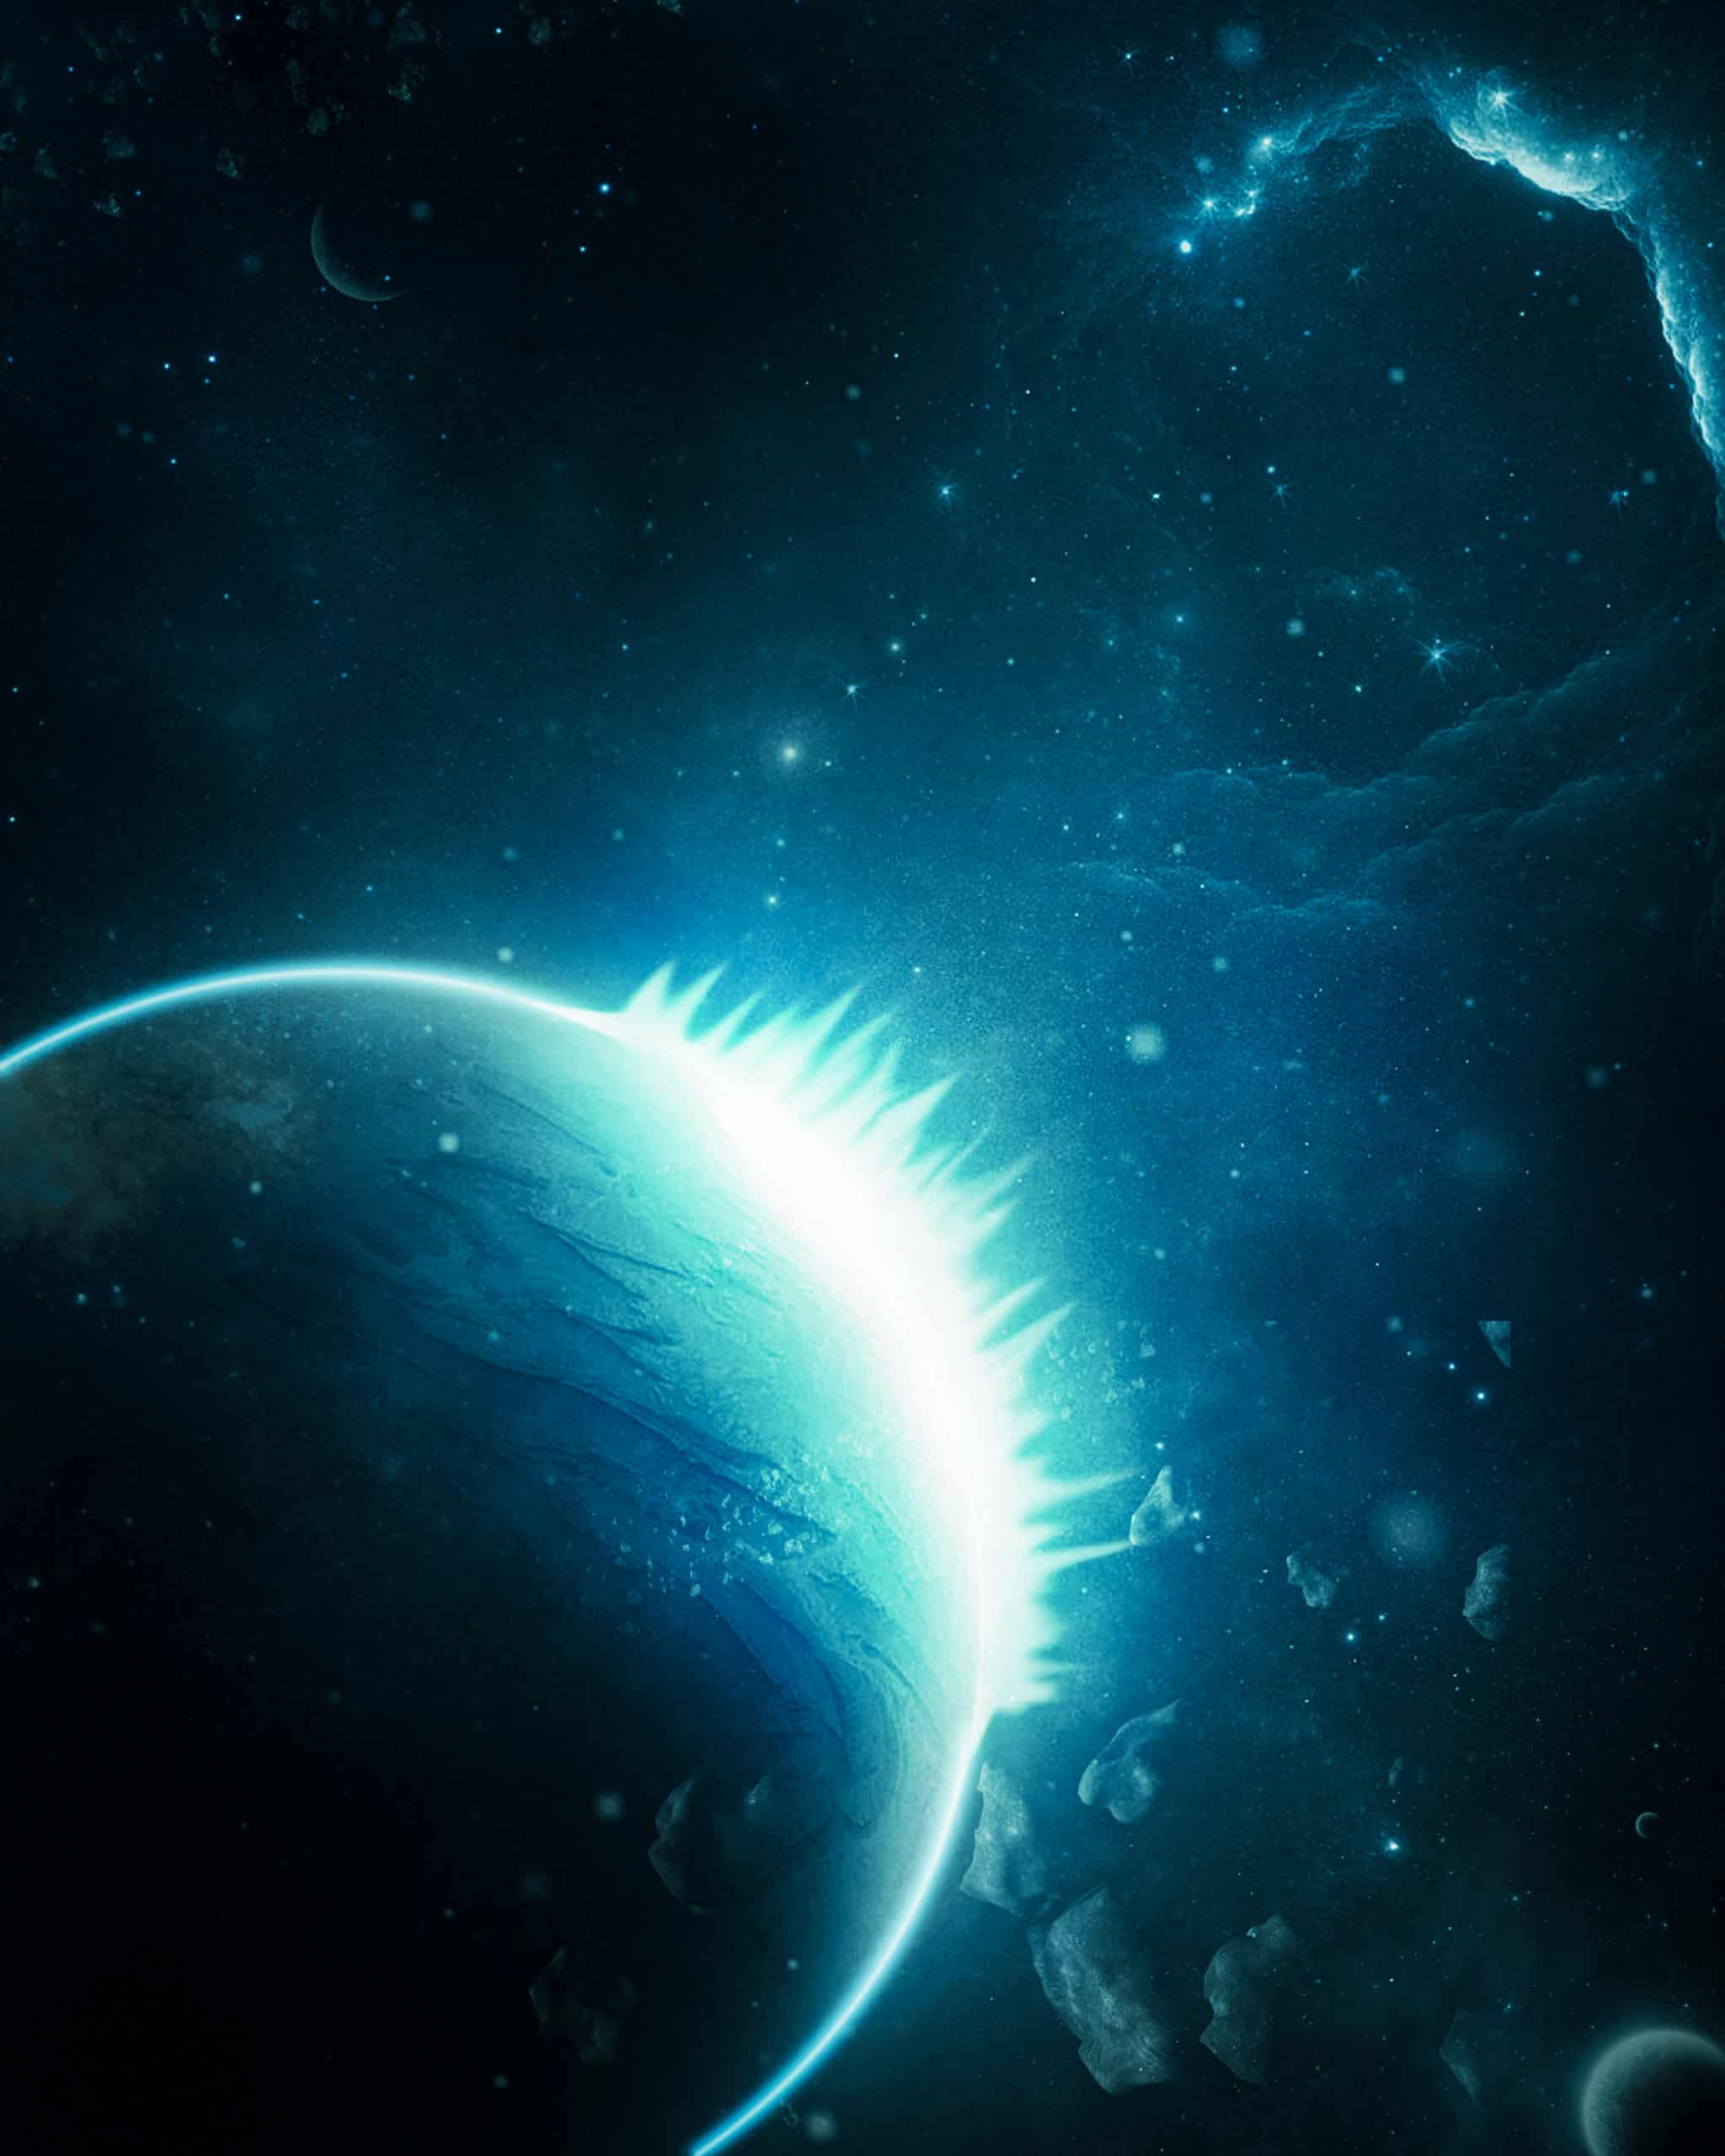
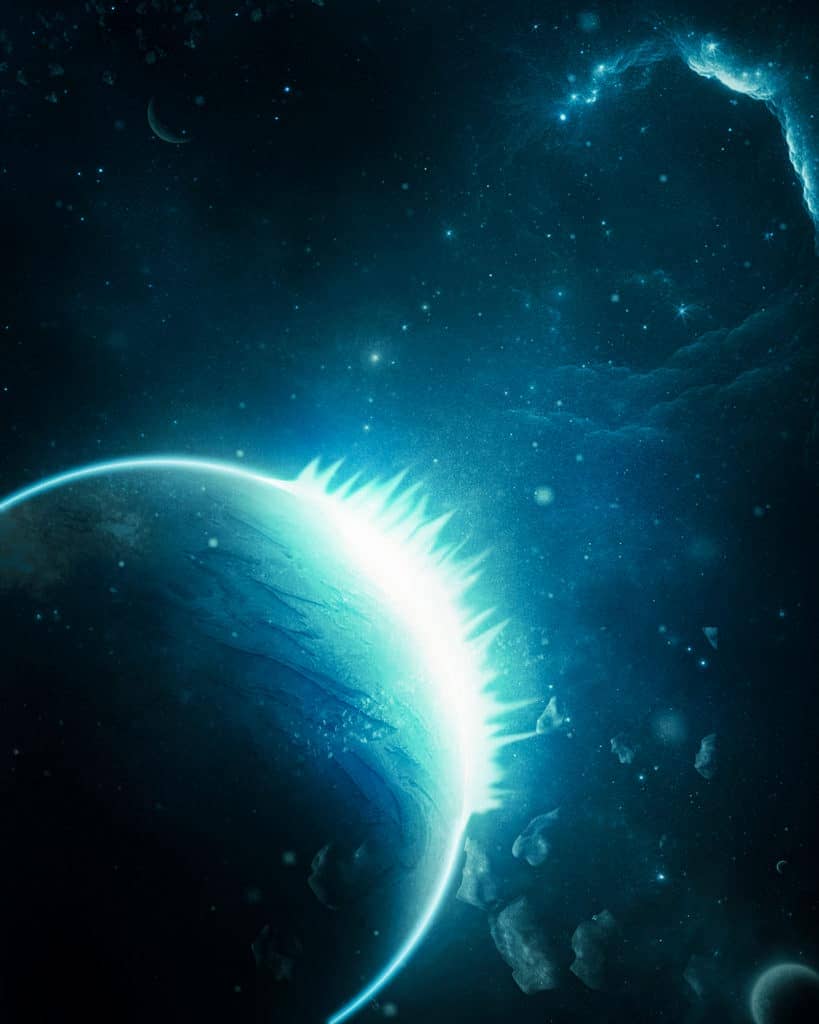
“Everybody has a little bit of the sun and moon in them. Everybody has a little bit of man, woman, and animal in them. Darks and lights in them. Everyone is part of a connected cosmic system. Part earth and sea, wind and fire, with some salt and dust swimming in them. We have a universe within ourselves that mimics the universe outside. None of us are just black or white, or never wrong and always right. No one. No one exists without polarities. Everybody has good and bad forces working with them, against them, and within them. In this photoshop tutorial we will learn how to create a Galaxy scene. First we cadded a background photo, then add planet and asteroids. Also added some Adjustment Layers and more stars and texture. For last effect wee added Camera Raw filter.
Preview of Final Image
Tutorial Resources
Step 1
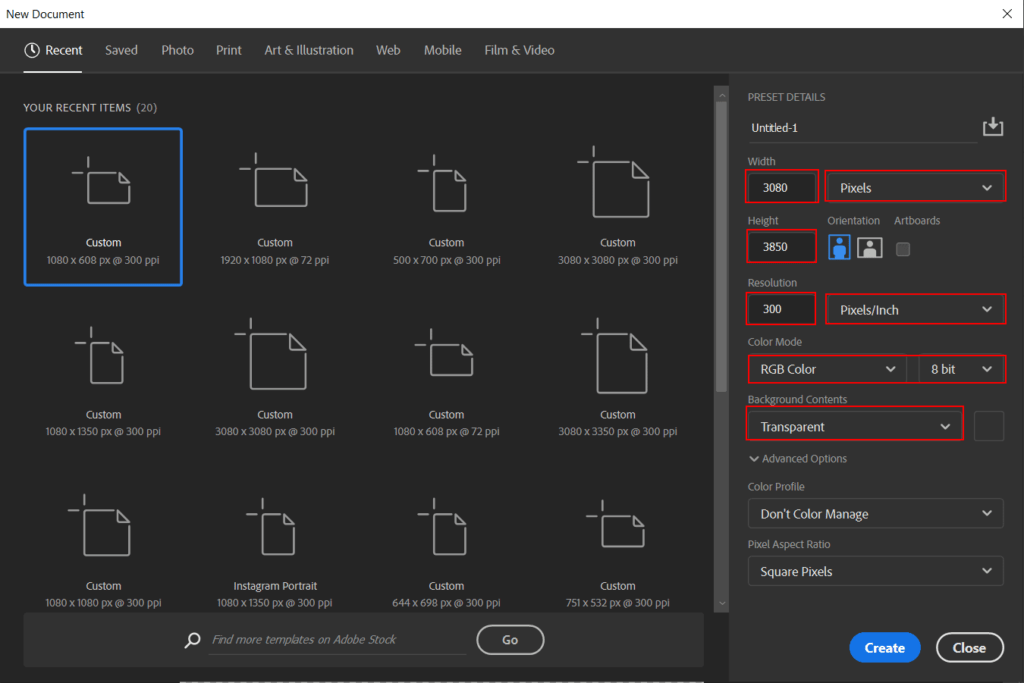
Now, let’s start by creating a new image file, go to the Menu bar and click File > New, and then input the following values on their respective fields
- Preset: Custom
- Width: 3080px
- Height: 3850px
- Resolution: 300px
- Color Mode: RGB Color 8 bit
- Background Contents: Transparent
Step 2
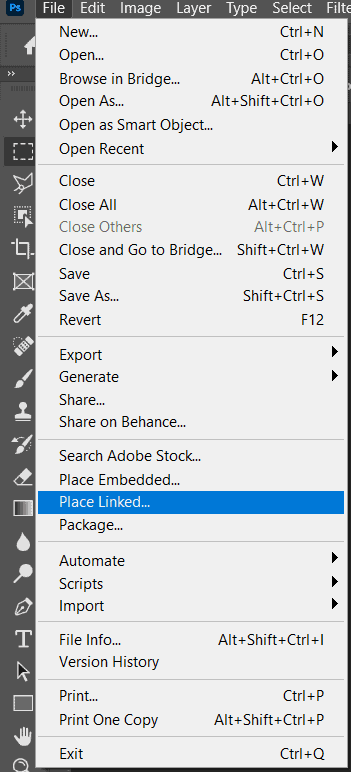
Now, place Background photo Go to File > Place and select Stars. Then place it to our work canvas. Then position the image with the transform tool (Ctrl / Cmd + T). Hold Alt + Shift and rasterize like the image below. In Photoshop CC only hold Alt to rasterize all sides together.

Step 3
Next, place another photo Go to File > Place and select Planet. Then place it to our work canvas. Then position the image with the transform tool (Ctrl / Cmd + T). Hold Alt + Shift and rasterize like the image below. In Photoshop CC only hold Alt to rasterize all sides together.

Now create a layer mask and use Brush Tool(B) Soft Round with foreground color black and paint over planet...


Step 4
Add Adjustment Layer "Hue/Saturation"
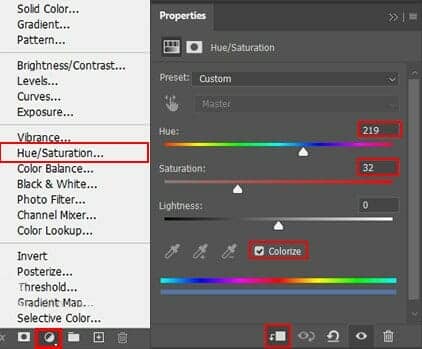
Step 5
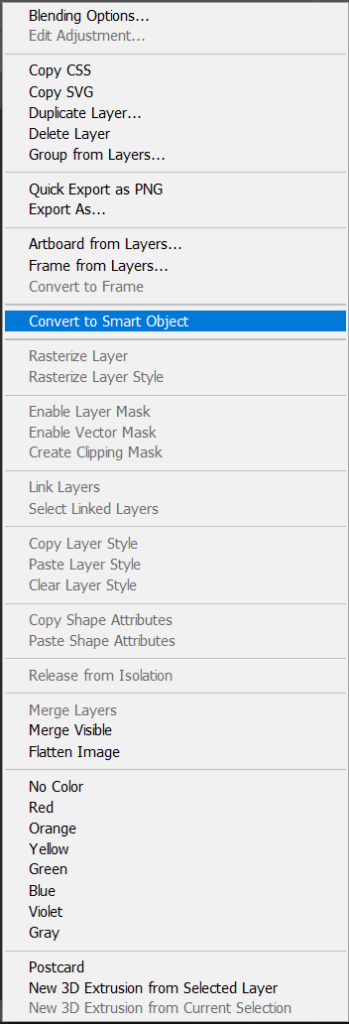
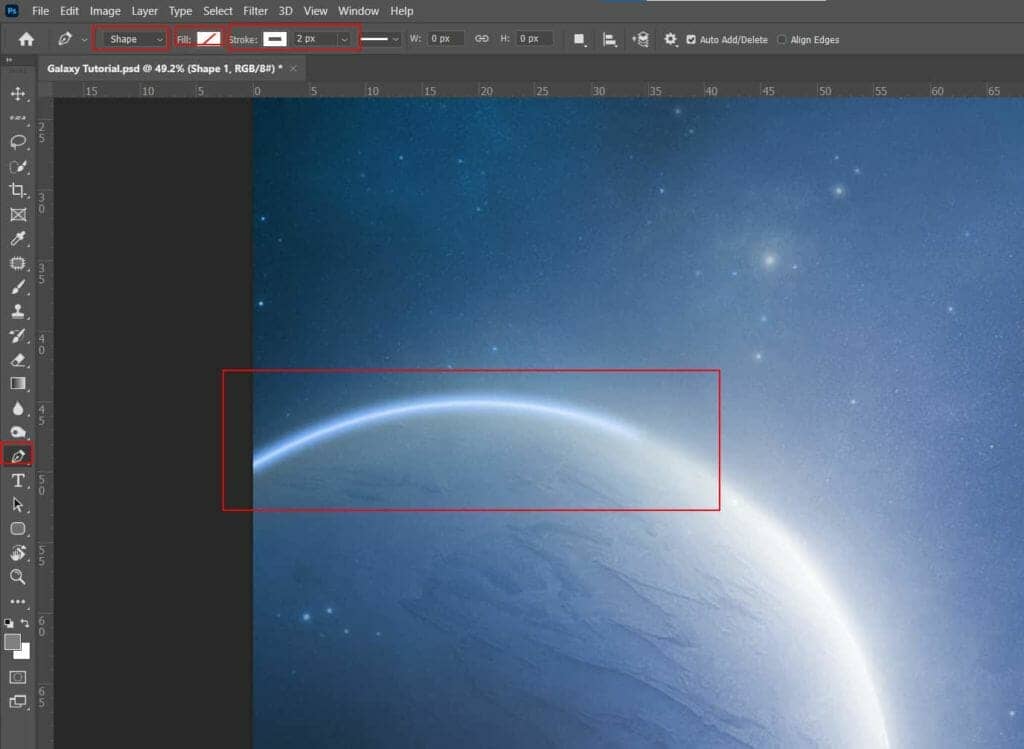
Now create a new layer and convert it to Smart Object. Then use Pen Tool(P) select Shape, Fill select none and for Stroke select white color with size 2px. Next draw a line on the top of the planet, as shown in the picture below.
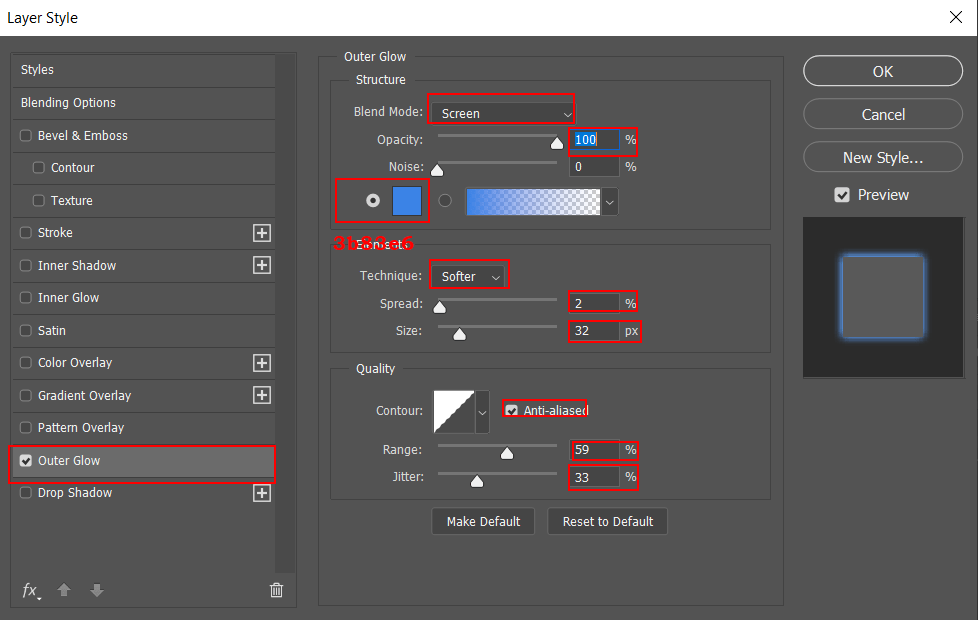
Right click on layer and select Blending Options, then select outer Glow and set
- Blend mode: Screen
- Opacity: 100%
- Color: 3b83e6
- Technique: Softer
- Spread: 2%
- Size: 32px
- Check Antialliased
- Range: 59%
- Jitter: 33%
Go to Filter > Blur > Gaussian Blur and set 4px.
