

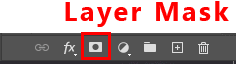
Now create a layer mask and use Brush Tool(B) Soft Round with foreground color black and delete some parts. Look at picture below.


Step 7
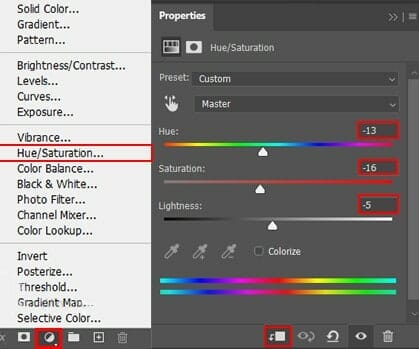
Add Adjustment Layer “Hue/Saturation”
Step 8
Add Adjustment Layer “Color Balance”

Step 9
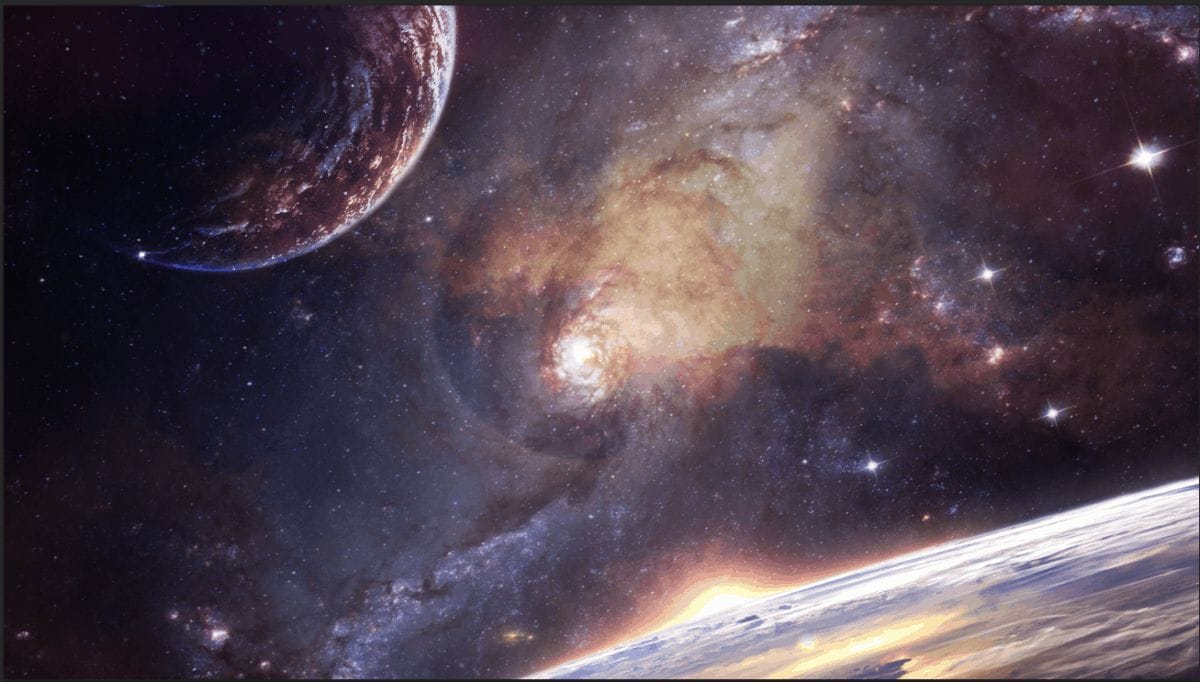
Next, place another photo Go to File > Place and select Galaxy. Then place it to our work canvas. Then position the image with the transform tool (Ctrl / Cmd + T). Hold Alt + Shift and rasterize like the image below. In Photoshop CC only hold Alt to rasterize all sides together.

Now create a layer mask and press Ctrl/Cmd + I to invert. Then use Brush Tool(B) with foreground color white and size set to the size of the central planet with Hardness to 100% and paint.

Blend mode change to Soft Light with Opacity 45%.
Step 10
Now, add Stars Go to File > Place and select Stars then place it to our work canvas. Then position the image with the transform tool (Ctrl / Cmd + T). Hold Alt + Shift and rasterize like the image below. In Photoshop CC only hold Alt to rasterize all sides together. Blend mode change to Color Dodge with Opacity 50%.


Step 11
Next, add Hole Go to File > Place and select Hole then place it to our work canvas. Then position the image with the transform tool (Ctrl / Cmd + T). Hold Alt + Shift and rasterize like the image below. In Photoshop CC only hold Alt to rasterize all sides together. Blend mode change to Color Dodge with Opacity 90%.
Step 12
Add Adjustment Layer “Color Balance”

Step 13
Add Adjustment Layer “Hue/Saturation”

Step 14
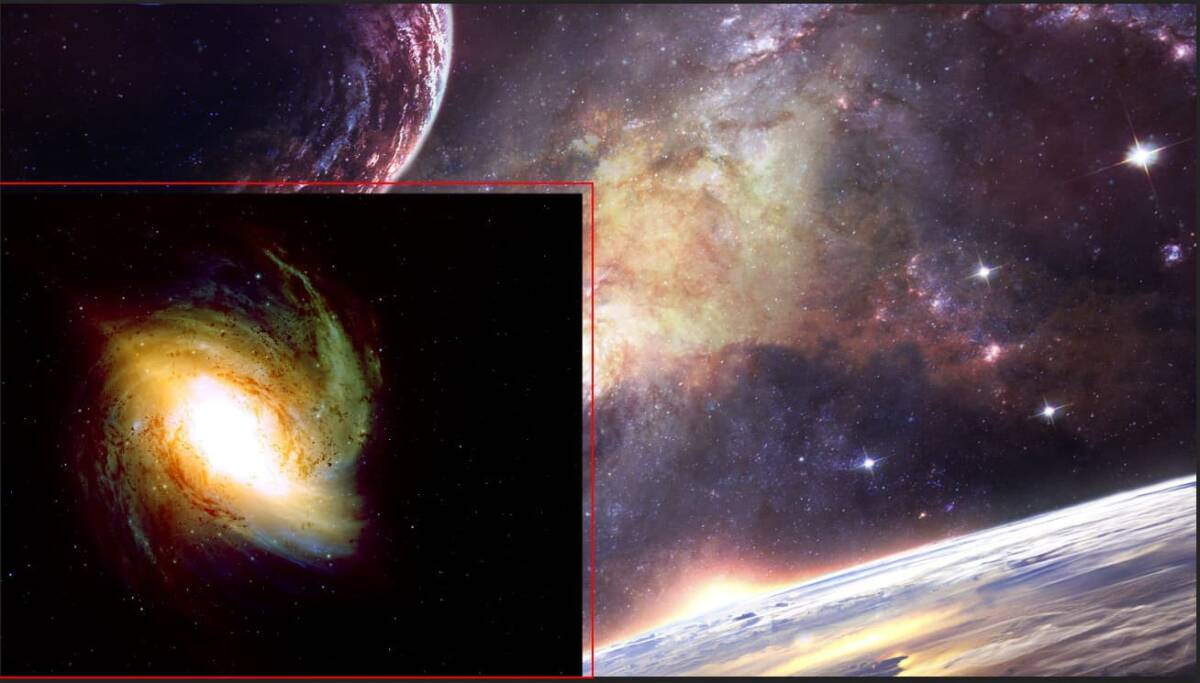
Place another photo Go to File > Place and select Milky Way then place it to our work canvas. Then position the image with the transform tool (Ctrl / Cmd + T). Hold Alt + Shift and rasterize like the image below. In Photoshop CC only hold Alt to rasterize all sides together. Blend mode change to Color Dodge.

Create a layer mask and use Brush Tool(B) Soft Round with foreground color black and delete(paint) all around the marked red square.

Step 15
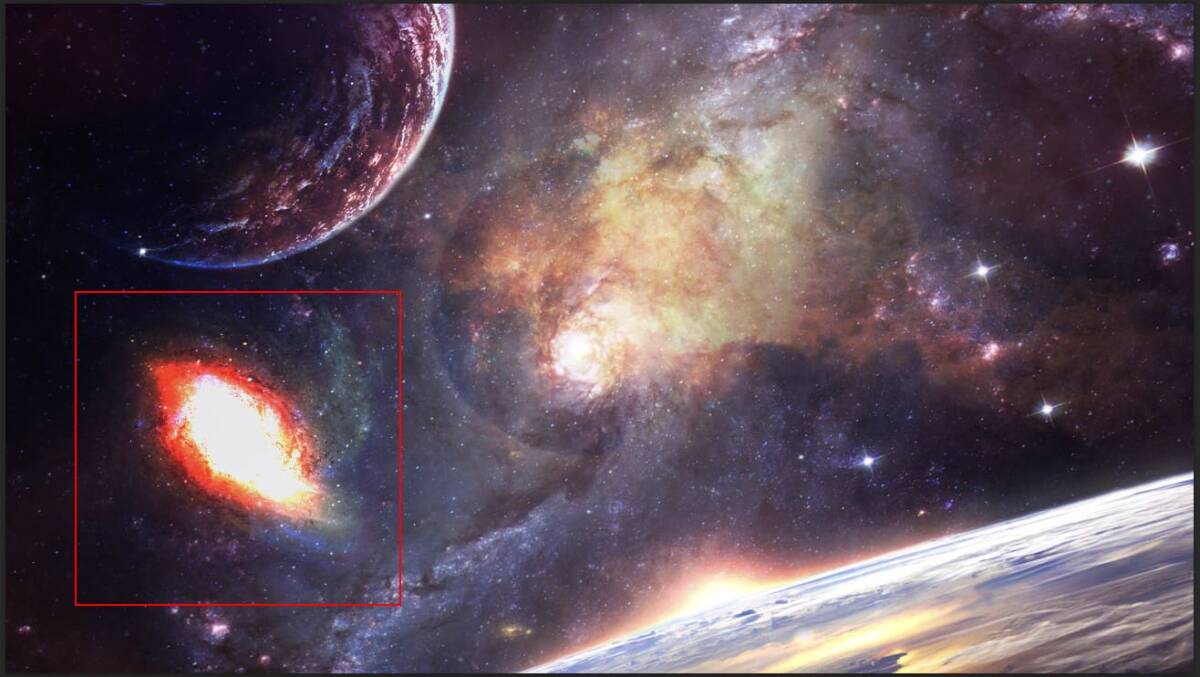
Next, place another photo Go to File > Place and select Planet 2. Then place it to our work canvas. Then position the image with the transform tool (Ctrl / Cmd + T). Hold Alt + Shift and rasterize like the image below. In Photoshop CC only hold Alt to rasterize all sides together. Blend mode change to Color Dodge and use Brush Tool(B) Soft Round with Foreground color black and repeat the same process from previous step.
5 responses to “How to create a Galaxy Apocalypse in Photoshop”
-

Измельчал фотошопер…..Раньше все космические объекты создавали в самом Фотошопе, а сегодня всё сводится к склеиванию исходников. Горько смотреть на ваш творческий упадок..
-
I would also like to see a video
-
so true king
-
Video is easier to learn from.
-
In the beginning GOD created the Heaven and the Earth
Genius 1:1Read the whole chapter
Leave a Reply