Luminar AI lets you turn your ideas into reality with powerful, intelligent AI. Download the photo editor and see how you can completely transform your photos in a few clicks.
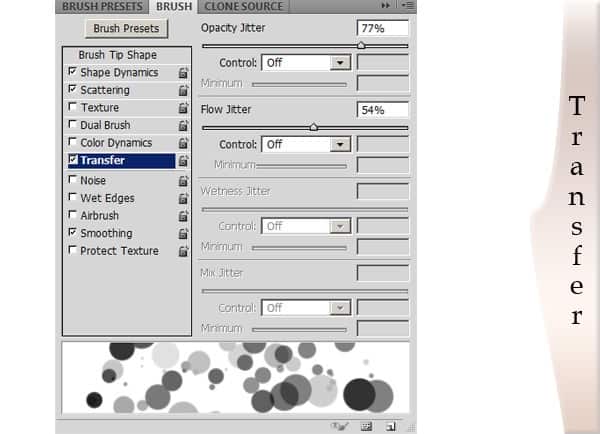
Step 6: Stroke the pen path
Yes! Stroke the pen path and stroke it good! Anyways......Select the pen tool again and using the path that you have created in the steps above, Right click on the path and click STROKE...........Make sure Simulate pressure is selected.
![pen-tool-dialog[1] pen-tool-dialog[1]](https://cdn.photoshoptutorials.ws/wp-content/uploads/2013/04/pentooldialog1.jpg?strip=all&lossy=1&quality=70&webp=70&avif=70&w=1920&ssl=1)
Your result should now look like this.
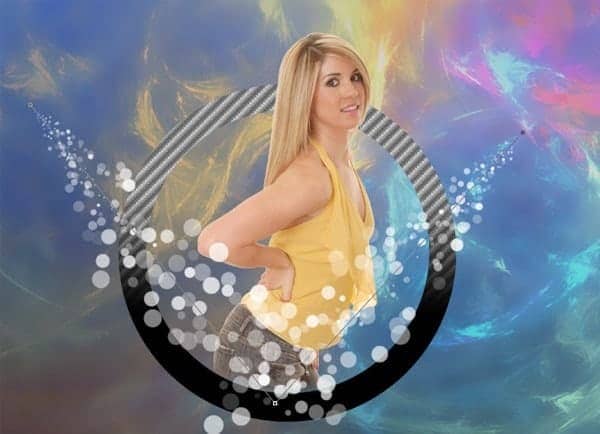
Change the blending mode of the circular layer to overlay- This would make the circles invisible in the black areas.
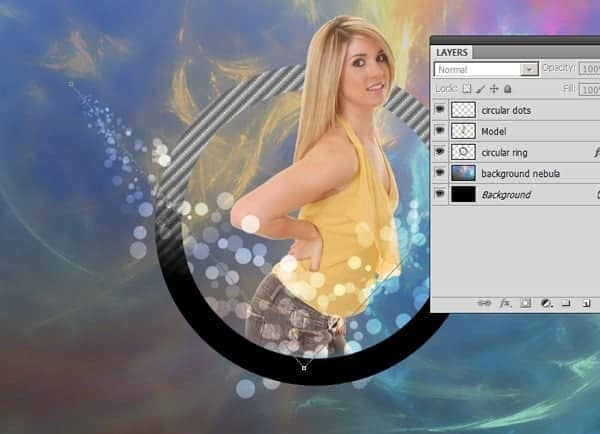
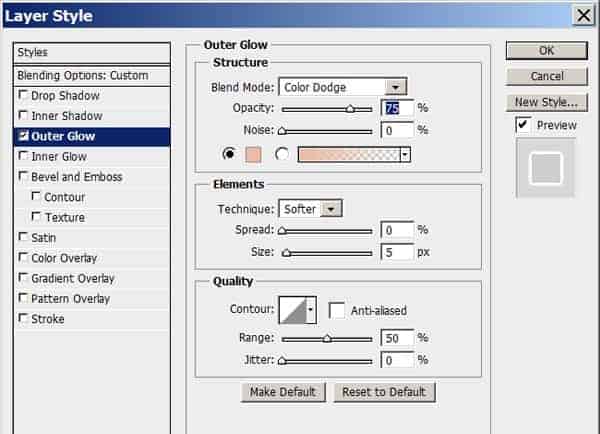
We are going to give the circle a nice glowing effect by double clicking the layer. In the layer style dialog box, select outer glow and change the blend mode of the outer glow to color dodge. The color dodge blending mode would give the dots a beautiful glow.
Use the color picker to sample her skin color and use it for the outerglow. This would ensure that the image is blended a little better.
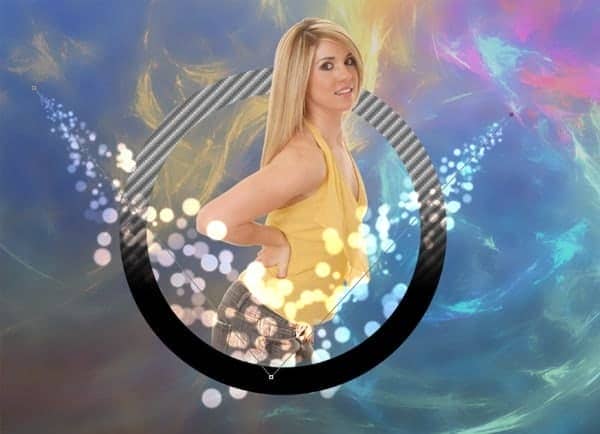
Step 6:Retro Spheres
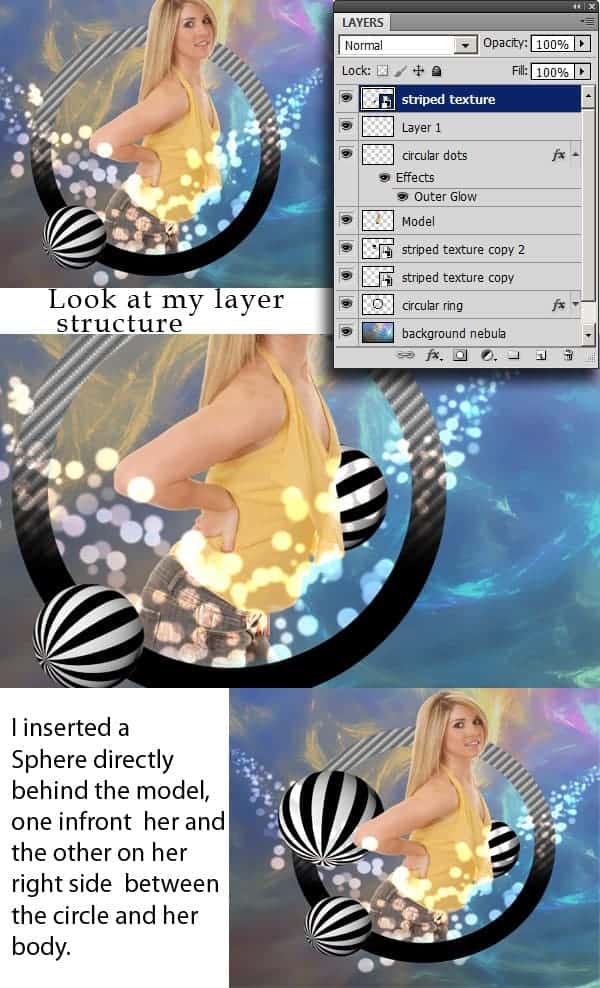
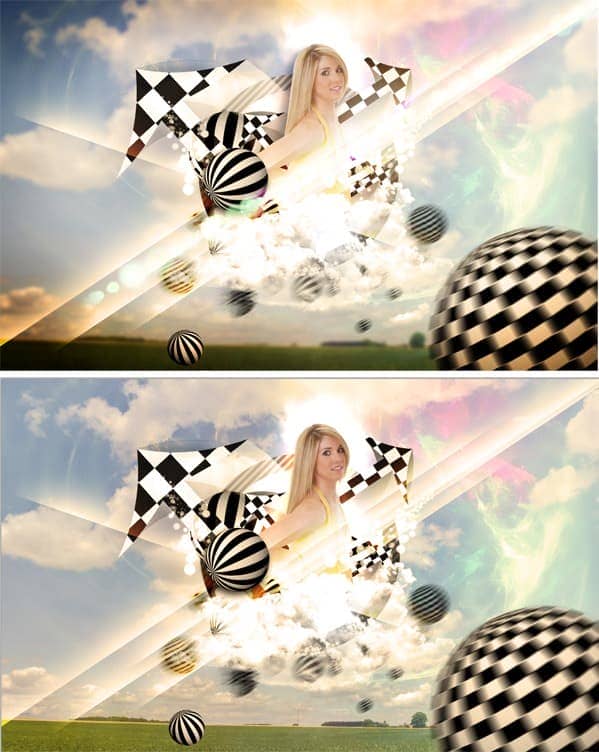
We are now going to add some spheres from the gfxcave sphere collection. This would also give the image a nice retro-ish feel. For the spheres you can either use the brushes provided or the images. I decided to use the images on separate layers using the striped texture sphere. I named the layer striped texture and duplicated and rotated the layers based on the rotation i wanted. View the image below
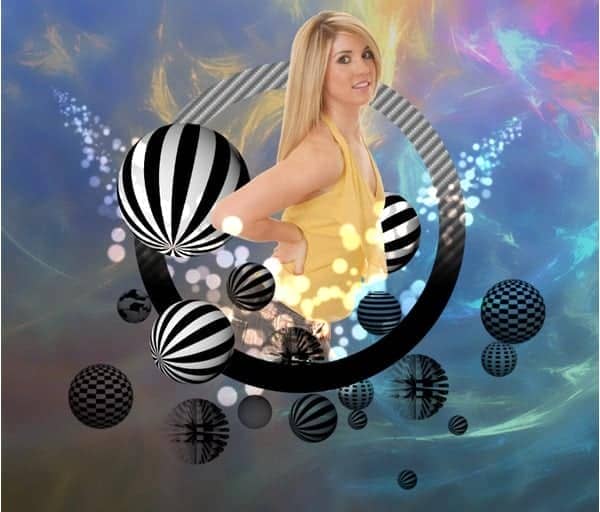
We are now going to create a new layer and using the brush pack or the stand-alone images, lets create a random set of spheres beneath the model. Name the layer sphere particles 1. Using the brushes, Select random spheres and add them to the image until you achieve a similiar effect.
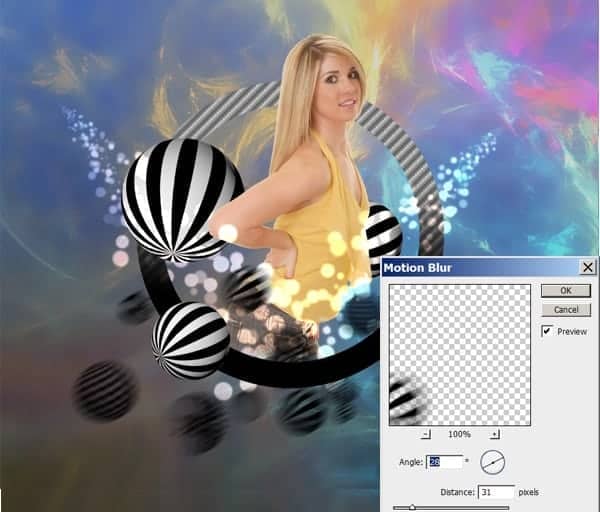
Now select the sphere particles 1 layer and go to filter<Blur<Motion blur. Set the angle to 28 and the distance to 31. This would give a motion blur effect to all the spheres on this particular layer. (sphere particles 1) I'm using Photoshop cs5, therefore, if you have an older version, various settings might be different.
Step 7:Clouds
We are going to use cloud number 485 in the cloud brushes provided. Create a new layer and name it cloud 1. The size i'm using is 960. Reset the default coloursand click about 3 times in the same spot to get a beautiful cloud as the one depicted below. The reason why we clicked three times is because the cloud is very transparent, so the multiple clicks, would make it fuller and deeper.

8 comments on “Create a Retro and Futuristic Design in Photoshop”
Aw, this was a really nice post. Spending some time and actual effort to generate a really good article… but what can I say… I put things off a lot and never manage to get nearly anything done.
Good blog you have got here.. It's difficult to find excellent writing like yours nowadays. I honestly appreciate individuals like you! Take care!!
Quality articles is the crucial to invite the users to visit the web page, that's what this website is providing.
some very cool designs. Thanks a lot for compiling an st.d sharing this li
I like your website but this artwoek looks like a random mess
very nice post ure post is very useful for me i appreciate ure collection very good work
link are dead
I hate free links they always fail