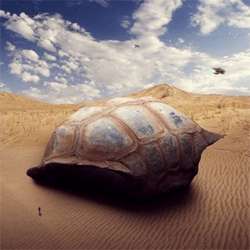
Preview of Final Results
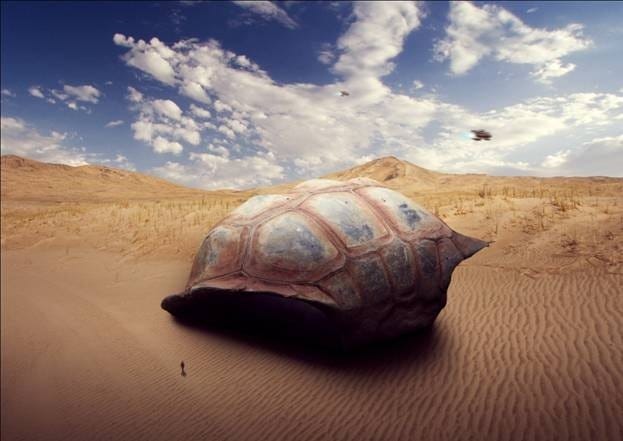
Download the PSD
How to Create a Sci-Fi Giant Tortoise Shelter Photo-manipulation PSD.zip | 106.76 MB
Download from Website
How to Create a Sci-Fi Giant Tortoise Shelter Photo-Manipulation
Tutorial Resources
- Beach – night-fate-stock
- Deep blue sky – night-fate-stock
- Tortoise3 Stock – SilkenWebs
- Apartment Stock 2 – Disney Stock
- Winter Walking – tlst
- Sci-fi Prop 1 Stock – Inadesign-Stock
Step 1
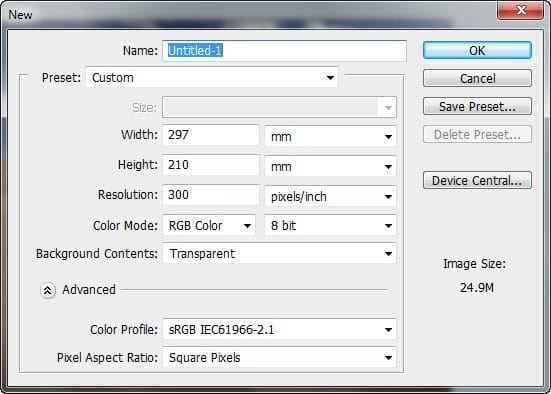
Now, let’s start by creating a new image file, go to the Menu bar and click File > New, and then input the following values on their respective fields:
- Preset: Custom
- Size: A4
- Width: 297mm
- Height: 210mm
- Resolution: 300pixels/inch
- Color Mode: RGB Color; 8 bit
- Background Contents: Transparent
Step 2
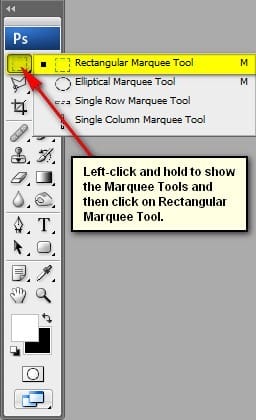
In this step, we will be creating the sky of our image. To start, open “beach” by night-fate-stock. Next activate the Rectangular Marquee Tool by pressing M on your keyboard.
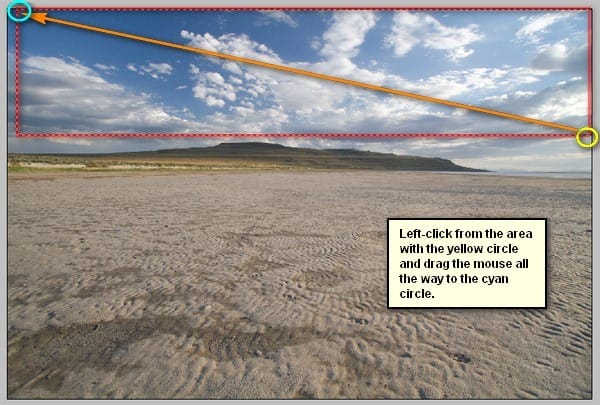
Once activated, create a selection area around the sky as shown below:
Step 3
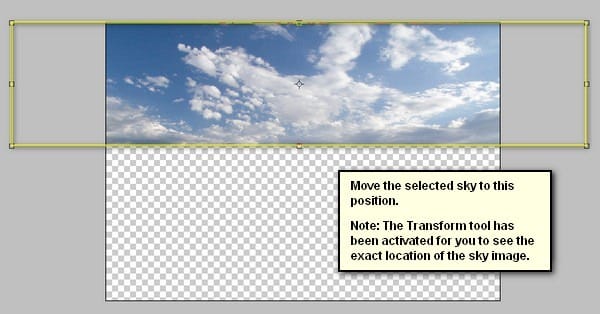
Next, activate the Move tool (V) and drag the selected area by left-clicking on it and dragging it to the canvas. Position the selected area as shown on the image below:
Step 4
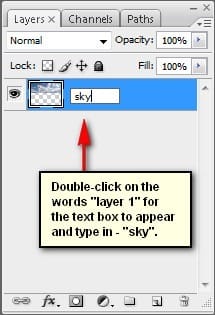
Let’s rename this layer now to “sky”. To rename a layer, simply double-click on the words: “layer 1” (you can find that on the layer window) to prompt a text box to appear. Once that appears, you may now rename the layer. See image below:
Step 5
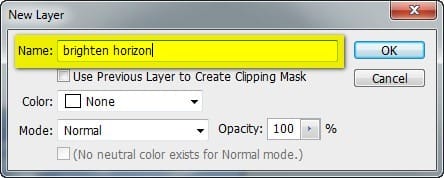
Now, we would need to brighten the horizon; to do that, first we need to create a new layer. Start by pressing Ctrl/Cmd + Shift + N on your keyboard and once a box opens, input “brighten horizon” on the name field.
Step 6
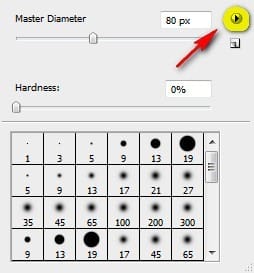
Once you’re done with that, let’s now activate the Brush tool (B) but before we start, make sure that the active Brushes are the default brushes. The default Photoshop brushes are shown on the image below, if that’s not what you see, then follow the instructions below:
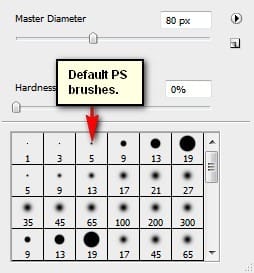
Right click the canvas while a layer is selected and while the Brush tool (B) is activated and then click on the button highlighted below:
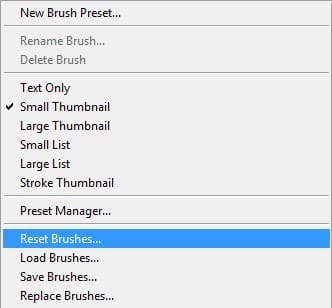
Then click on “Reset Brushes” from the contextual menu.
Now, that that is done input the following settings for our Brush tool (B):
- Brush size: 1000px
- Hardness: 0%
- Opacity: 15%
- Flow: 100%
- #: ffffff
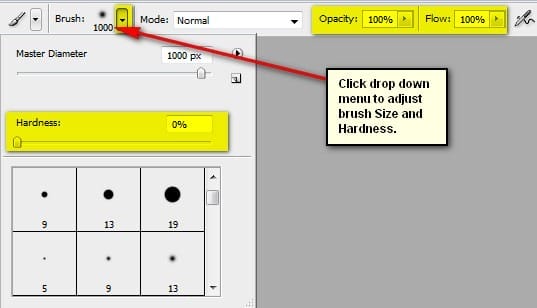
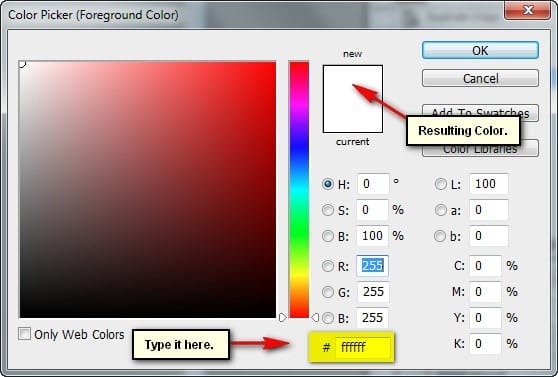
Note: The #: ffffff is the color of the brush. To change it to that, simply do the following:
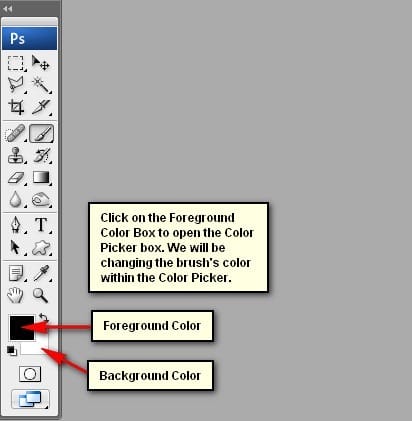
Once the Color Picker box opens, input the following on the # box:
- #: ffffff
Step 7
Now, that that’s done, we can now paint:
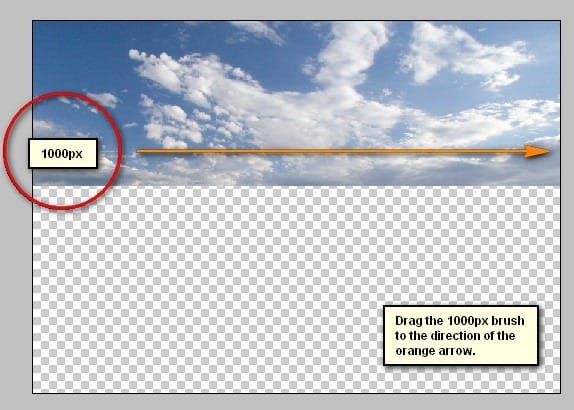
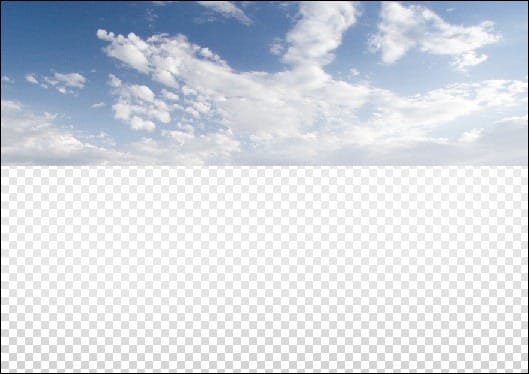
The result:
Step 8
Next, let’s adjust the Brightness/Contrast of the sky. To do that, simply click on Image > Adjustments > Brightness/Contrast from the Menu bar and input the following when the box opens:
3 responses to “How to Create a Sci-Fi Giant Tortoise Shelter Photo-Manipulation”
-
Some of these tutorials are extremely good, magazine like. Thanks for sharing!
-
Links are broken :/
-
This tutorial is really interesting and easy to understand.Thanks for shari

Leave a Reply