Turn any photo into a dot grid artwork with these Photoshop actions. You'll get great results with dots that change size. They get larger in brighter areas and smaller in darker areas. Free download available.
Step 15
In this step, we will be creating the giant tortoise shell which was converted to a shelter by a race of humanoids from the future. To start, open the stock image: “Tortoise3 Stock” by SilkenWebs. Once the stock image is open, activate the Polygonal Lasso Tool (L).
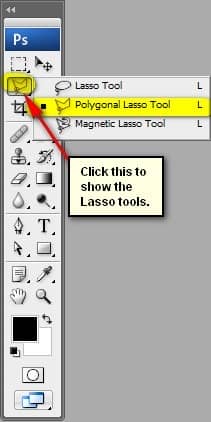
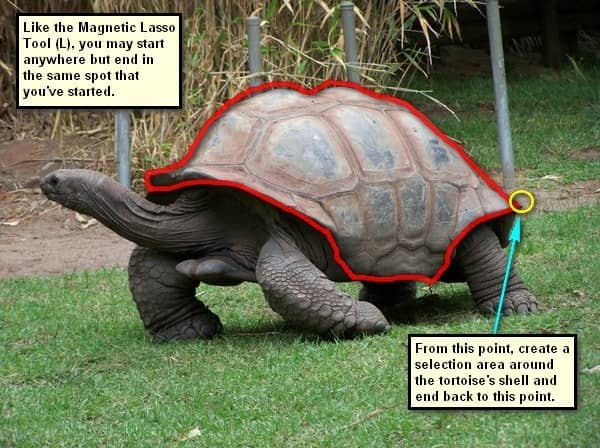
Now, let’s create a selection area around the tortoise shell. Note: Unlike the Magnetic Lasso Tool, the Polygonal Lasso tool (L) is great in creating straight lines.
Step 16
Once you’re done, activate the Move tool (V) and drag the image to our canvas. Make sure that you put this layer above all the layers that we’ve created. Rename this layer to “shell”. Position the tortoise shell to the area shown below:
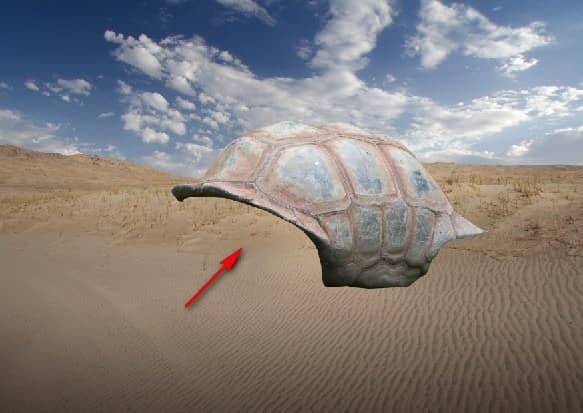
Next, activate the Transform tool (Ctrl/Cmd + T) and right click on the canvas to activate the Transform tool’s contextual menu. Once it is active, click on “Rotate”.
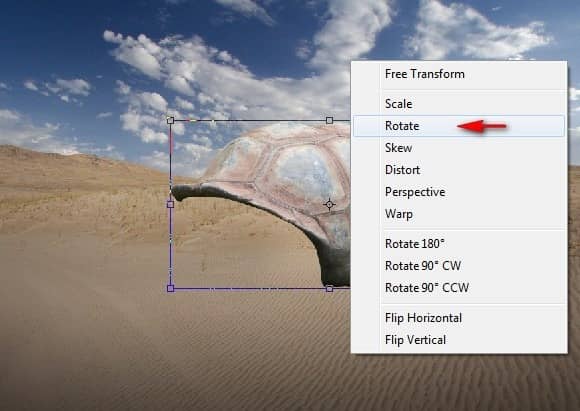
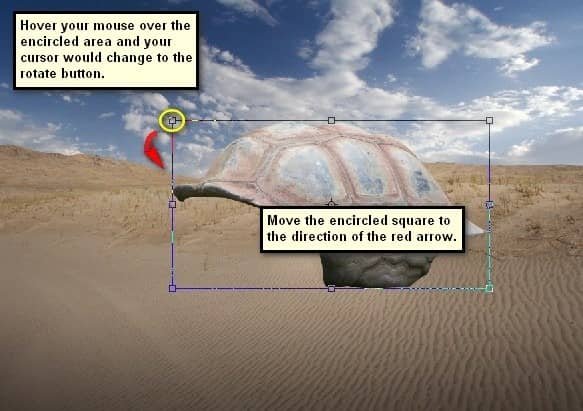
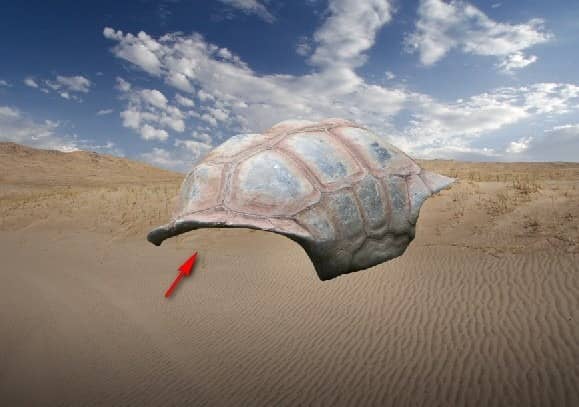
Now, rotate the image as shown below:
Step 17
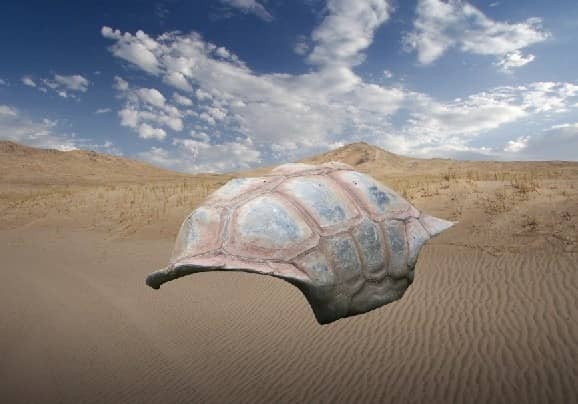
Now, that that is done activate the Move tool (V) and move the image to the position as shown below:
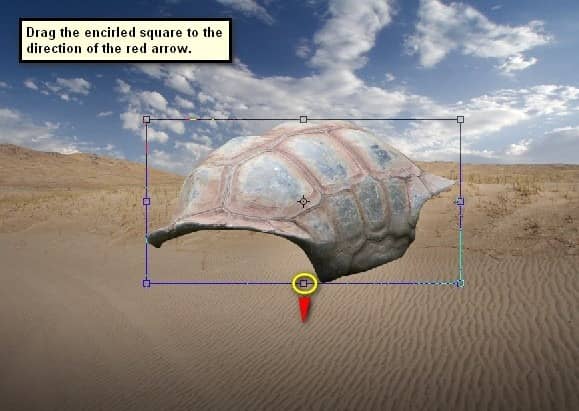
The result:
Step 18
Now, we would need to Burn the Tortoise shell. Activate the Burn tool (O) and input the following:
- Brush size: 500px
- Hardness: 0%
- Range: Midtones
- Exposure: 15%
Use the Burn tool on the areas shown below:
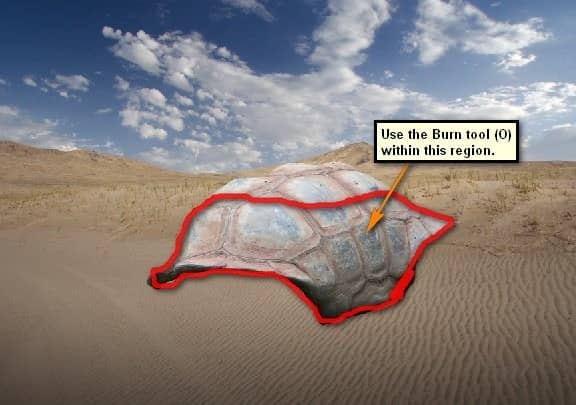
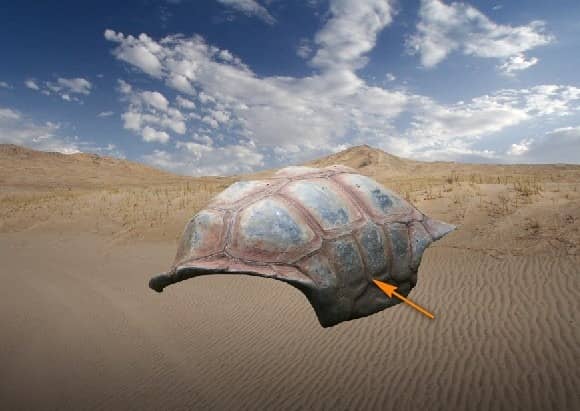
The result should be similar to this:
Step 18
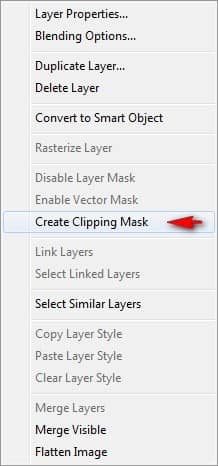
Next, let’s use black paint to darken the tortoise shell more. First, create a new layer (Ctrl/Cmd + Shift + N) and name this layer: “darken shell”. Make sure that this layer is above the “shell” layer. Right click on this layer from the layer window and then click on “Create Clipping Mask” from the contextual menu.
Step 19
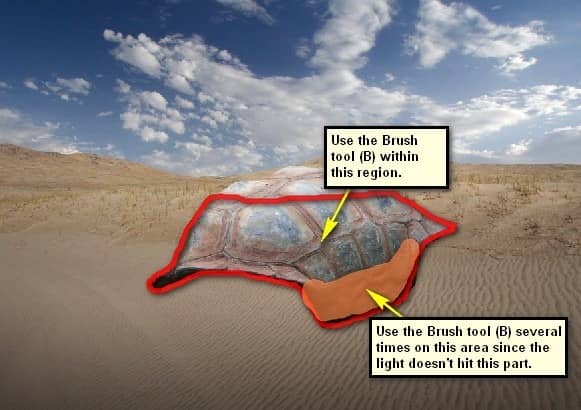
Activate the Brush tool (B) and then input the following values:
- Brush size: 600px
- Hardness: 0%
- Opacity: 15%
- Flow: 100%
- #: 000000
Now, let’s paint:
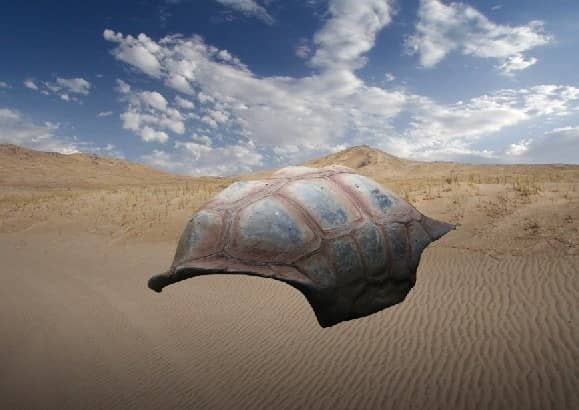
The result:
Step 20
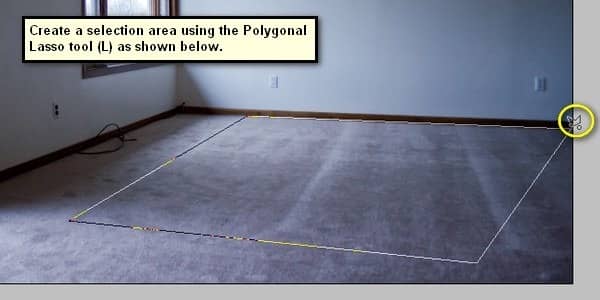
Now, we will be creating the floor for the tortoise shelter. To start, let’s open “Apartment Stock 2” by Disney Stock. Once it is opened, activate the Polygonal lasso tool (L) and create a selection area around the floor as shown on the image below:
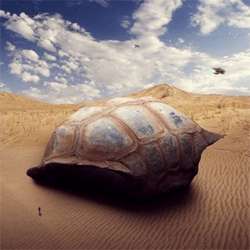
Once the selection area has been created, activate the Move tool (V) and drag the selected area to our canvas. Put this layer below the “shell” layer. Do this by left-clicking on the layer and dragging it all the way down until you see it below the “shell” layer. Rename this layer to “floor”. Position this layer as shown on the image below:

3 comments on “How to Create a Sci-Fi Giant Tortoise Shelter Photo-Manipulation”
Some of these tutorials are extremely good, magazine like. Thanks for sharing!
Links are broken :/
This tutorial is really interesting and easy to understand.Thanks for shari