Make your artwork look like they're from an alternate universe. These Cyberpunk presets work with Photoshop (via the Camera Raw filter) and Lightroom. Download all 788 presets for 90% off.
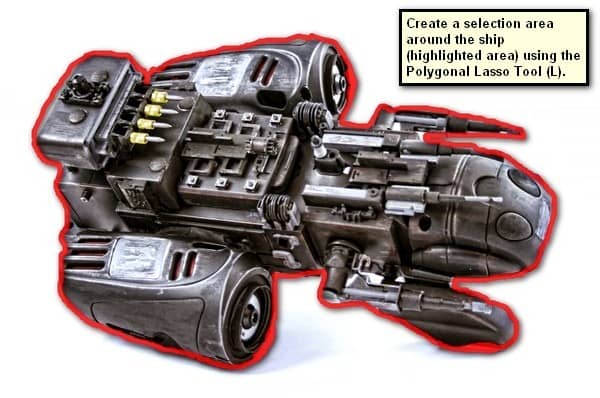
Next, activate the Move tool (V) and then drag the selected part of the image to our canvas. Once on the canvas, rename this moved layer to “ship”. Put this layer above all the layers that we’ve created. Position it in the canvas as shown below:
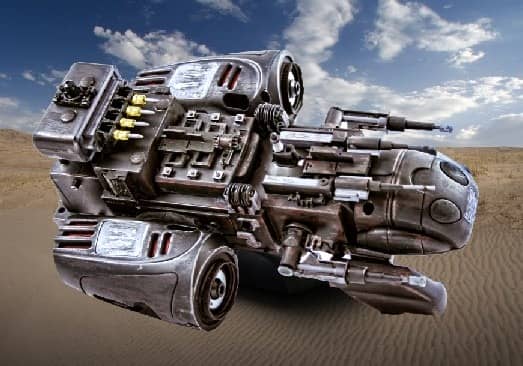
Step 37
Activate the Transform tool (Ctrl/Cmd + T) and resize the ship as shown below:
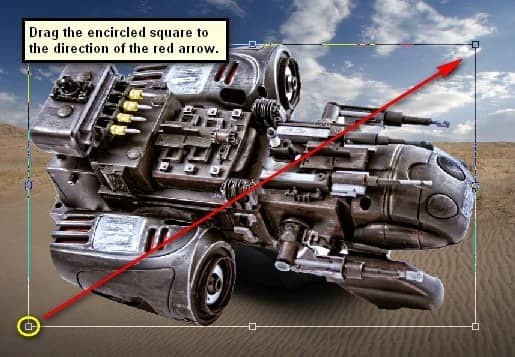
The result of that should be similar to this:
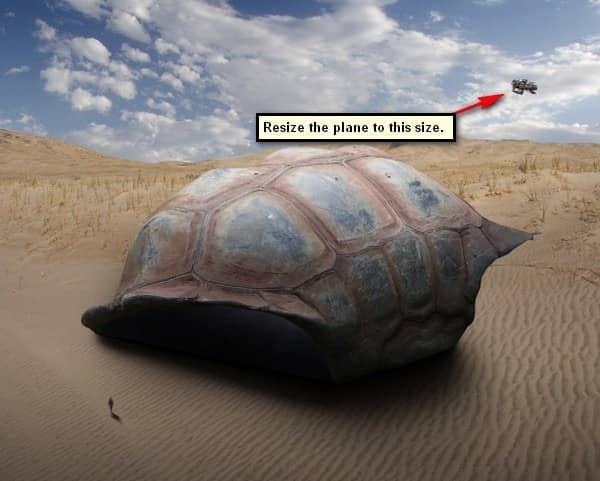
Step 38
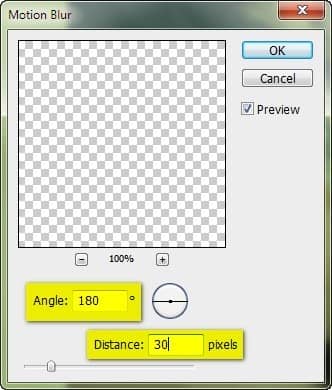
Next, let’s give it a sense of movement; to do that, let’s use the power of the Motion Blur tool. Make sure that the selected layer is the “ship” layer and then go to Filter > Blur > Motion Blur. Once it opens, input the following:
- Angle: 180'
- Distance: 30px
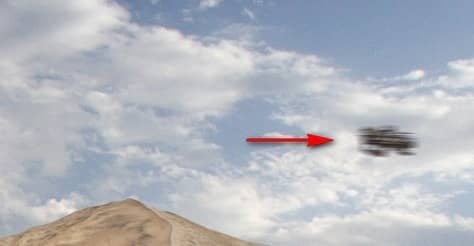
The result of that should be like this:
Step 39
Next, let’s give the ship its engine blast. To start, create a new layer (Ctrl/Cmd + Shift + N) and then name this layer as “engine blast”. Put this layer above all the layers that we’ve created and then activate the Brush tool (B). Once the Brush tool (B) is open, input the following:
- Brush size: 45px
- Hardness: 0%
- Opacity: 100%
- Flow: 100%
- #: 8fd1f0
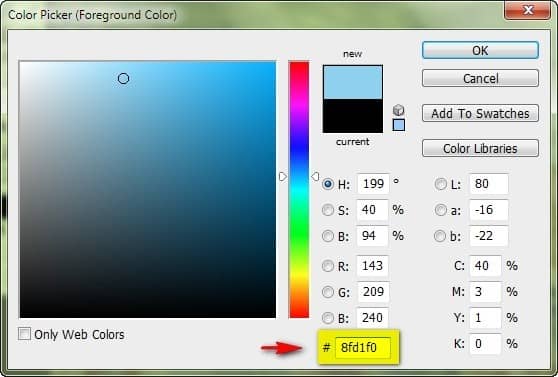
Now, let’s paint:
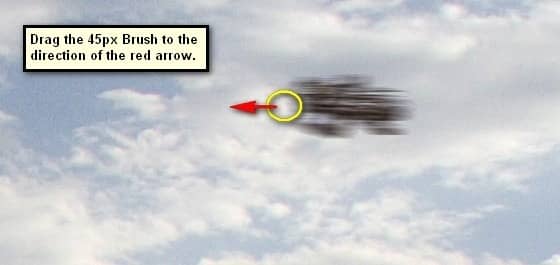
The result:
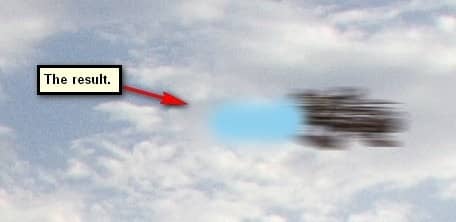
Step 40
Next, create the engine blast which is supposedly coming from the inner core of the engine. To start, create a new layer (Ctrl/Cmd + Shift + N) and then name it “engine blast 2”. Activate the Brush tool (B) and input the following:
- Brush size: 30px
- Hardness: 0%
- Opacity: 100%
- Flow: 100%
- #: ffffff
Now, let’s paint:
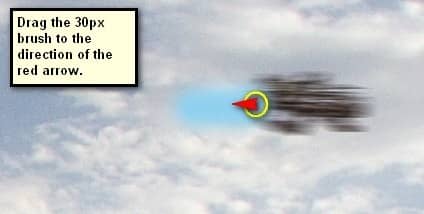
The result should be similar to this:
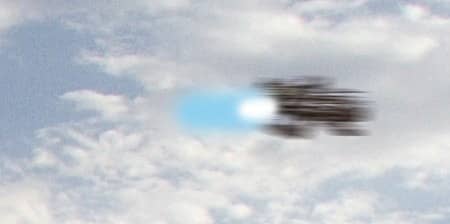
Next, right click on the “engine blast 2” layer and then from the contextual menu, click on “Merge down” so that the layer would be merged with “engine blast 1”.
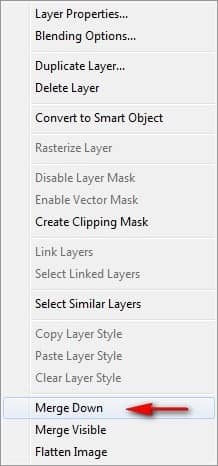
Now, that they are merged, we will give the effect that this engine blast is also in motion as with the ship itself. To do that, go to Filter > Blur > Motion Blur and then input the following:
- Angle: 180'
- Distance: 30px
![image093[1] image093[1]](https://cdn.photoshoptutorials.ws/images/stories/384d402cec5a_1186B/image0931.jpg?strip=all&lossy=1&quality=70&webp=70&avif=70&w=1920&ssl=1)
The result:
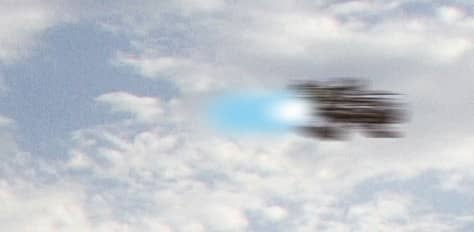
Step 35
Now, let’s make the engine blast look more realistic. To do that, activate the Eraser tool (E) and input the following:
- Brush size: 100px
- Hardness: 0%
- Opacity: 25%
- Flow: 100%
Erase the area as shown below:
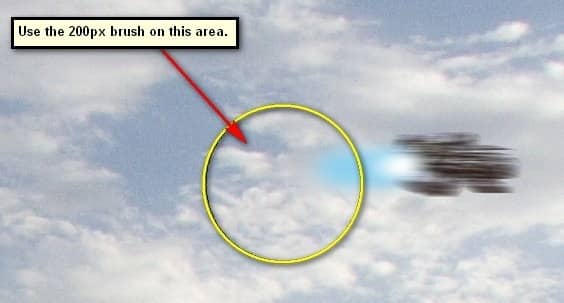
The result:
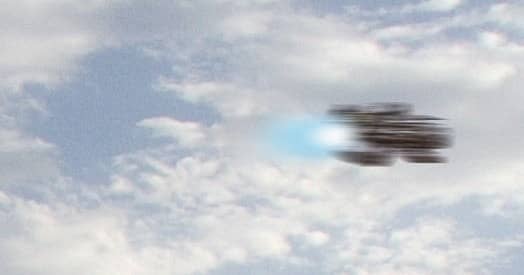
Step 36
Next, let’s create the other patrolling ship. To start, click on the “ship” layer and then press Ctrl/Cmd + J to duplicate it. Once duplicated, activate the Move tool (V) and drag the image as shown below:
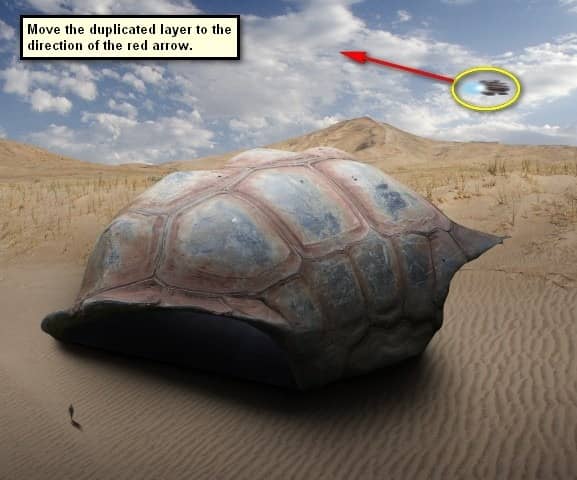
The result:
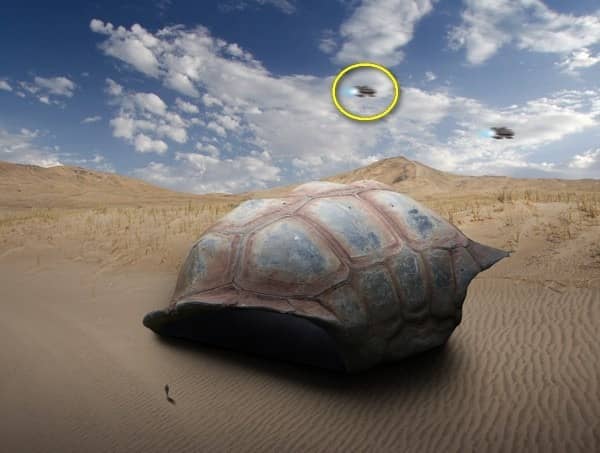
Step 37
Activate the Transform tool (Ctrl/Cmd + T) and resize the duplicated layer as shown below:

3 comments on “How to Create a Sci-Fi Giant Tortoise Shelter Photo-Manipulation”
Some of these tutorials are extremely good, magazine like. Thanks for sharing!
Links are broken :/
This tutorial is really interesting and easy to understand.Thanks for shari