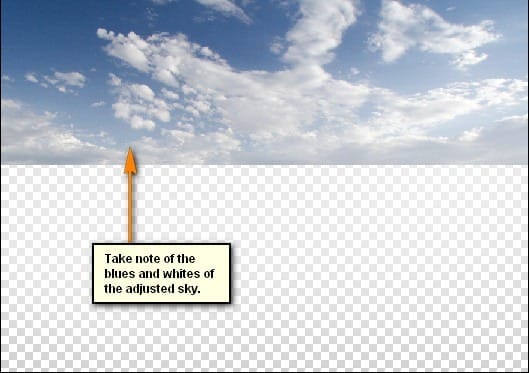
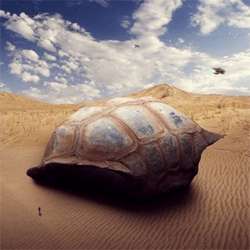
The result:
Step 9
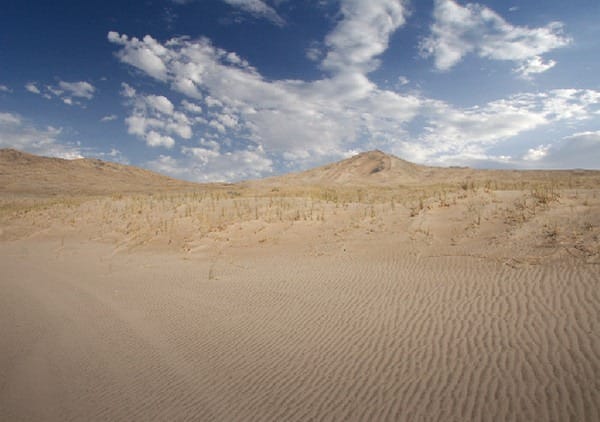
Now, let’s create the ground of our image. To start, let’s open “Deep blue sky” by night-fate-stock. Once it’s open, activate the Magnetic Lasso tool (L) because we will need this tool to take the sand away from the image.
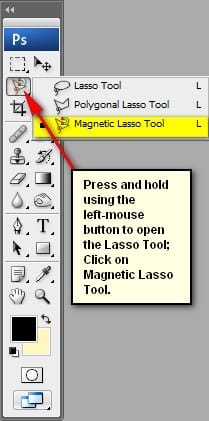
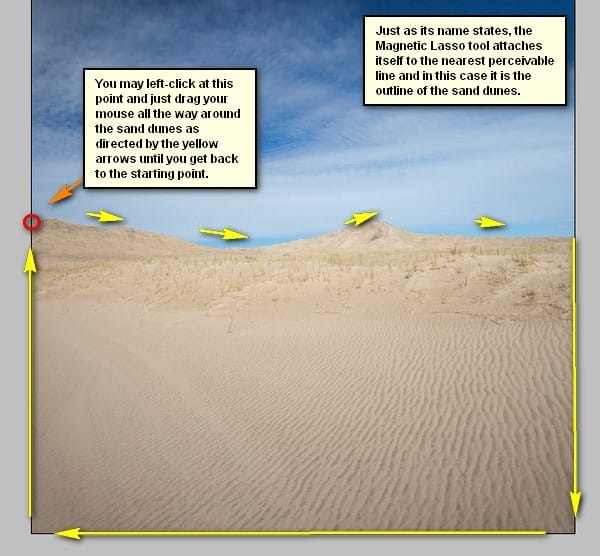
Now, that our Magnetic Lasso Tool (L) is activated, we can now start selecting our image.
Step 10
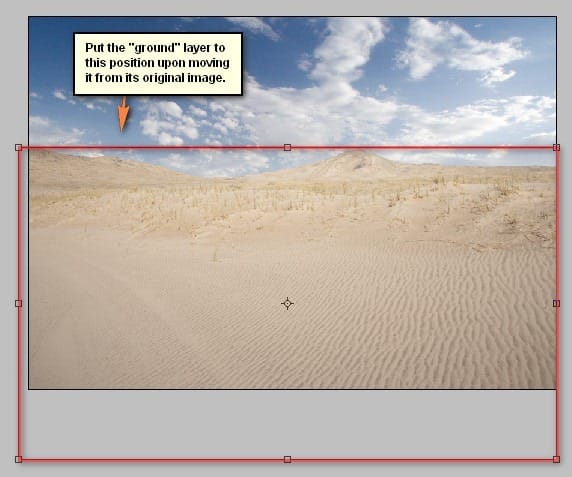
Once we have made a selection area over the sand dunes, activate the Move tool (V) and drag the selected area to our canvas. Put this new layer above the “sky” layer and rename it to “ground”. Move and position the “ground” layer s shown below:

Step 11
Next, we would need to darken the foreground because it is too bright. To start, select the “ground” layer and then create a new layer (Ctrl/Cmd + Shift + N) and then name it “darken ground”.
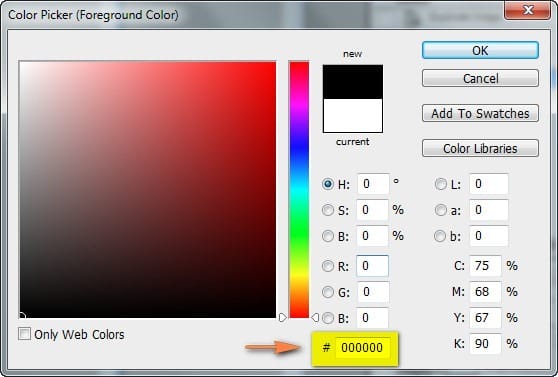
Note: Selecting the “ground” layer before creating a new layer automatically puts the new layer above it. Activate the Brush tool (B) and input the following values:
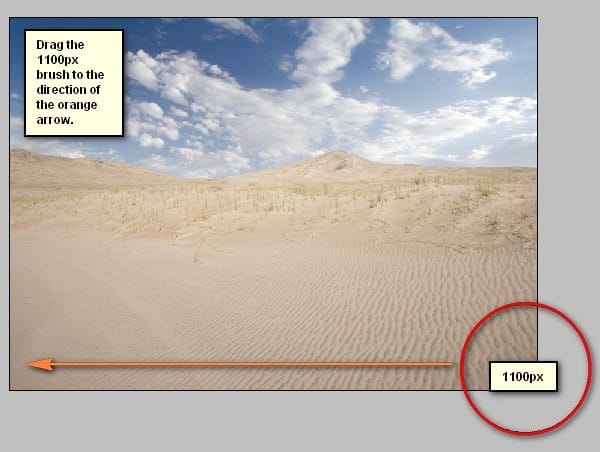
- Brush size: 1100px
- Hardness: 0%
- Opacity: 8%
- Flow: 100%
- #: 000000
Now, let’s paint:
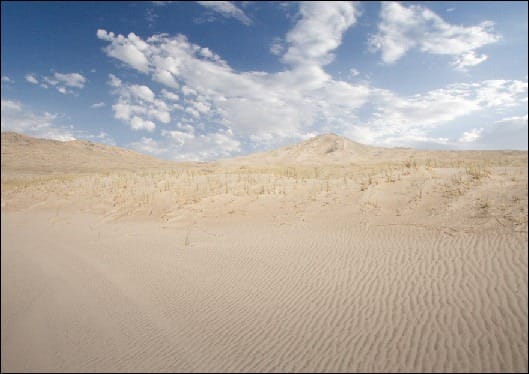
The result of that should be similar to this:
Step 12
Now, we would need to darken it more through the use of the Burn tool (O).
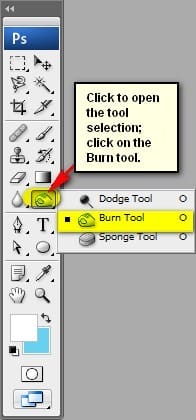
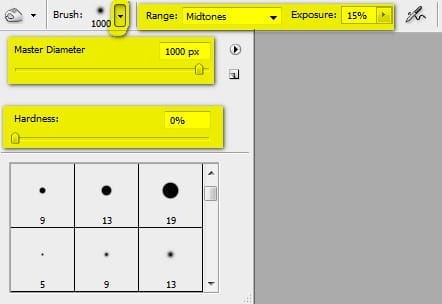
Once the Burn tool has been activated input the following values for it:
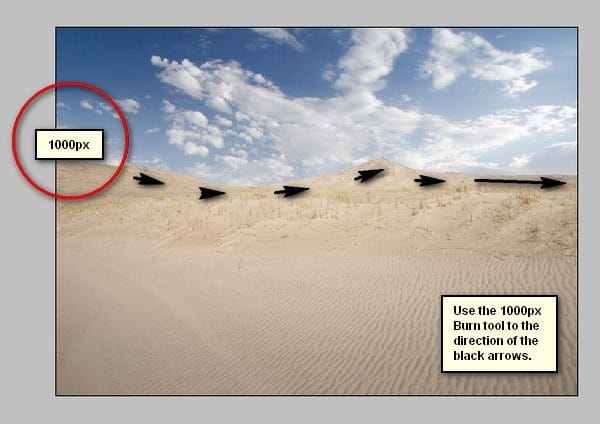
- Brush size: 1000px
- Hardness: 0%
- Range: Midtones
- Exposure: 8%
Now, click on the “ground” layer and let’s start burning it!
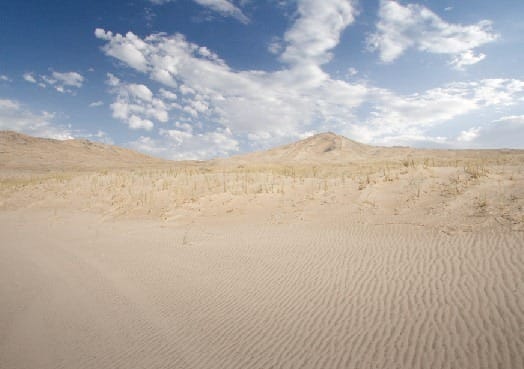
The result:
Step 13
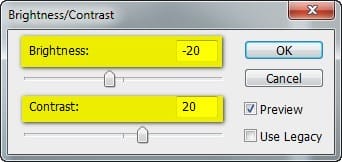
To fully make the ground and sky look like one seamless image, we would need to adjust the Brightness/Contrast of our “ground” layer. From the Layer window, click on the “Create New Fill/Adjustment layer button”.

When it opens, click on the Brightness/Contrast tab from the contextual menu.
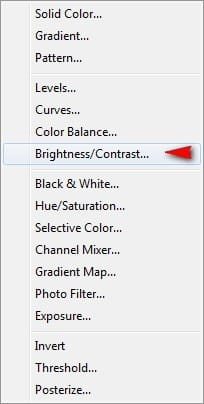
- Brightness: -40
- Contrast: 40
- Use Legacy: Uncheck
The result of that should be similar to this:
Step 14
Finally, let’s add a little darkness on the foreground which will give more drama to the Tortoise shelter that would be put next. Click on the recently created Brightness/Contrast layer and then create a new layer (Ctrl/Cmd + Shift + N) and name it as “darken ground 2”. Make sure this layer is above all the layers that we’ve created so far. Activate the Brush tool (B) and input the following:
- Brush size: 700px
- Hardness: 0%
- Opacity: 15%
- Flow: 100%
- #: 000000
Now, let’s paint:
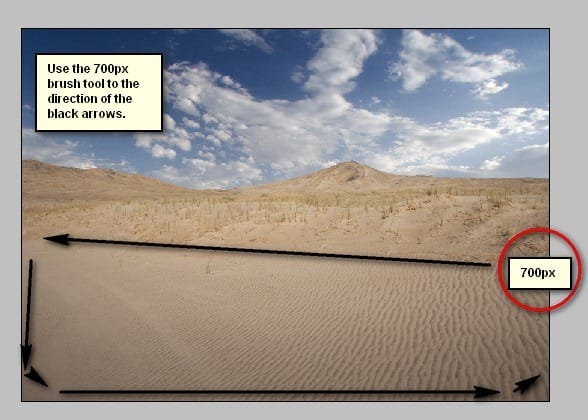
The result should be similar to this:
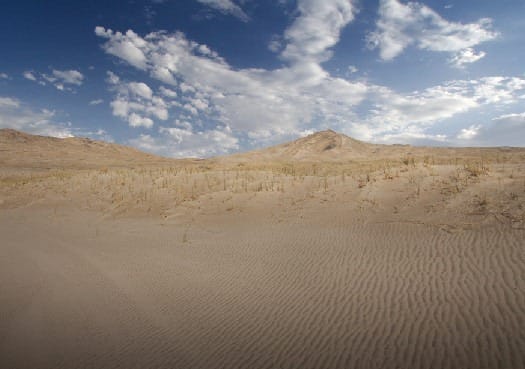
When you’re done, select all the layers that we’ve created and press Ctrl/Cmd + G to group them. Once grouped, rename it to “Background”.
3 responses to “How to Create a Sci-Fi Giant Tortoise Shelter Photo-Manipulation”
-
Some of these tutorials are extremely good, magazine like. Thanks for sharing!
-
Links are broken :/
-
This tutorial is really interesting and easy to understand.Thanks for shari

Leave a Reply