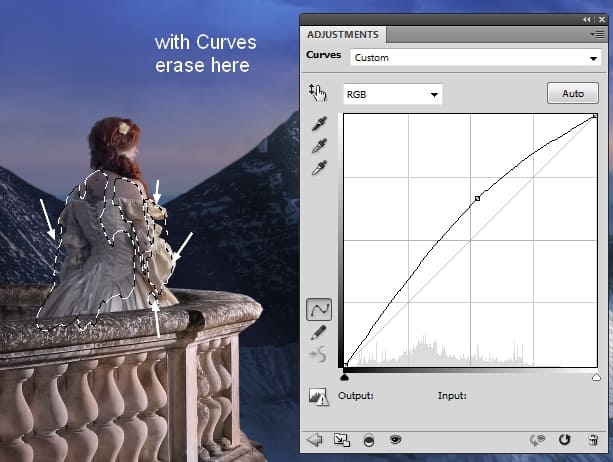
Step 25
To add more highlight to the model hair, face, dress and shoulder I used the Dodge tool:
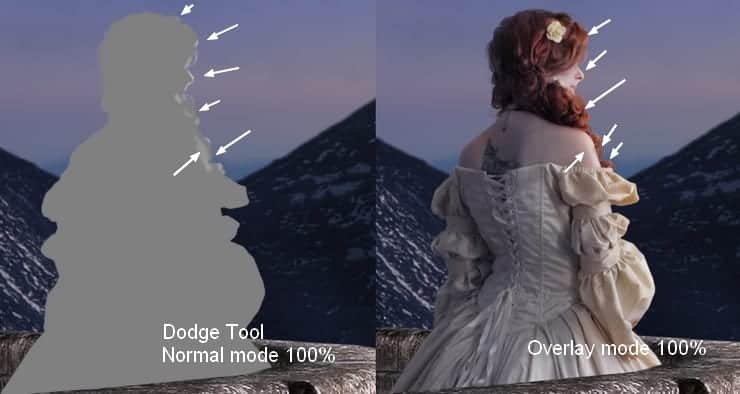
Step 26
Open the tree 1 and 2 images. As they have a transparent background so simply drag them into our document using the Move Tool. I’ve placed them at the two edges of the pic:

Step 27
Apply Gaussian Blur with 8 px to the trees:
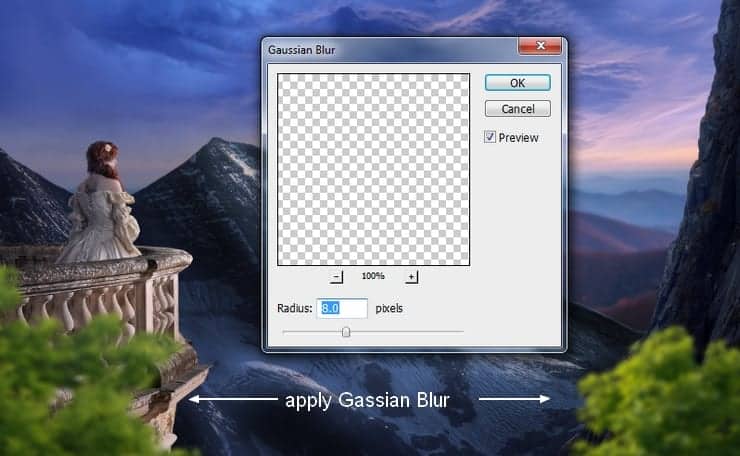
Step 28
Select the tree layers and press Cmd/Ctrl+G to make a group for them. Change the mode of this group from Pass Through (default group mode) to Normal 100%. Make a Hue/Saturation adjustment layer on the top of the layers within this group:

Step 29
I used Curves to darken the trees and apply brushing on this layer mask:
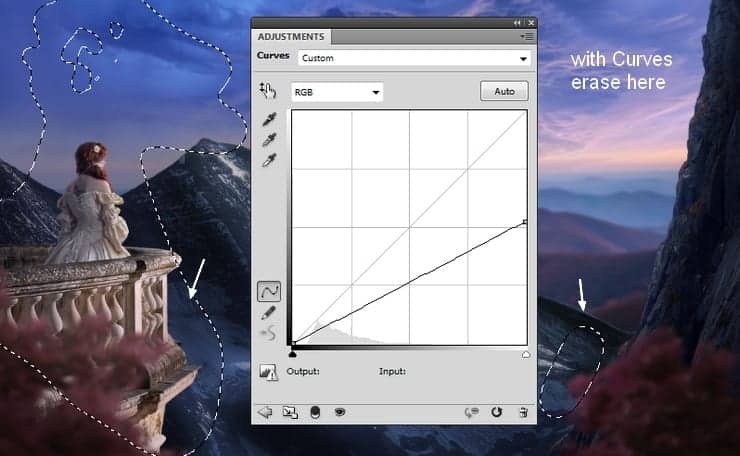
Step 30
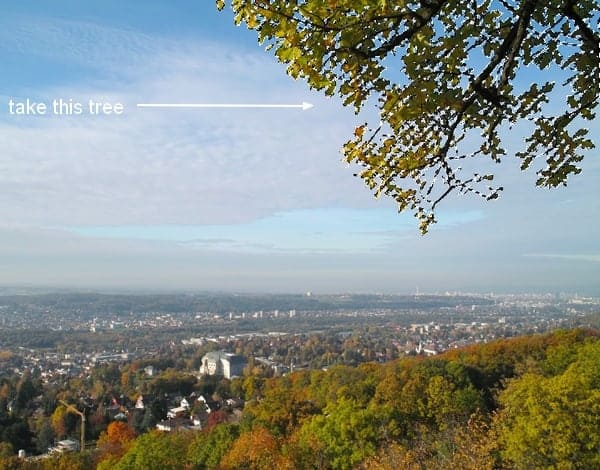
Open the tree 3 image. Isolate the tree at the top right and place it at the top left of our working image:

Step 31
I used Hue/Saturation to change the color of this tree:

Step 32
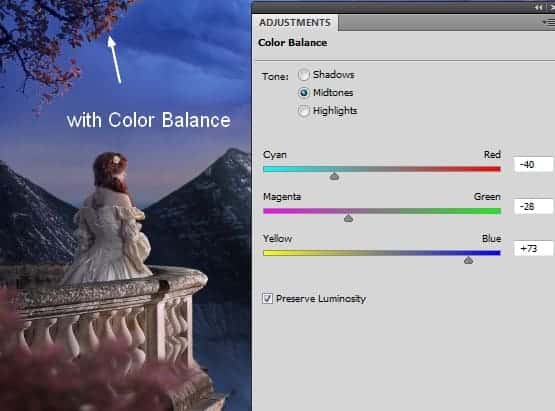
I used Color Balance with the same purpose, also darken it:
Step 33
Extract the birds and place them at the right of the scene (the horizon area):
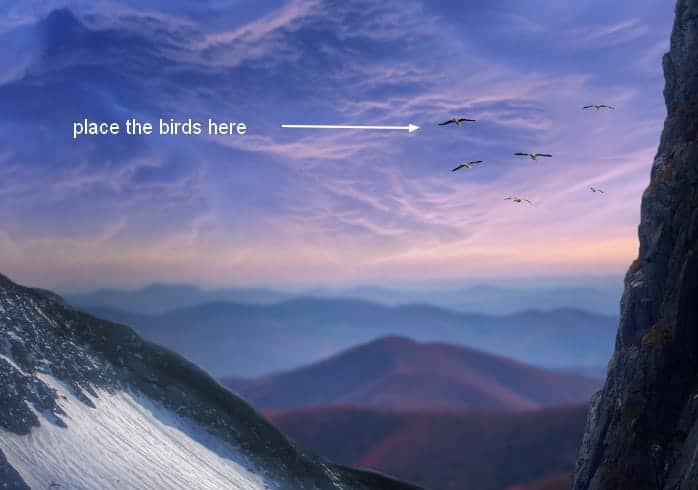
Apply Gaussian Blur with 2 px to them:

Step 34
Create a Gradient Map adjustment layer on the top:
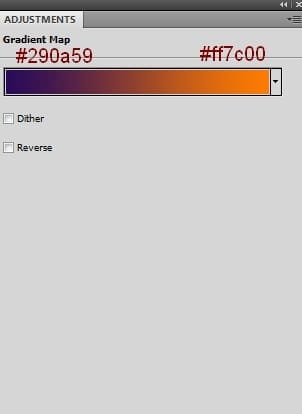
Lower this layer opacity to 20%:
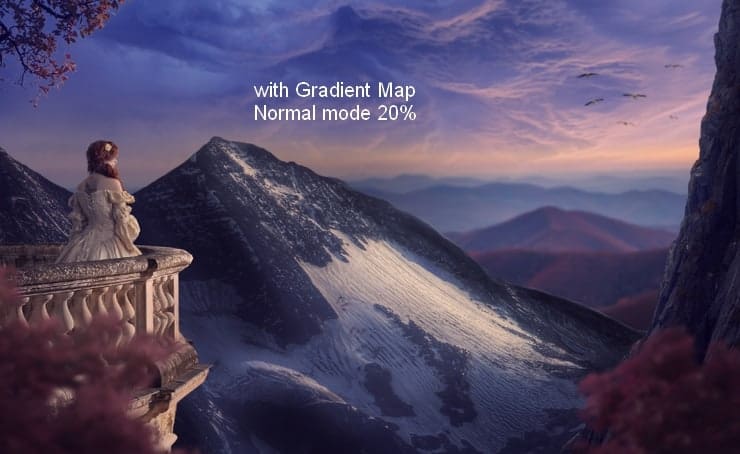
Step 35
Use Color Balance to increase the vibrance of the scene:


Step 36
I used another Gradient Map adjustment layer to add more warm tone to the pic:
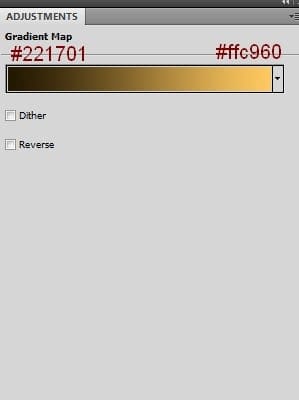
Lower the opacity of this layer to 20% and apply brushing on the top of the sky and the left of the balcony:
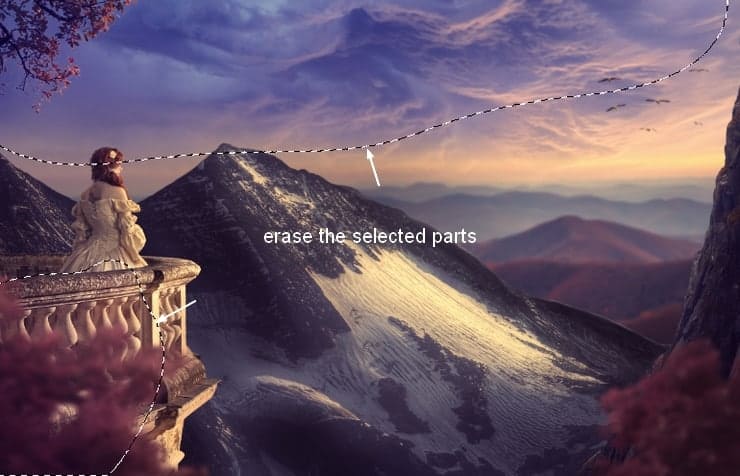
Step 37
I used Levels to darken the scene:
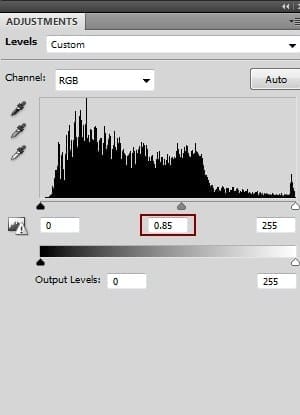
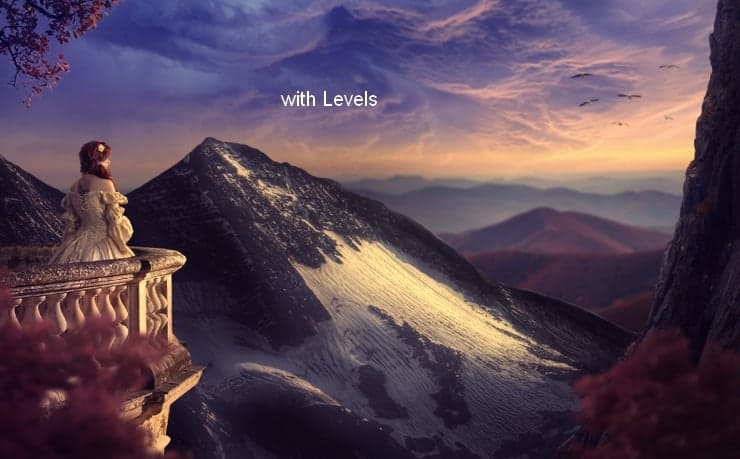
Step 38
Make a Vibrance adjustment layer to enhance the whole effect:
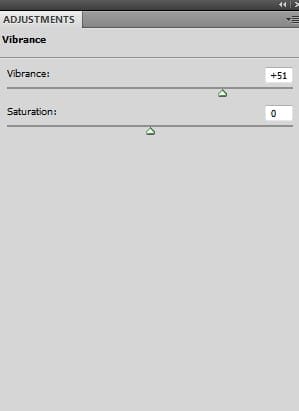

Step 39
Since this step we’ll make light for the scene. Create a new layer on the top. Use a soft brush with the color #221501 to paint on the horizon area. Change this layer mode to Linear Dodge 100%:
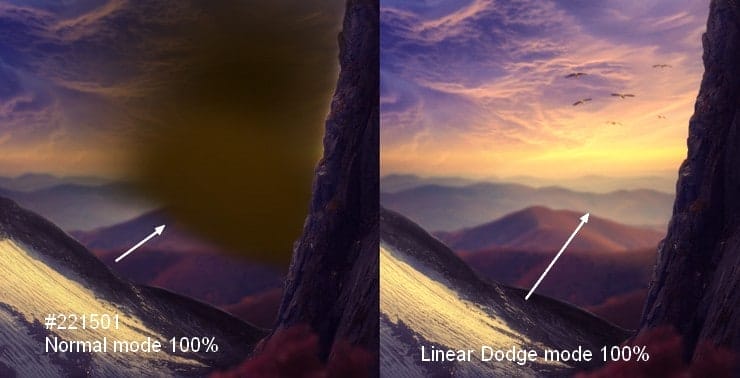
Step 40
Make another layer and use a soft brush with the color #c09469 to add more light to the landscape and the mountain. Set this layer mode to Soft Light 100%:
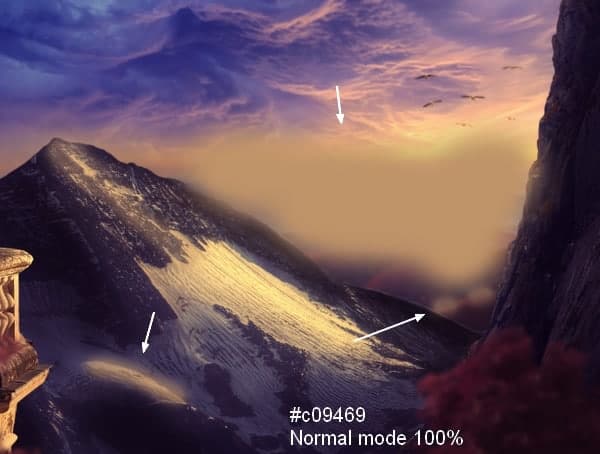
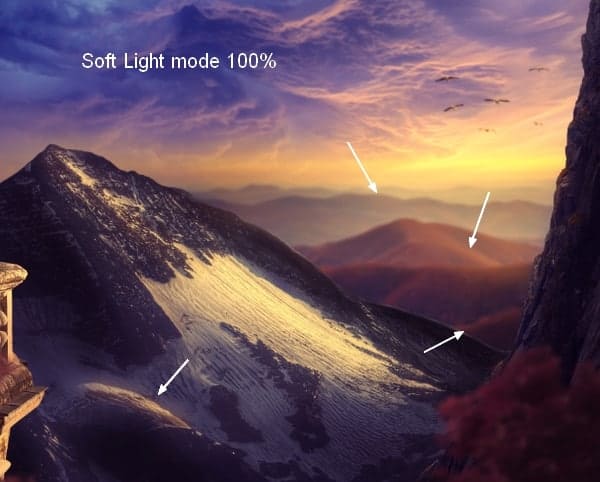
Step 41
On a new layer, use the same brush to paint on the trees, mountain and landscape. Change this layer mode to Soft Light 100%:

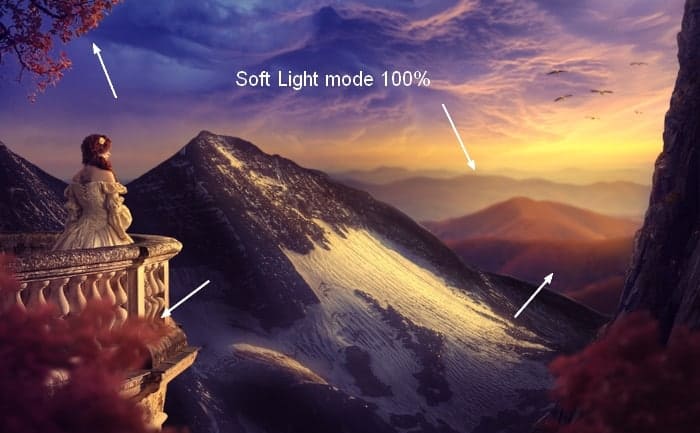
Step 42
Create a new layer again and change the brush color to #fed58a. Paint on the horizon to make a stronger light there. Set this layer mode to Hard Light 100%:
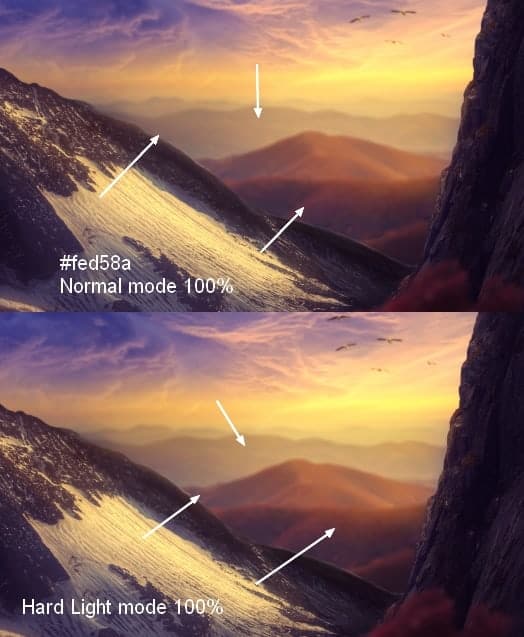
Step 43
I used a new layer with a soft brush and the same color to paint on the top of the trees. I altered this layer mode to Overlay 100%:
9 responses to “Create a Sunset Landscape Photo Manipulation in Photoshop”
-
Thank you
-
Thank you for the lesson . he’s just adorable. The game of colors and delicate taste It’s my pichttp://j-p-g.net/if/2015/12/05/0996727001449341248.jpg
-
Hi, It ‘s very beautiful , You are a professional designer
-
would u mind sending me the pictures u used in the manipulation ?
sorry i can’t download some of them :( -
I really enjoyed reading this tutorial. I always thought images like this were hard work, but when you break it down into steps like this, it seems so simple! (Although I’m sure this is not for the beginner in Photoshop.)
-
Nice Tutorial
-
plz post psd plz
-
Sorry I missed this step. I used Color Balance:
Midtones: -57,0,100
Highlights : -2,0,78 -
How did the sky layer turn blue ?? What Setting you used ???


Leave a Reply