
Step 44
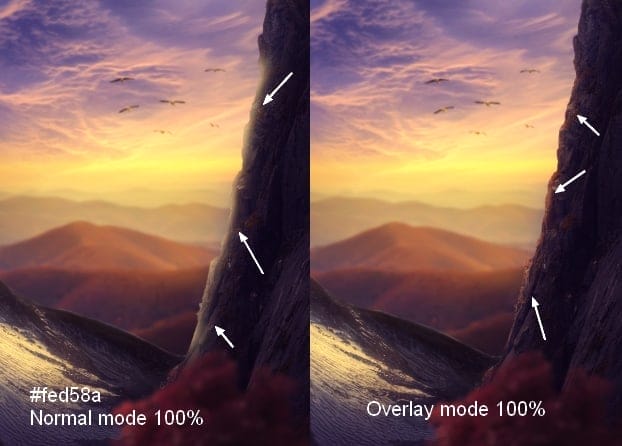
On a new layer use the same brush to paint on the rock to make some light there. Set this layer mode to Overlay 100%:

Step 45
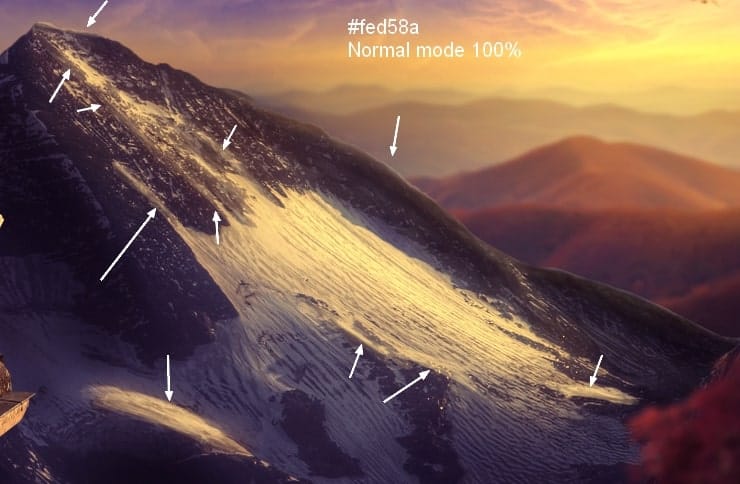
We’ll take care of the mountain. On a new layer use a hard brush (better use a tablet pen) with the same color to paint the highlight on the mountain, then change the mode to Hard Light 50%:


Step 46
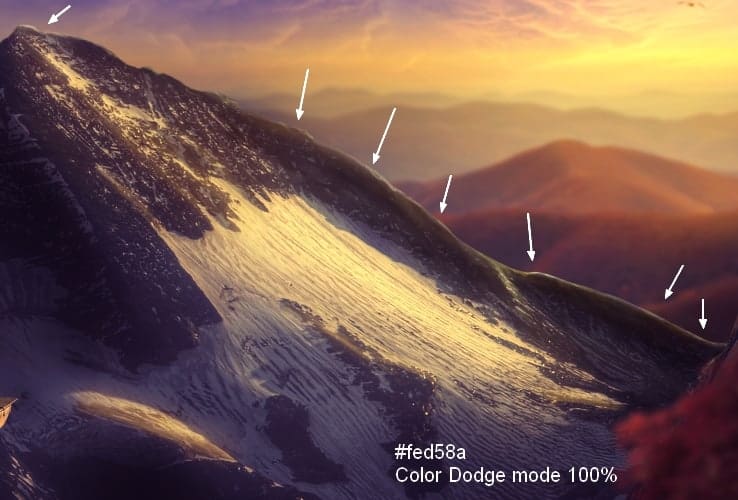
Make a new layer, use the same brush to paint on the contour of the mountain. Change the mode to Color Dodge 100%:

Step 47
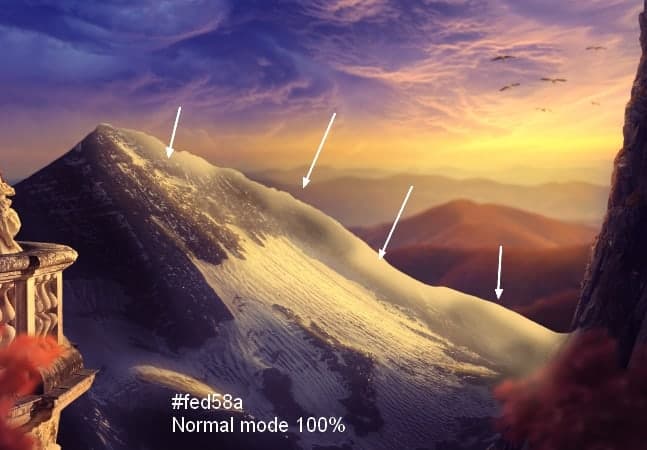
Create a new layer and use the same brush to paint over the mountain edges. Set this layer mode to Overlay 100%:


Download the PSD
[vc_column width=”1/1″ el_position=”first last”] [vc_cta_button title=”Download” href=”https://downloads.photoshoptutorials.ws/Sunset.zip” color=”btn” size=”btn-large” icon=”none” target=”_self” position=”cta_align_right” call_text=”Sunset.zip | 5.6 MB” width=”1/1″ el_position=”first last”] [/vc_column]
Final Results

Tutorial by Jenny Le
9 responses to “Create a Sunset Landscape Photo Manipulation in Photoshop”
-
Thank you
-
Thank you for the lesson . he’s just adorable. The game of colors and delicate taste It’s my pichttp://j-p-g.net/if/2015/12/05/0996727001449341248.jpg
-
Hi, It ‘s very beautiful , You are a professional designer
-
would u mind sending me the pictures u used in the manipulation ?
sorry i can’t download some of them :( -
I really enjoyed reading this tutorial. I always thought images like this were hard work, but when you break it down into steps like this, it seems so simple! (Although I’m sure this is not for the beginner in Photoshop.)
-
Nice Tutorial
-
plz post psd plz
-
Sorry I missed this step. I used Color Balance:
Midtones: -57,0,100
Highlights : -2,0,78 -
How did the sky layer turn blue ?? What Setting you used ???


Leave a Reply